
Shakey Boy
Print Profile(1)

Bill of Materials



Description
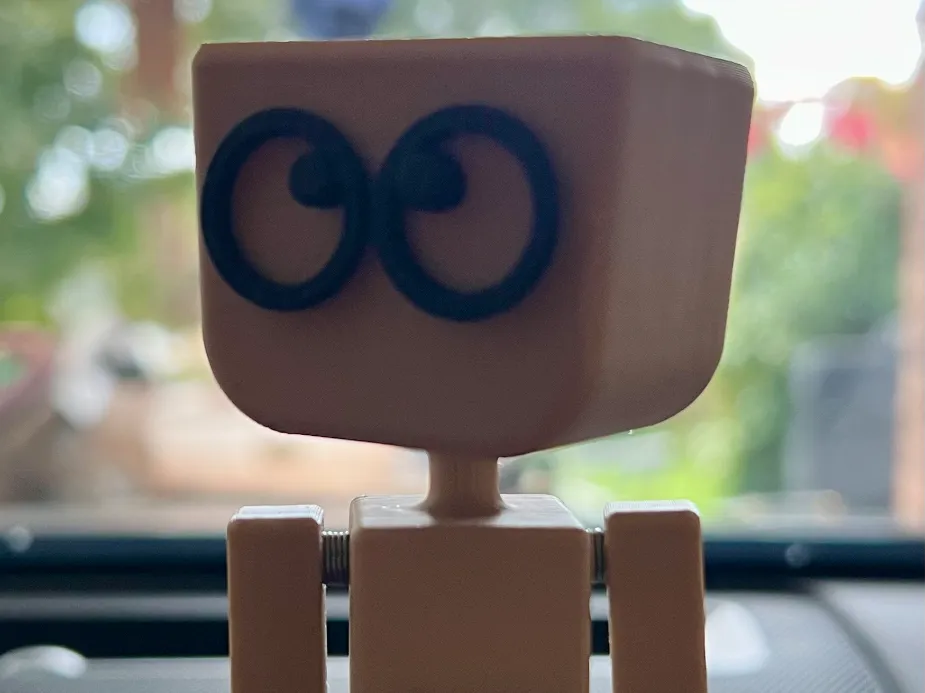

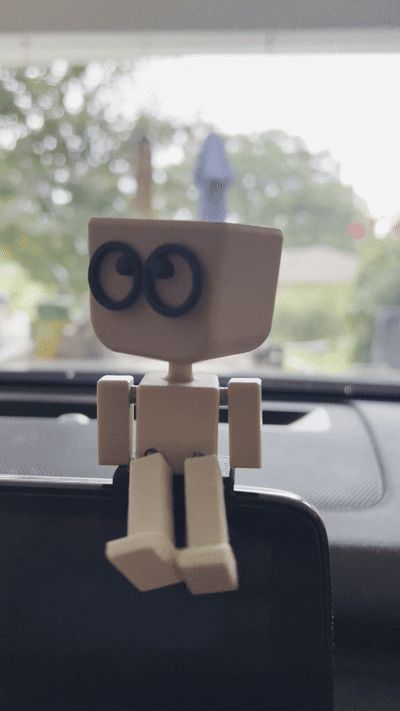
Meet Shakey Boy.
Just a cute little thingy I made for my wife's car.
Please Note: This model requires very light-weight springs to get the effect shown in the gif. Tension (or extension) springs with a wire diameter of .1mm-.2mm work best. Larger wire diameter will work, but the legs will likely stick straight out (which could be fun too)!
I've also included the .f3d file, allowing you to change the hole diameter to match whatever spring OD you're using.
Required components:
Tension (sometimes called Extension) Spring. This is the kind of spring with no space between the coils; the kind designed to be pulled, and is at its shortest at rest.
- You will need 4 lengths:
- 2x @ roughly 12-15mm long for the legs
- 2x @ roughly 10-12mm long for the arms.
- These springs need to be 3mm diameter (OD). They can be a bit smaller, but if larger you may need to slightly enlarge the holes or heat-fit the springs into them
- The spring wire diameter will affect how “wiggly” the arms and legs are. The GIF included uses .2mm diameter wire. .3 will be a little stiffer, while anything above that will cause the legs to stick straight out. .1 makes the legs hang almost too loosely.
- It may be difficult to find springs with such a small diameter wire. McMaster-Carr has these that you can cut to length: https://www.mcmaster.com/9664K41/. NOTE that these have a slightly larger OD (3.175mm) and may not fit in the holes without enlarging them a little (or heat fitting), or adjusting your tolerances.
Print Instructions:
The print sequence is by object, with each “object” being all objects with the same color. In other words, the black objects will print first, then the tan objects. This saves on print time and allows easy printing without an AMS.
Assembly instructions:
Refer to the individual model files so that “socket”, “tool”, “ball”, “eye”, “glasses” makes sense.
PS: Excuse the bad print quality in the photos - I was using up some older filament to print these just for pics :)
Boost Me (for free)
If you like my stuff, please post photos of your prints! I'd also appreciate a boost!
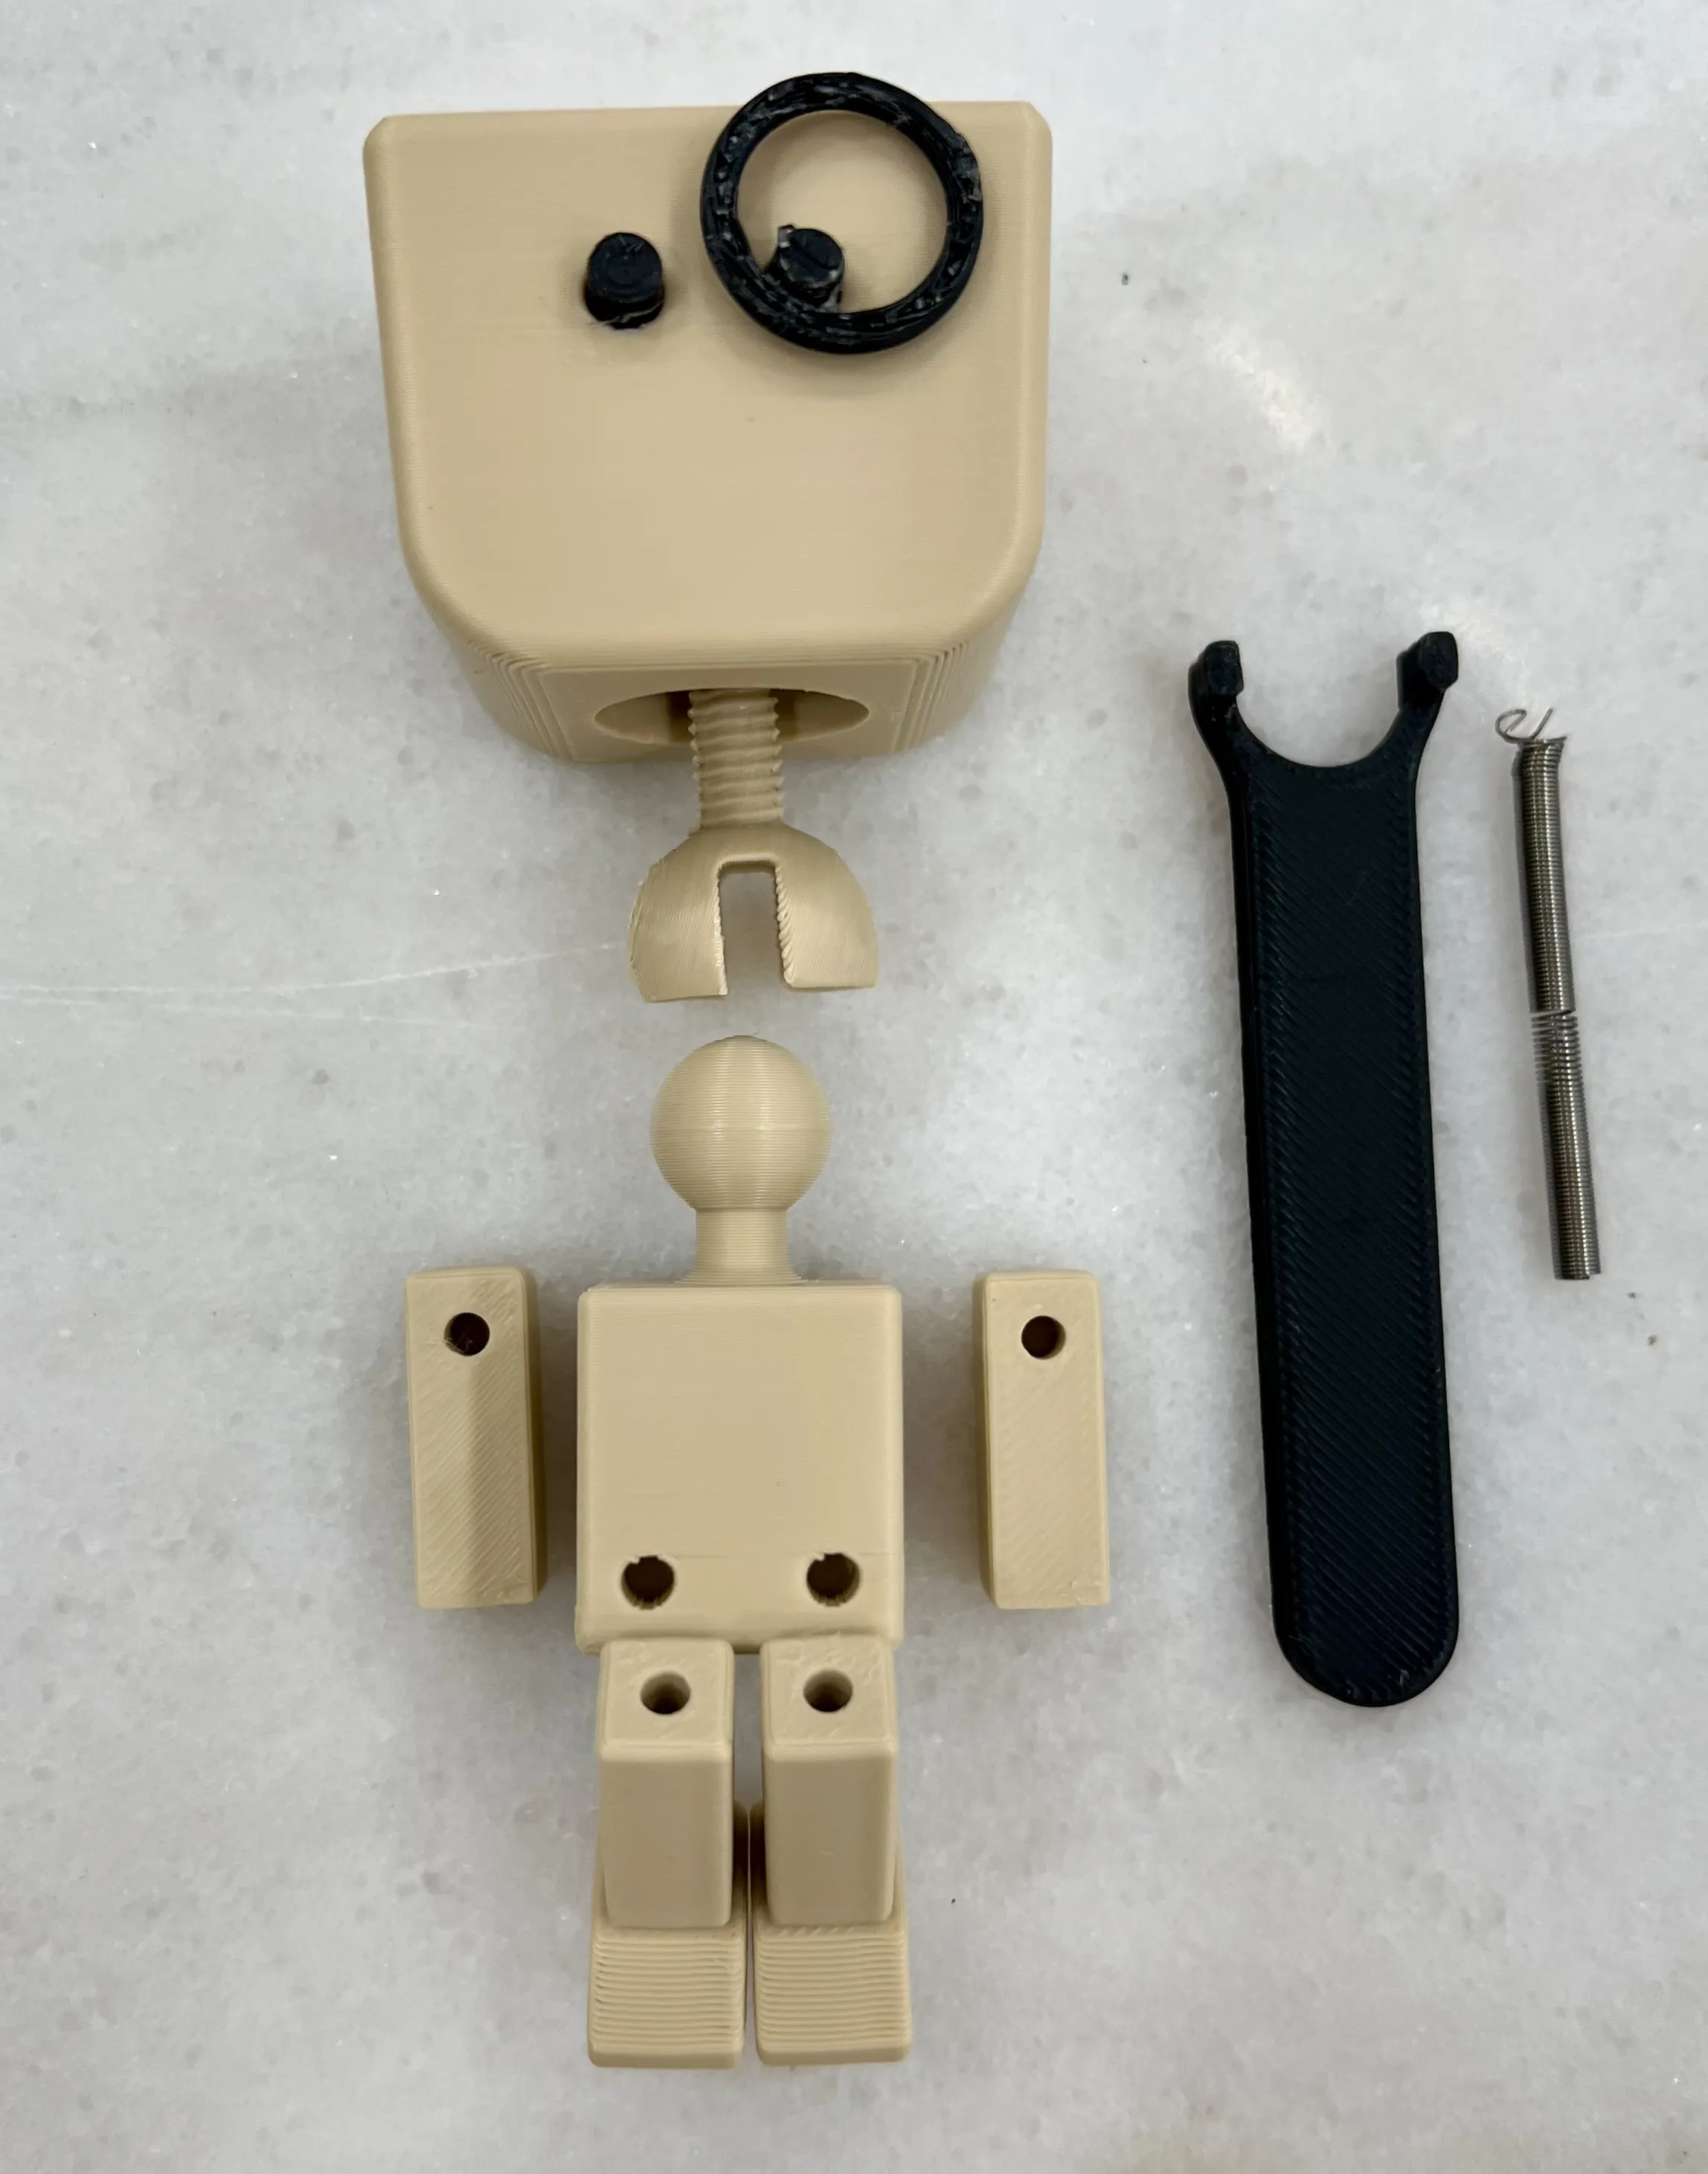
Head/Neck/Torso
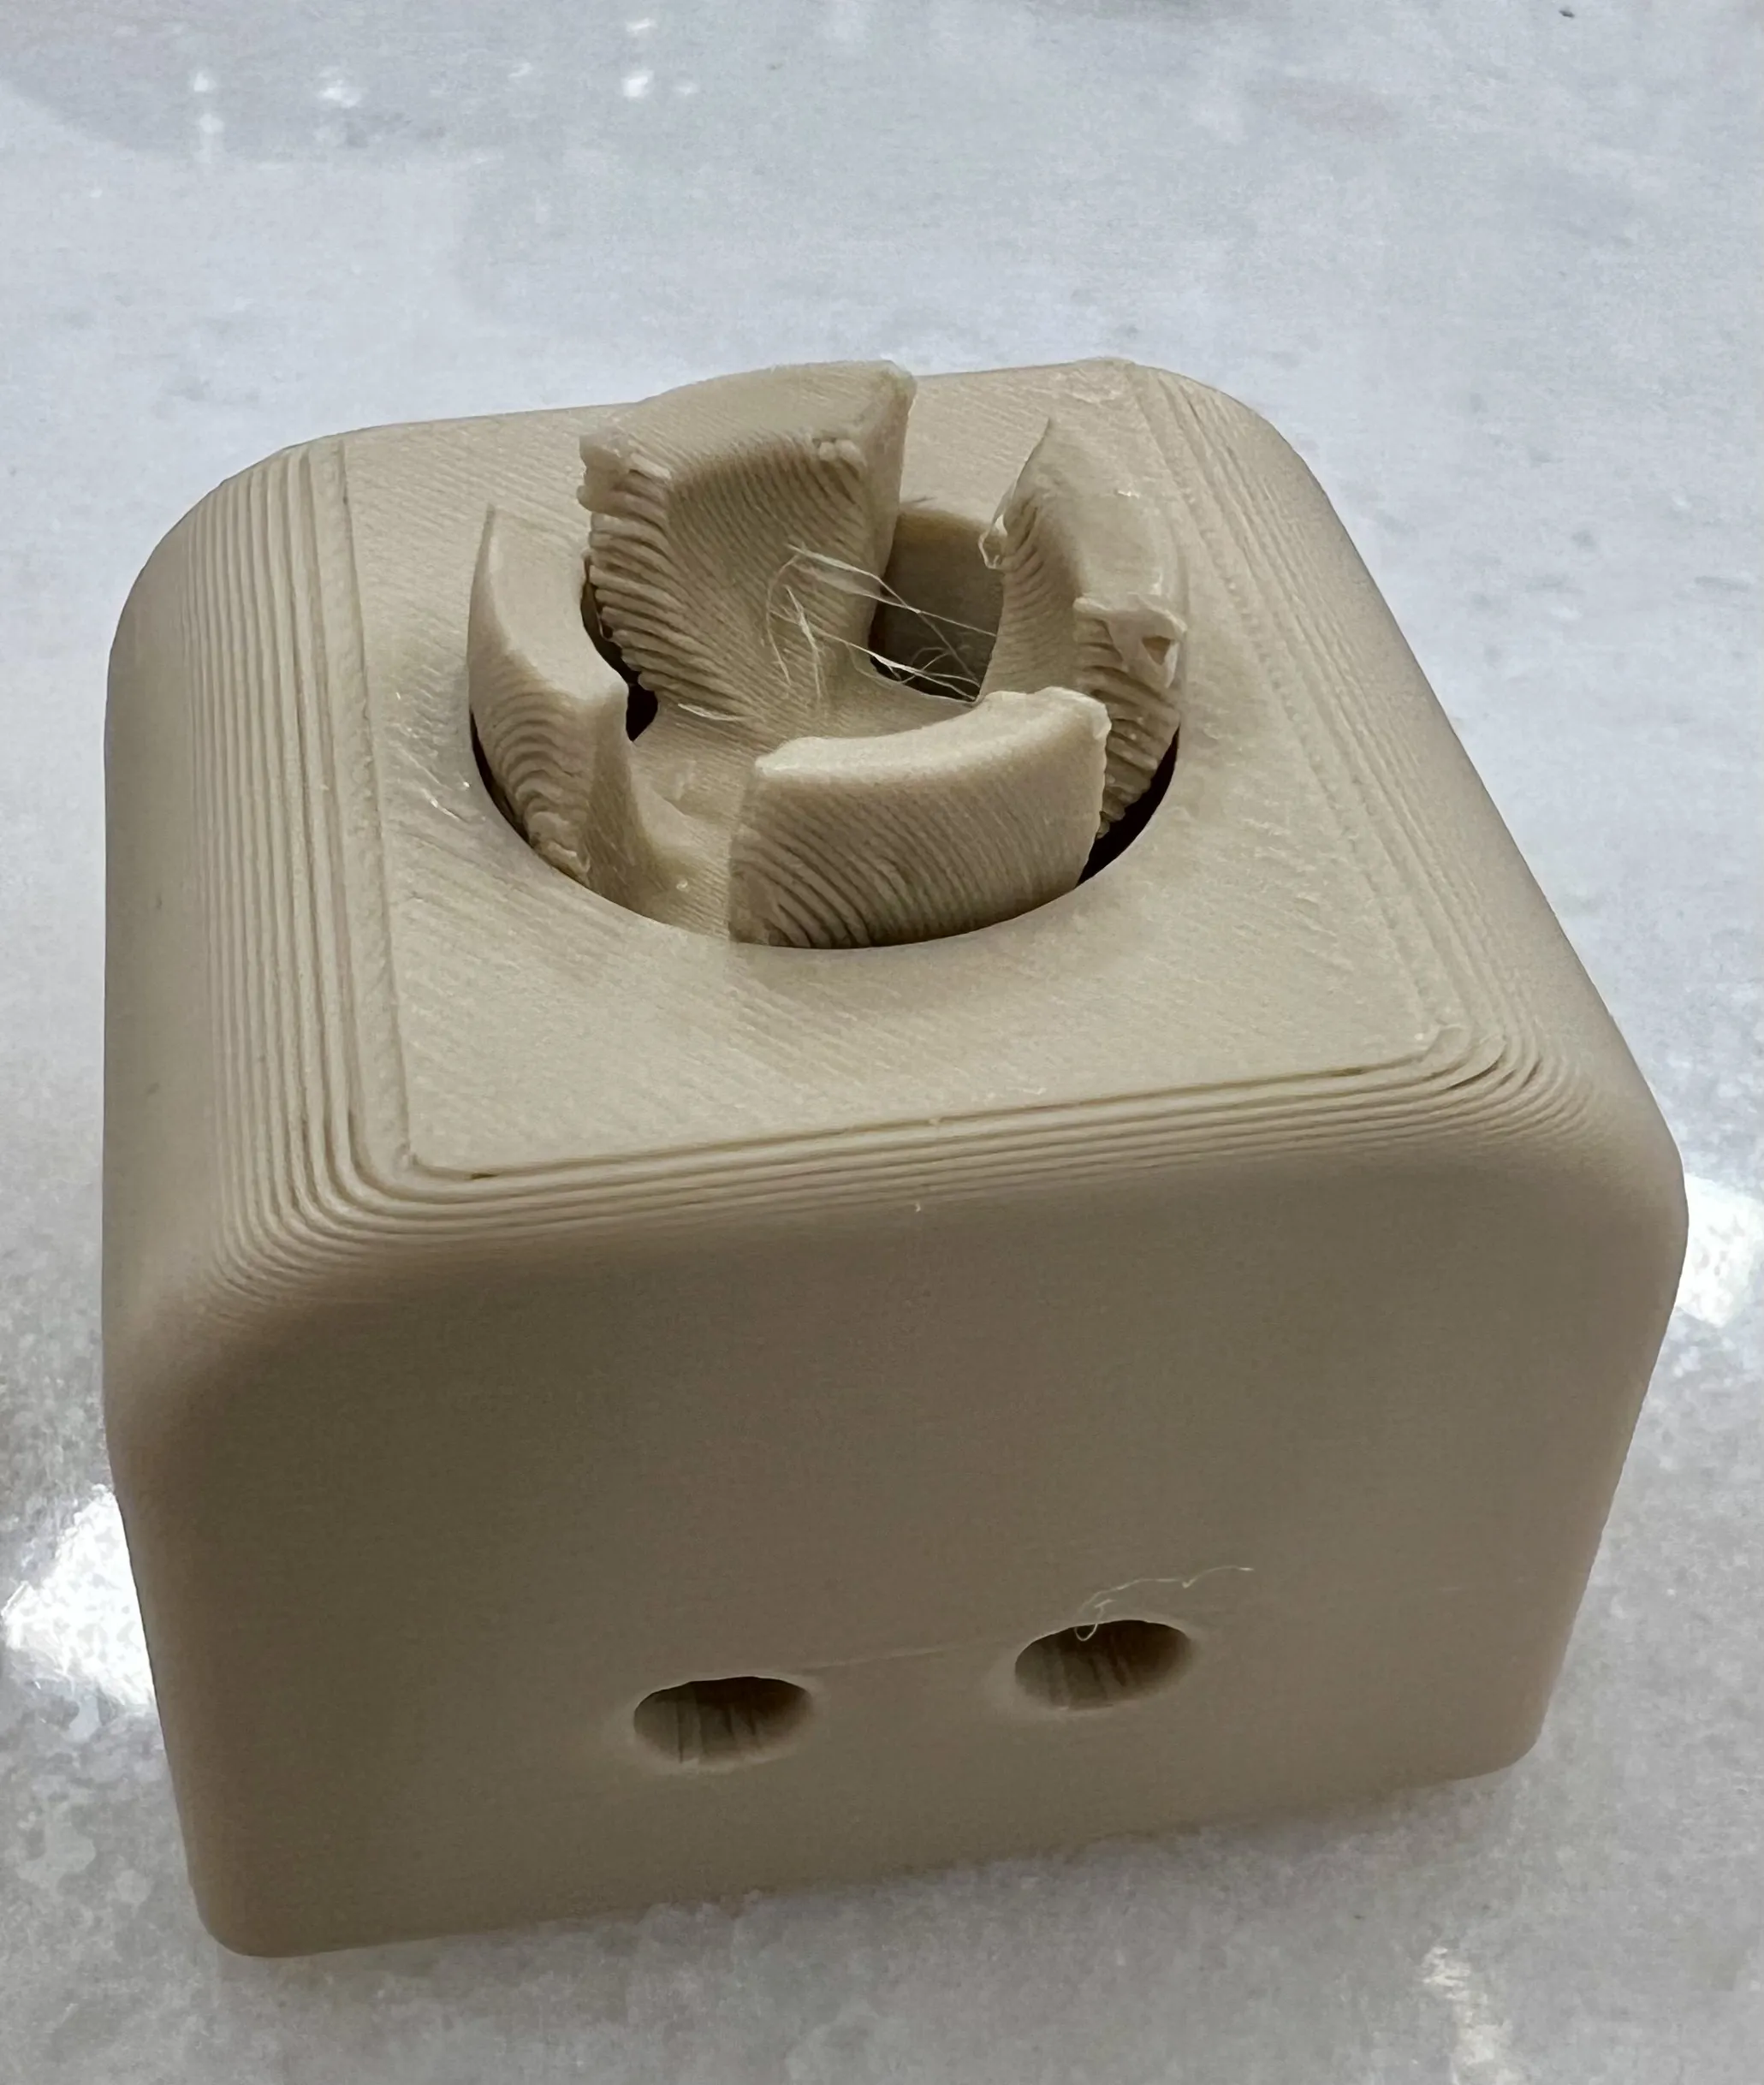
After printing and cleaning parts, screw the socket into the underside of the head just until the claw part of the socket begins going down into the cutout.
Pop the ball (the “neck” part) of the torso into the claw part of the socket.
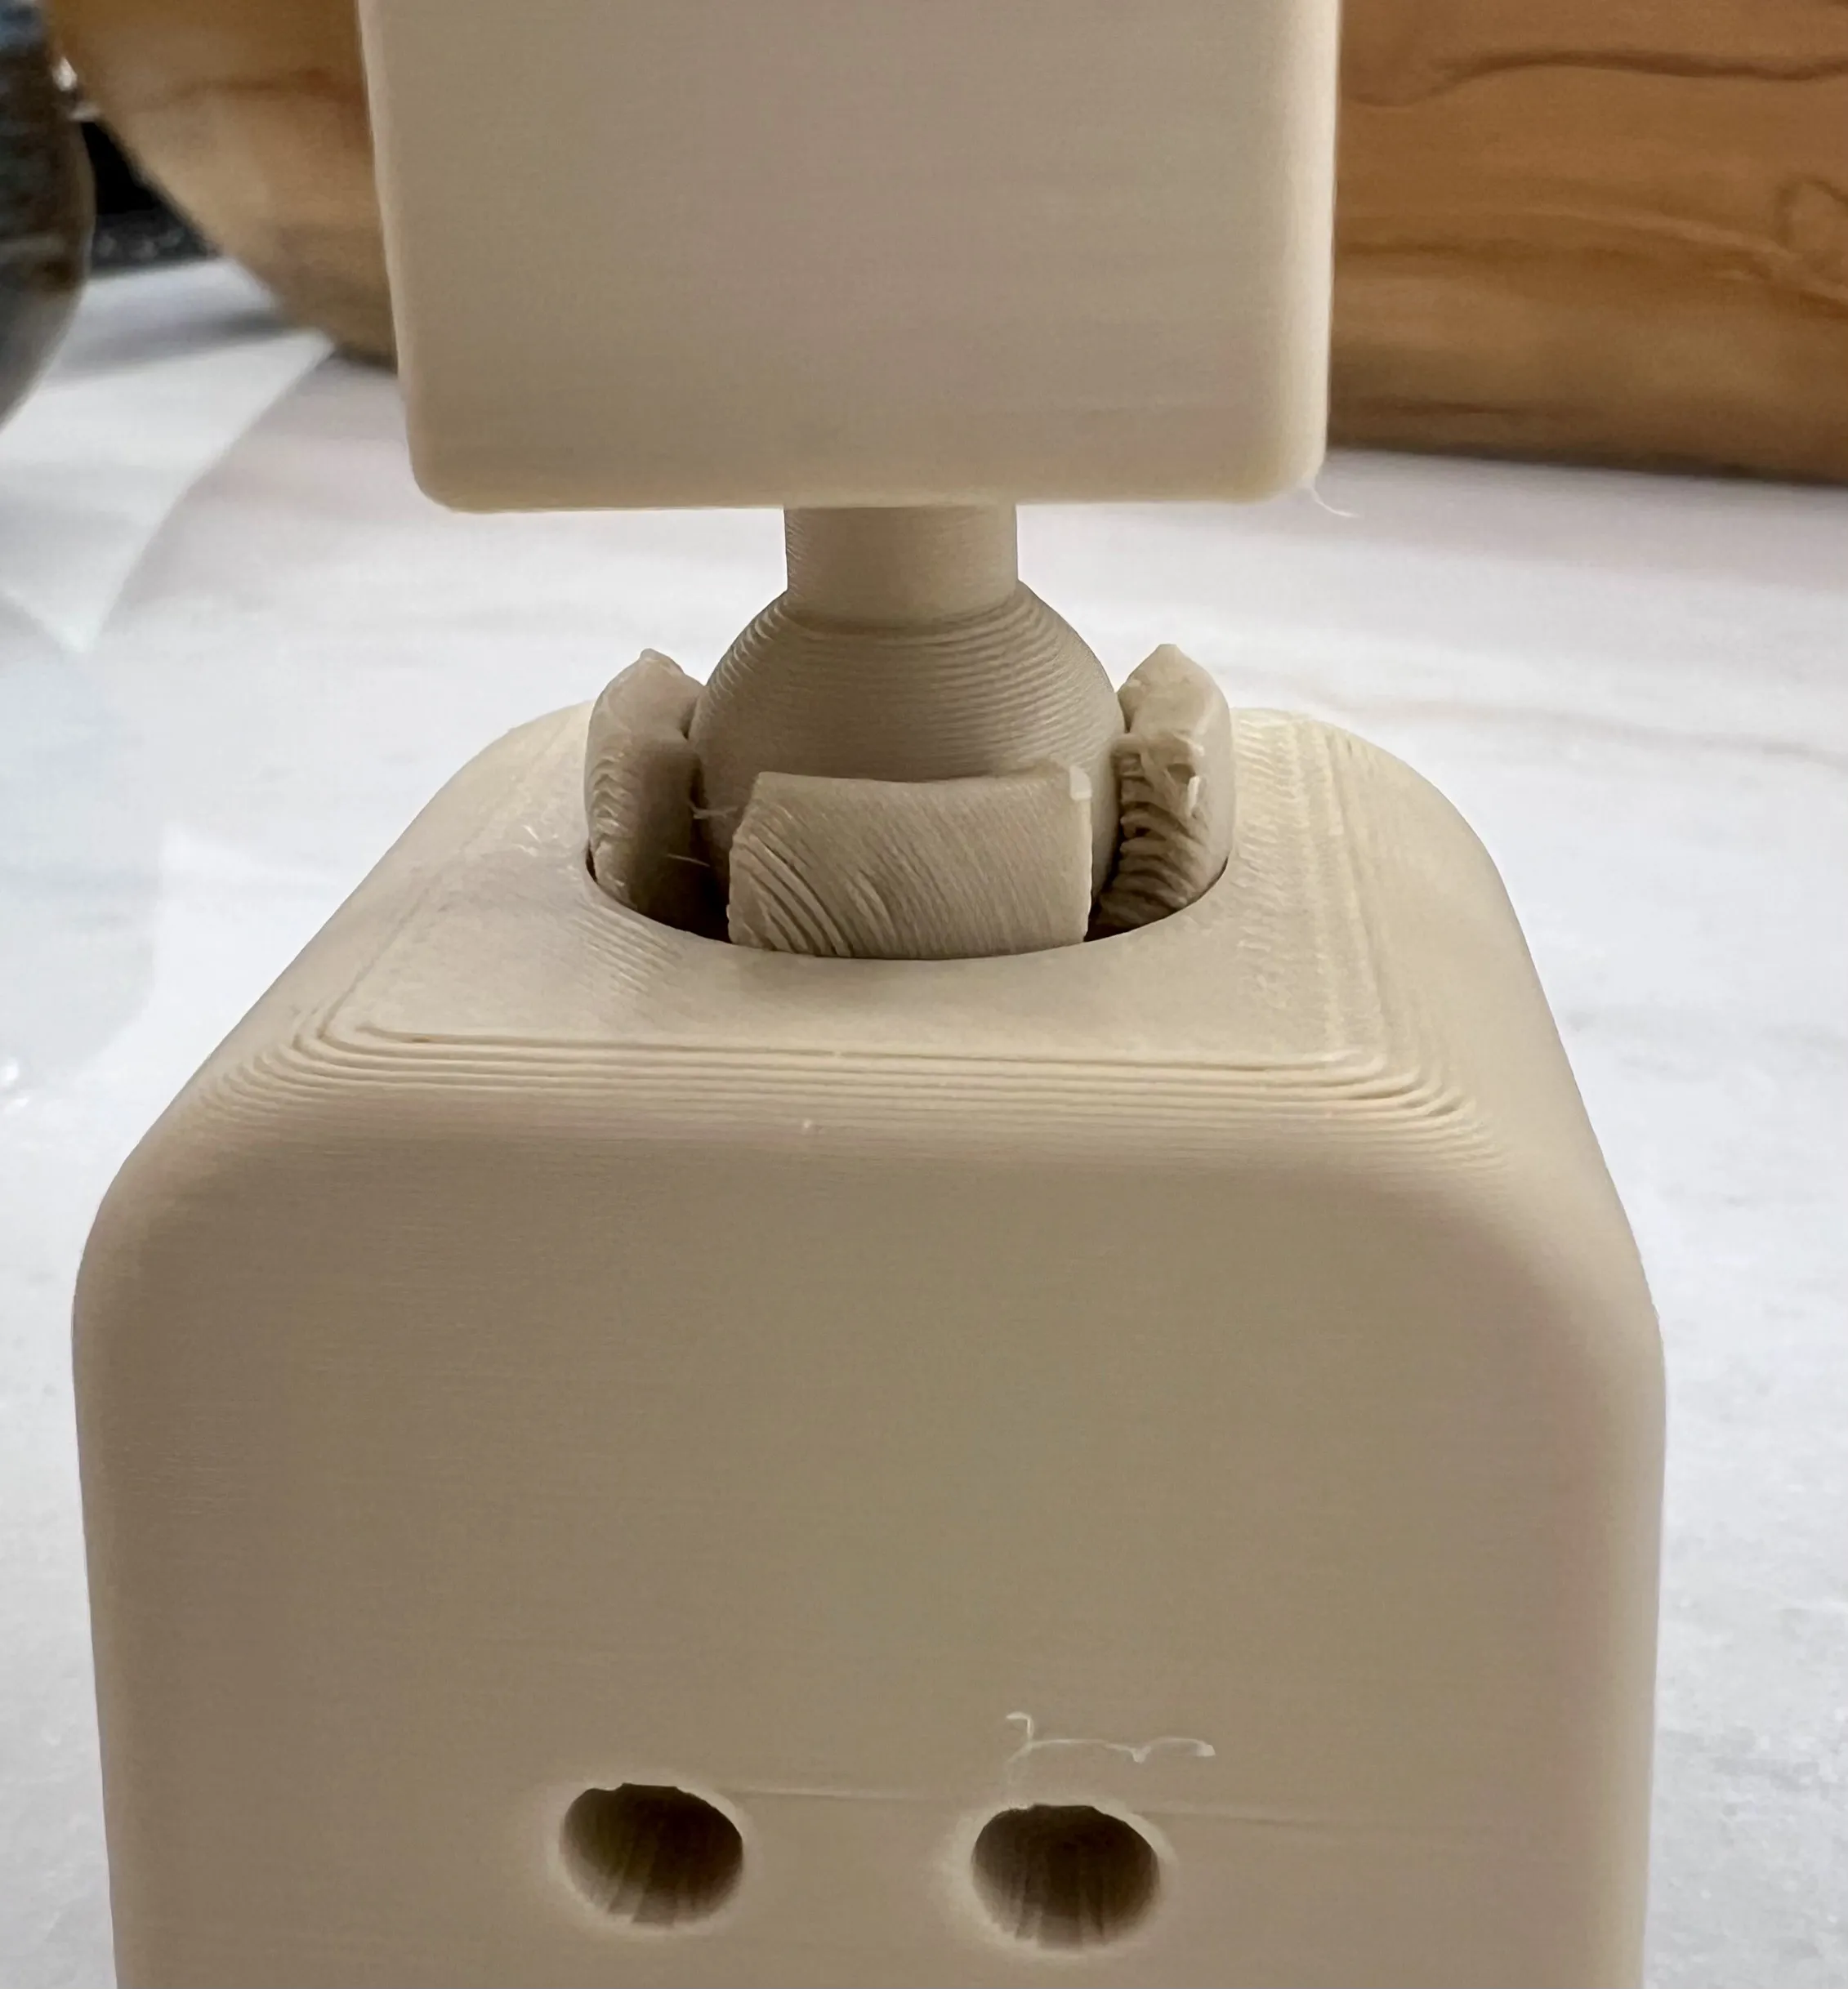
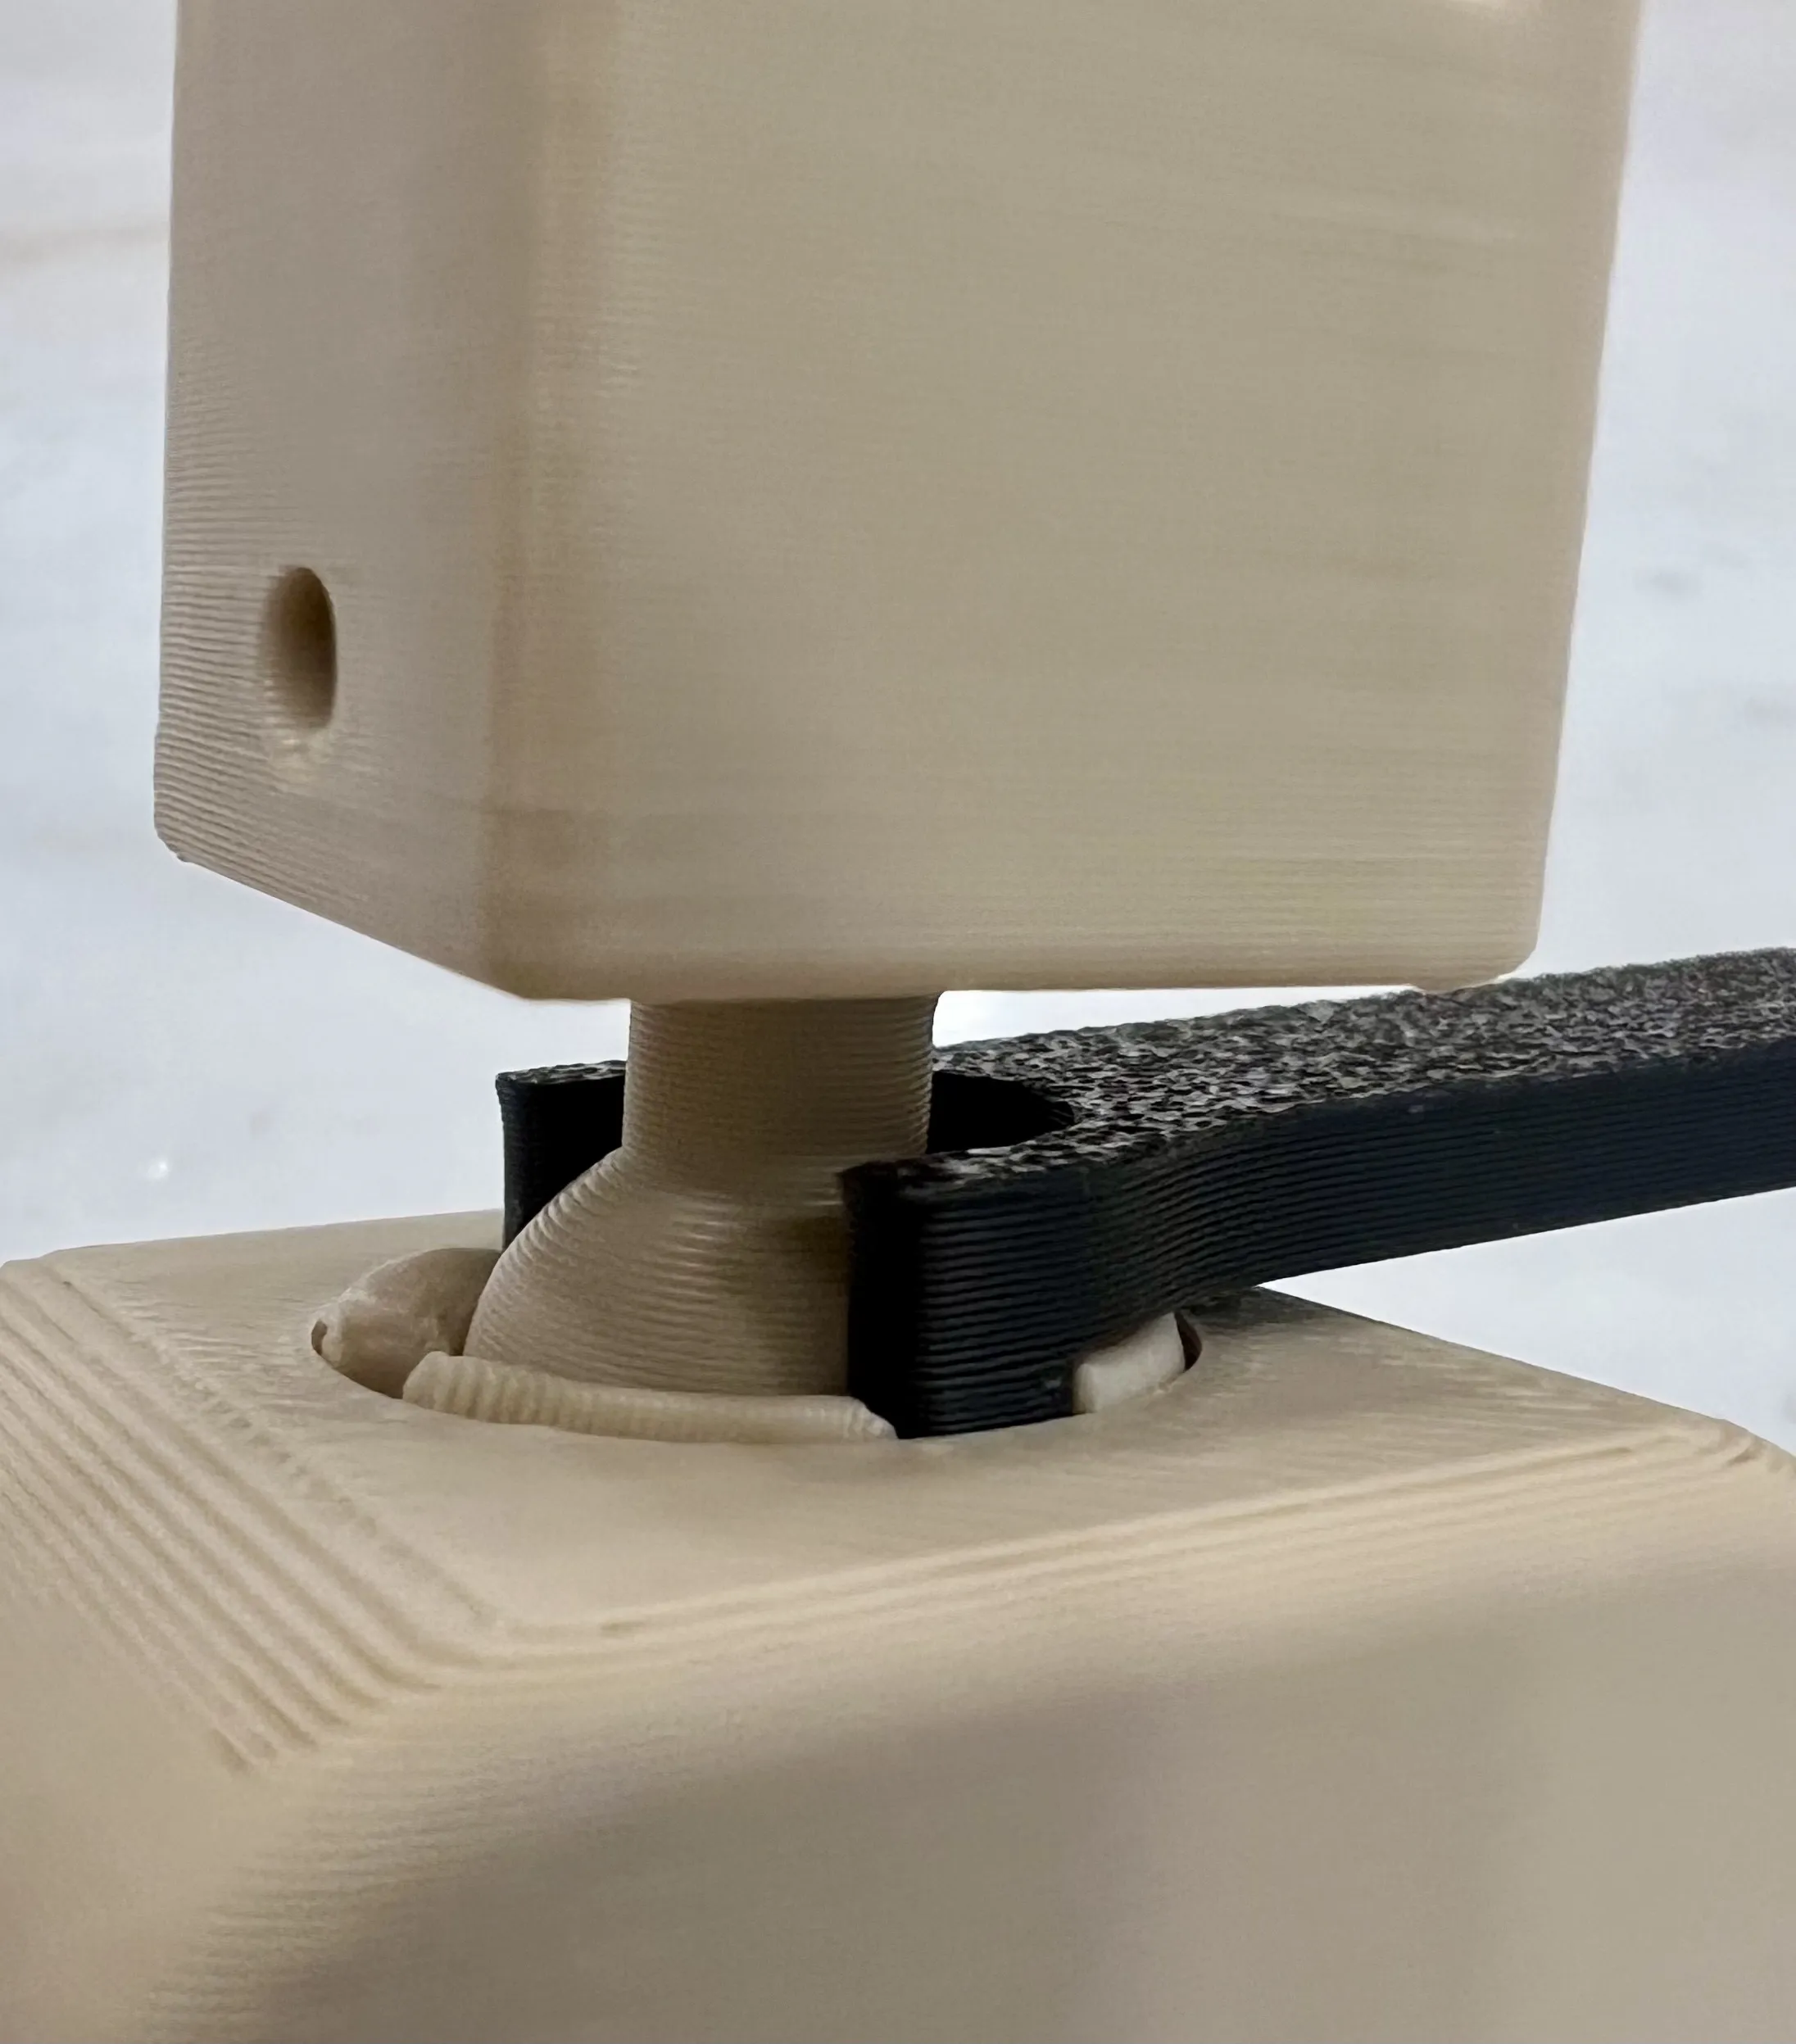
- Holding the torso so that the ball stays in the claw, continue screwing the socket into the head with your fingers.
Once the socket is nearly all the way in, you'll need to use the tool to continue screwing the socket in so that the top of the socket claw sits flush with the bottom of the head.
- Both Glasses (2x) and Eyes (2x) are included. Insert the combination of your choice into the eye sockets. These do not need to be glued in (in case you want to change them later).
Arms/Legs
- The arms, legs, and torso have small cylindrical cutouts designed to house the end of a 3mm OD spring. For each arm and leg, you will need a tension (or extension) spring, 3mm in diameter (OD), and about 12-15 mm long. The springs for the arms can be shorter, but the legs need that length to bend. You will need 4 springs total (1 each for left arm, right arm, left leg, right leg).
- Dry-fit your springs into each of the 4 holes (1 on each side of the torso, 2 on the front). If it's a tight fit, you can sometimes rotate the spring while inserting. DON'T rotate the spring as though it is a screw (screwing it in). That will cause the diameter of the spring to increase, making it harder to fit. Instead, rotate the other way which will reduce the diameter making it easier to insert.
- If you have springs that fit loosely - that's ok. you're going to glue them in anyway.
- If you have springs with a diameter that is just too large, you can try heating the end of the spring and inserting it while it's hot (no need to glue if done this way). If all else fails, you can try enlarging the holes with a similarly-sized drill bit.
- Remove the springs - if it's a tight fit, remember to rotate the spring in the direction that reduces the diameter while pulling.
- Do the same dry-fit technique for the other end of each spring into the arms and legs.
- Apply a drop of CA glue in each hole and then re-insert each spring into the torso.
- For each arm and leg, apply a drop of CA into the hole and insert it onto the protruding end of the spring. Make sure that the arm/leg is positioned properly before letting the glue dry.
If you ended up getting glue on the springs where you didn't want it - don't try to pull the springs to separate the coils, as that will likely overstretch them. Instead, let the glue dry completely, then use a razor blade or xacto knife inserted between each coil to crack the glue bond.
License

You shall not share, sub-license, sell, rent, host, transfer, or distribute in any way the digital or 3D printed versions of this object, nor any other derivative work of this object in its digital or physical format (including - but not limited to - remixes of this object, and hosting on other digital platforms). The objects may not be used without permission in any way whatsoever in which you charge money, or collect fees.


Comment & Rating (6)