
Vertical Plate Rack
Print Profile(1)


Description
Boost Me (for free)
If you appreciate my work and would like to see more of these projects in the future, feel free to support me with a free boost. Thank you so much!
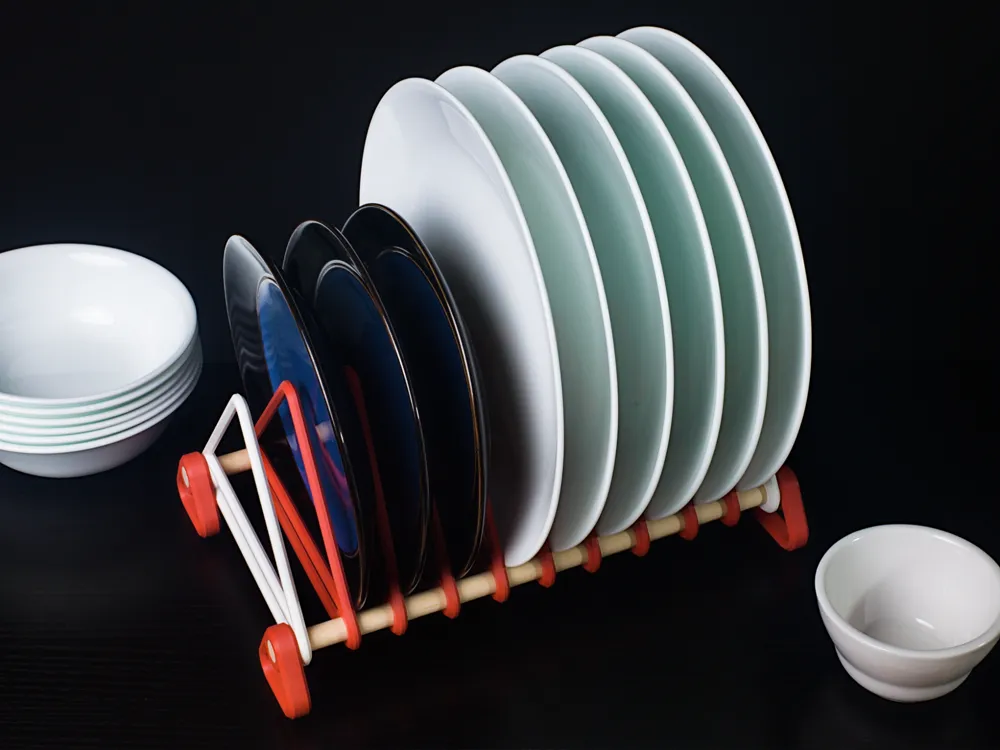
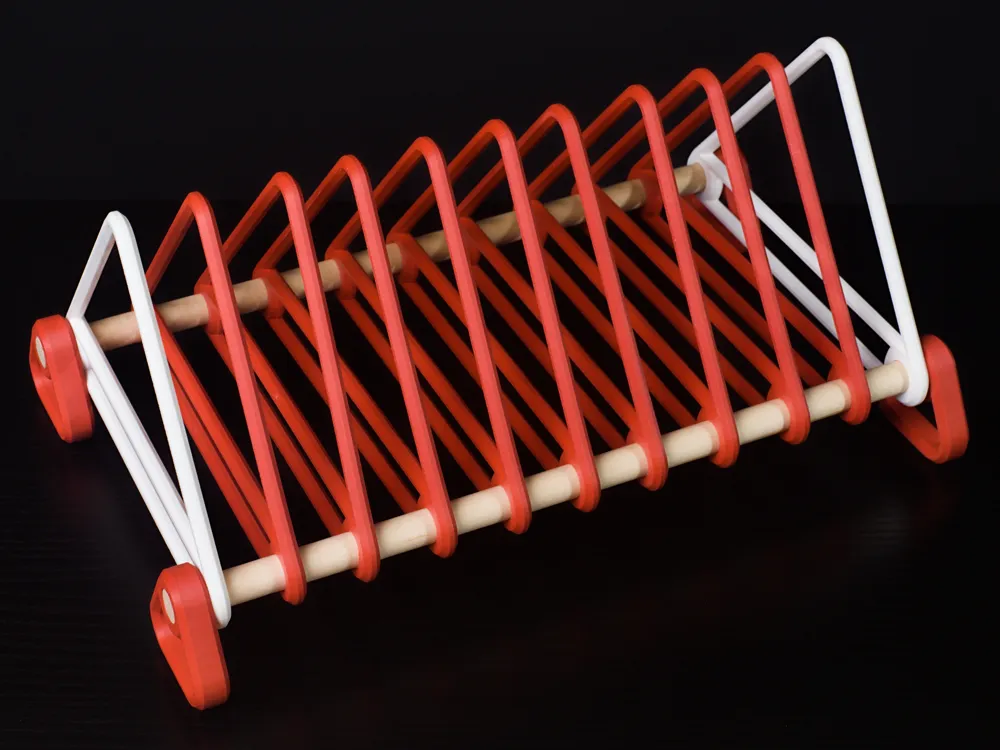
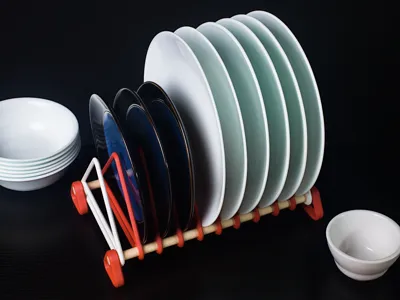
As a somewhat recent new homeowner, I have found myself with the good fortune of having a kitchen with an incredible amount of storage options for the first time in my life. As such, I wanted to take advantage of the storage and try to maximize my own kitchen workflow. Enter the vertical plate rack, a customizable rail system for all your vertical storage and organization needs. I wanted to build a system that could adapt if I purchased more dishes or changed my kitchen layout.
Now, this system isn't necessarily about maximizing space efficiency (it's hard to beat a simple stack of plates for that!). Instead, its true value lies in providing an at-a-glance inventory of your cabinets. If I see an empty slot, I know instantly that a plate or lid has gone rogue somewhere in the house and likely needs a wash. It’s a simple, visual way to keep track of everything.
Features
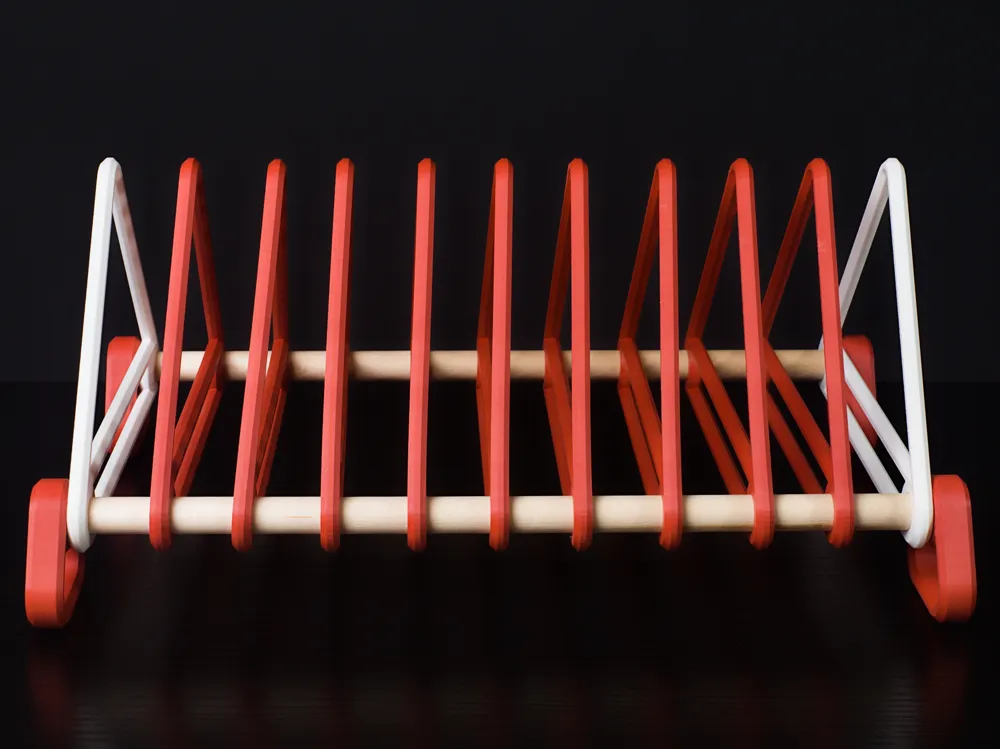
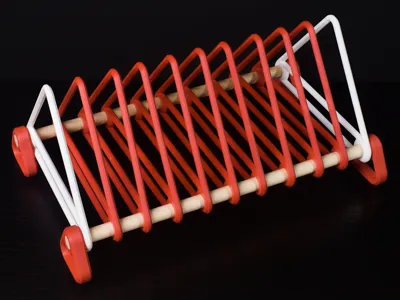
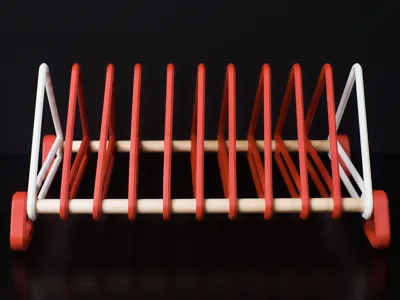
- Customizable: Build it to your exact needs. Add as many or as few dividers as you require, spaced precisely for your items.
- Versatile: Use it outside the kitchen for organizing paperwork, vinyl, or even 3D printer bed plates.
Required Hardware
To build one 12-inch-long unit, you will need the following:
Assembly Instructions
- Slide on the Dividers: Guide your preferred number of dividers onto the two wooden dowel rods. Please note: The tolerance of the holes on the dividers is intentionally designed to be extremely tight. This ensures the final assembly is rigid and sturdy, so be patient during this step!
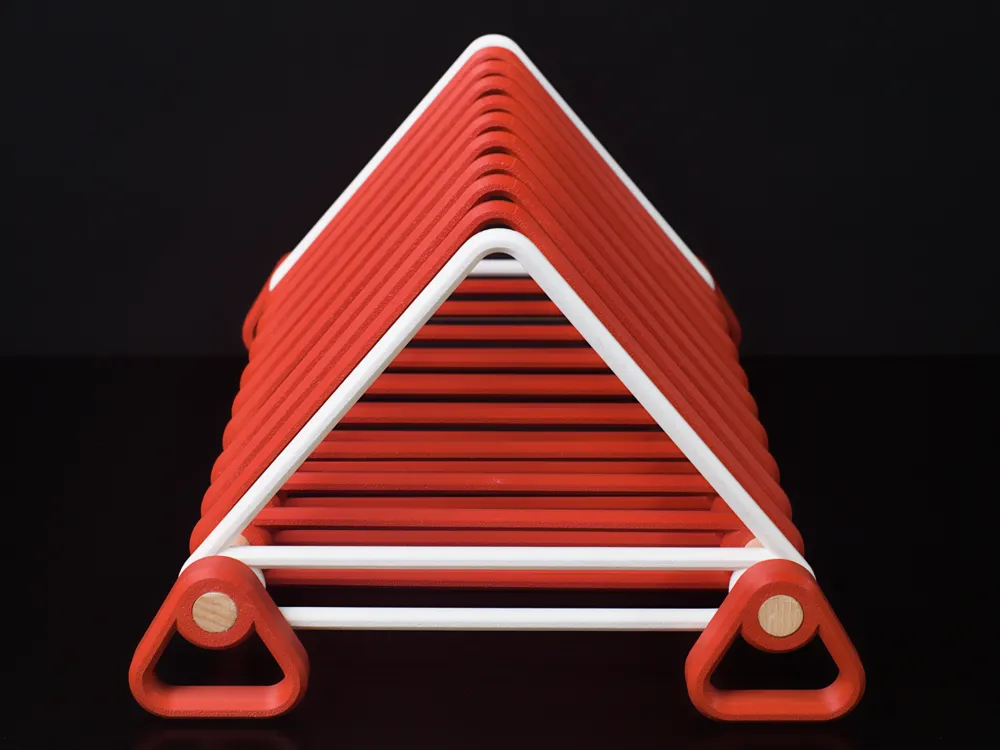
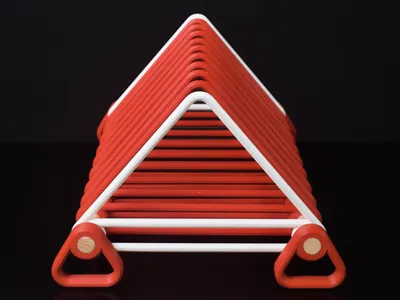
- Attach the Feet & Fine-Tune the Fit: Slide the feet onto the ends of each dowel rod. Since the diameter of wooden dowels can vary slightly, you may need to make a small adjustment for a perfect connection. If the fit is too loose, wrap a little tape around the end of the rod. If it’s too tight, gently sand the rod down. You’re aiming for a snug friction fit that holds firm without breaking anything.
Leftover Parts?
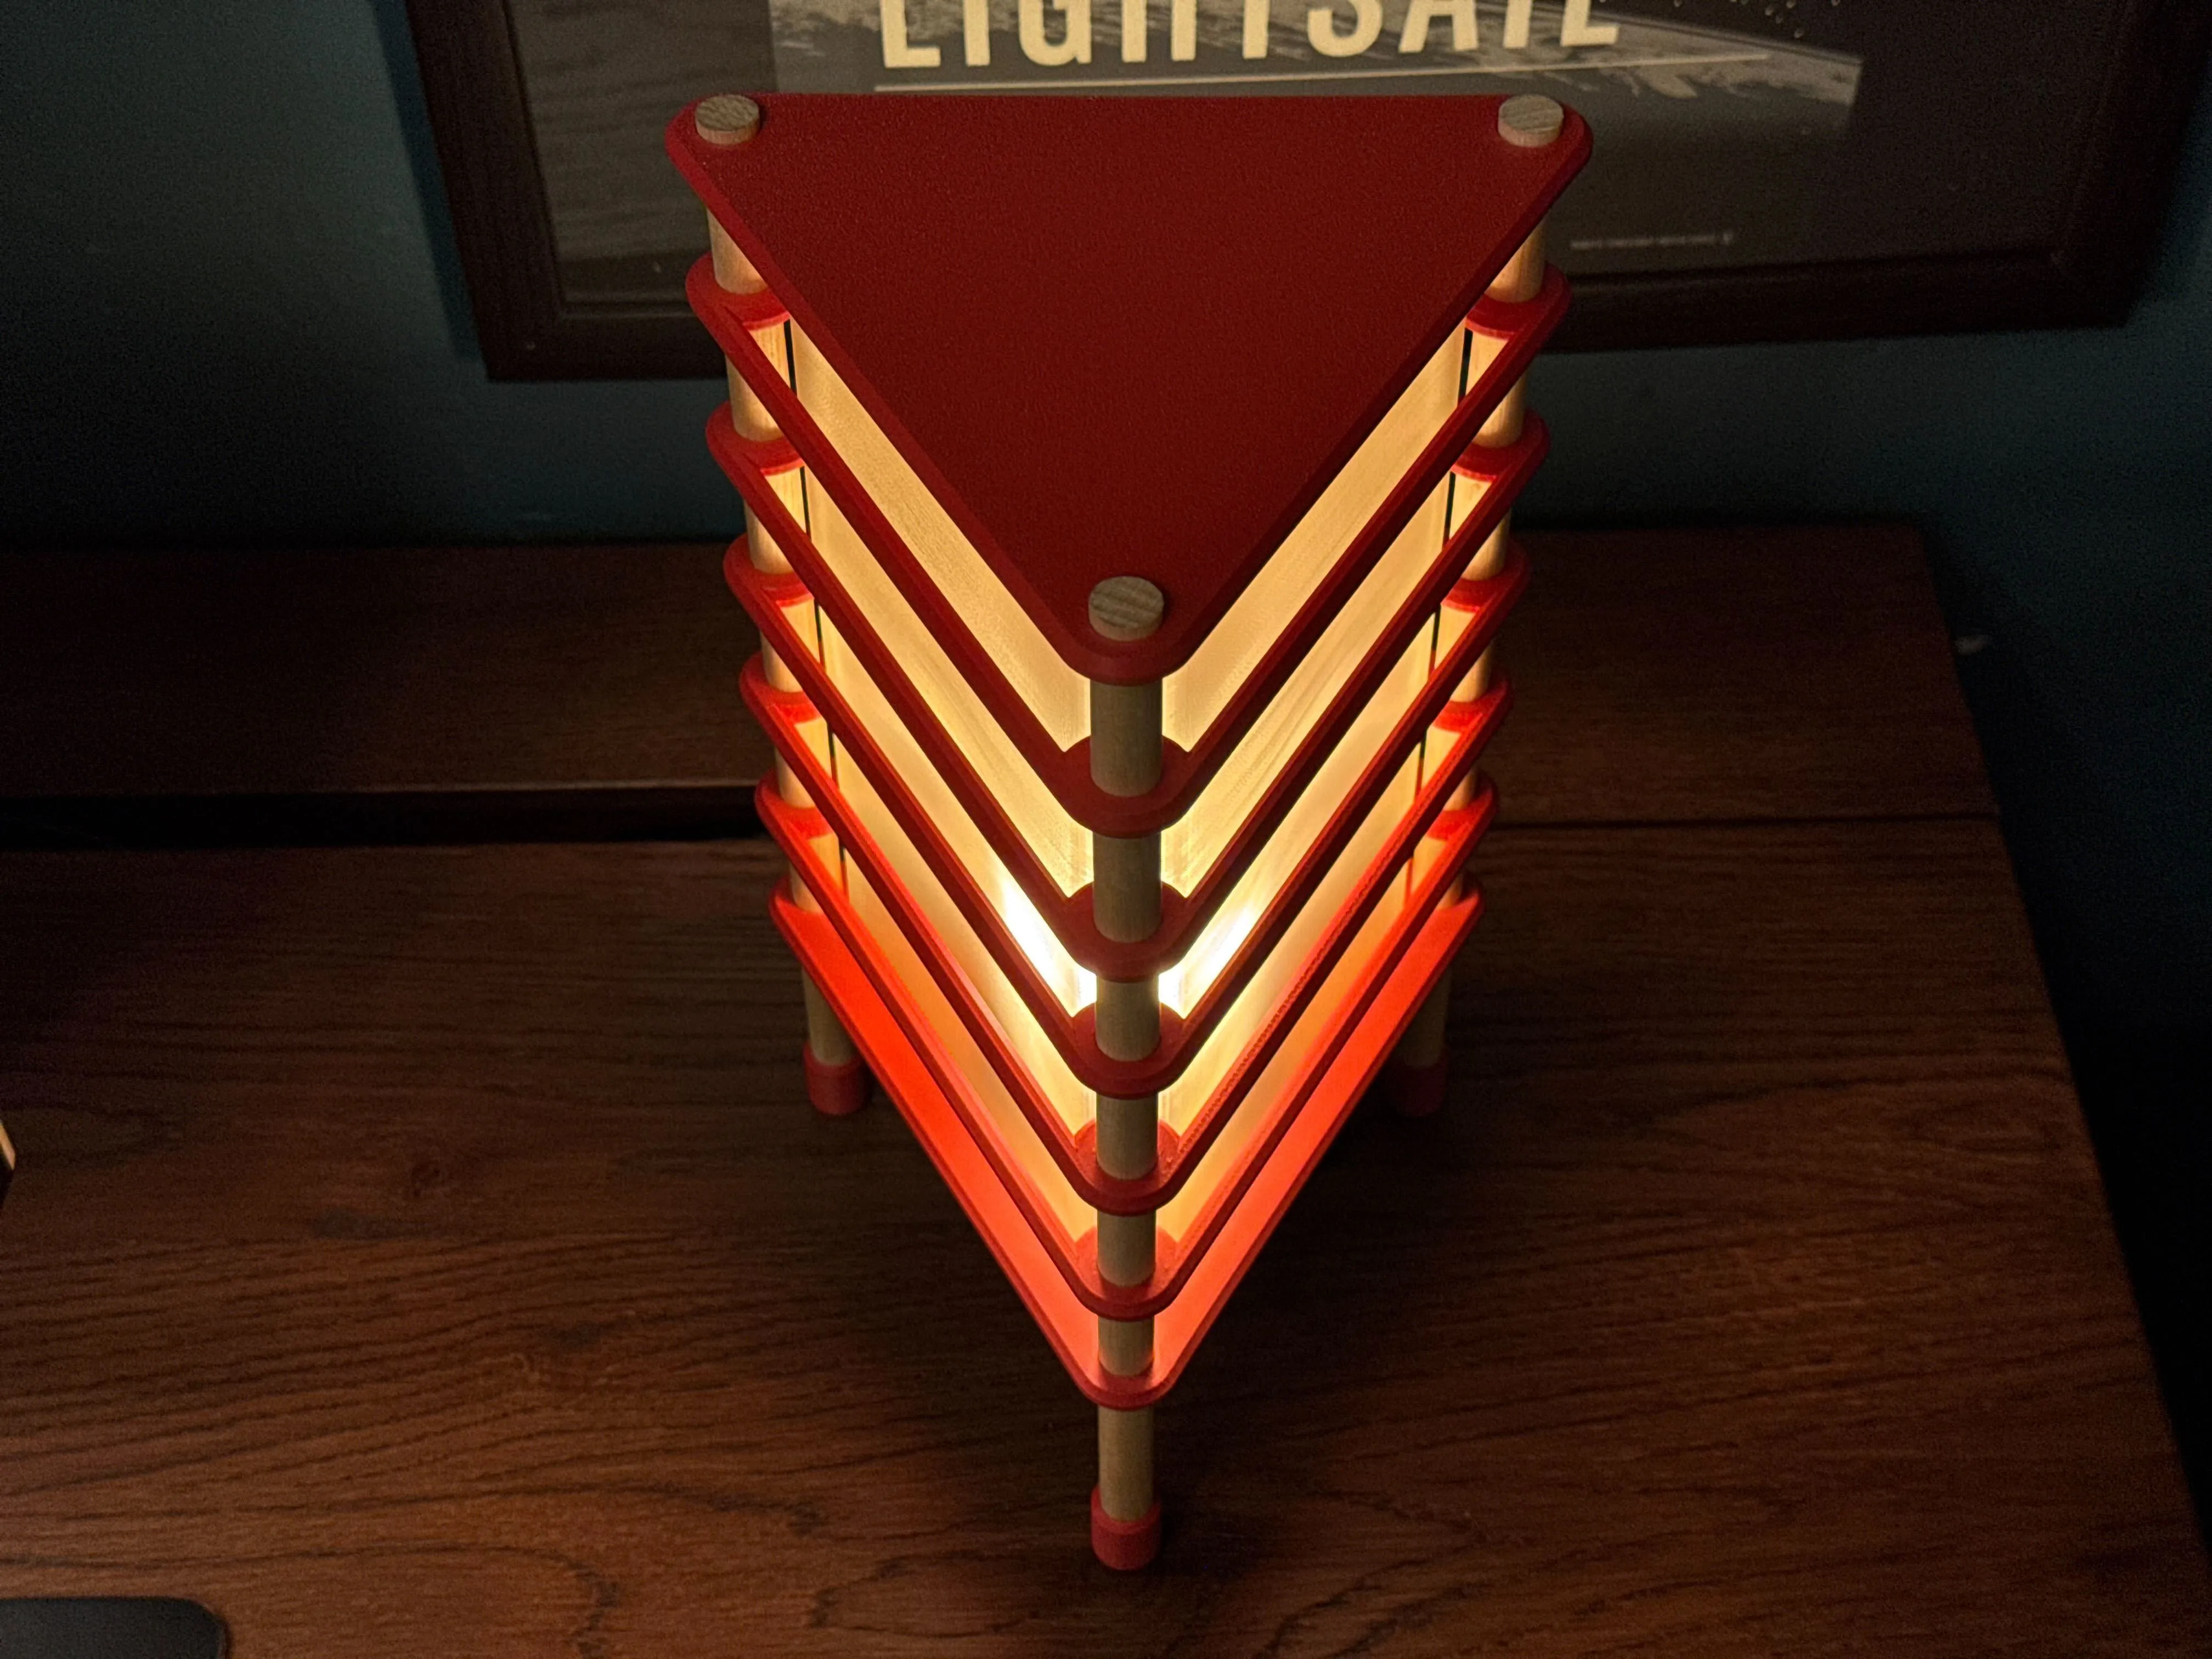
Check out some of my other projects that utilize the same hardware so you can use up your spares!
Boost Me (for free)
If you appreciate my work and would like to see more of these projects in the future, feel free to support me with a free boost. Thank you so much!
License

You shall not share, sub-license, sell, rent, host, transfer, or distribute in any way the digital or 3D printed versions of this object, nor any other derivative work of this object in its digital or physical format (including - but not limited to - remixes of this object, and hosting on other digital platforms). The objects may not be used without permission in any way whatsoever in which you charge money, or collect fees.


Comment & Rating (15)