ALTERNATOR FOR SCHOOL PROJECTS


Print Profile(1)

Description
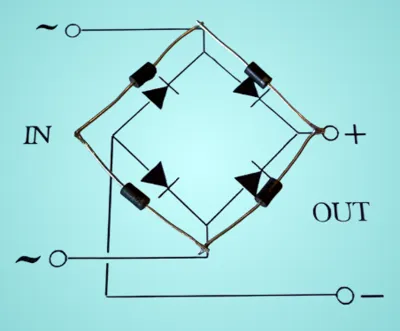
This is a working alternator model built for demonstration purposes. To build it, I used two 15x6mm neodymium magnets with a 6mm hole (https://www.mtsmagnete.de/it/magnete-ad-anello-15x6mm-foro-da-6mm-grado-n45-magnetizzazione-assiale/a-2438, I couldn't find the magnets I used on Amazon), a rectifier circuit (you can make one by soldering together four diodes as shown in the photo), and 0.3mm thick copper wire (Amazon-urly.it/31bz47- it doesn't matter how many turns you make per coil, as long as they're the same, at least 40m in total). To assemble it, you need to wind the copper along the coils and fit them into the holes. Then, you need to insert the magnets into the main shaft, the shaft into the bearings, and then the bearings into the holes. Finally, insert the small gear into the protruding part of the axle. After doing this, insert the axle of the large gear into the hole below the small gear and secure it with the brake. I recommend grease the moving parts for greater smoothness. Congratulations, you've built your demo alternator!!! You're welcome to share any questions or suggestions for improvements to the project.
Comment & Rating (3)