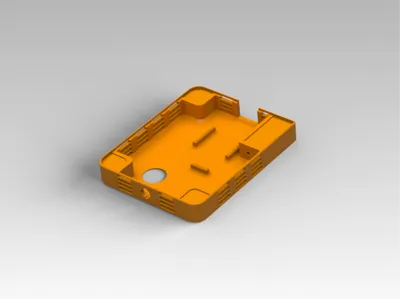
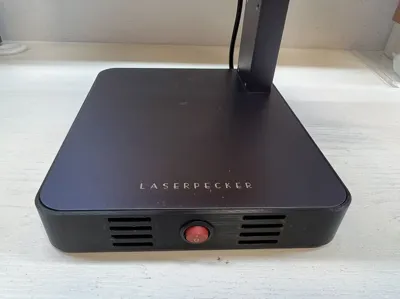
LaserPecker2 Power Base Modification


Print Profile(1)

Description
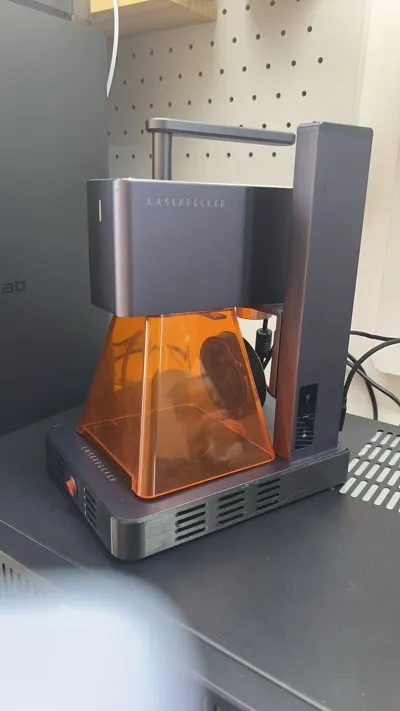
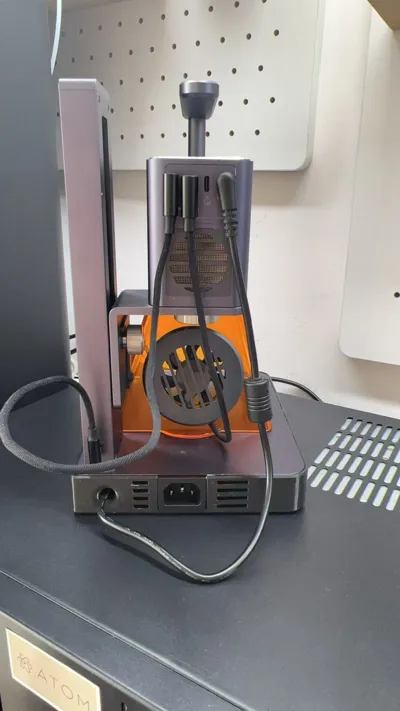
The power supply for LaserPecker2 is a separate power adapter. Every time I need to use it, I have to spend a long time managing the cables, and it's inconvenient to store, which is annoying.
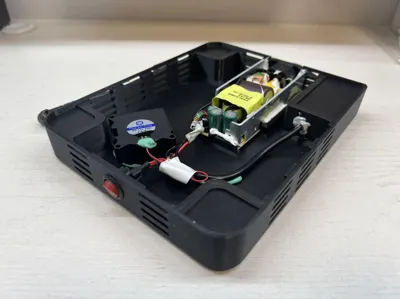
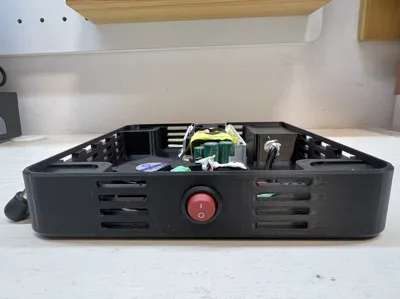
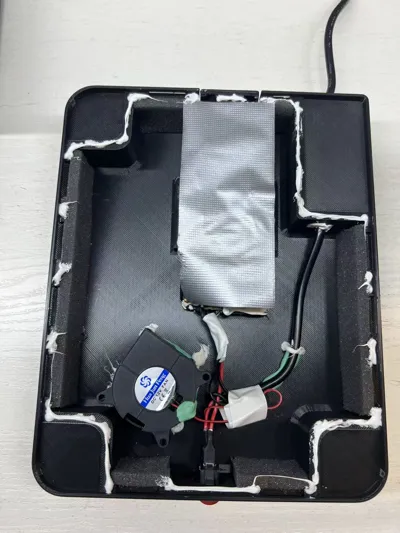
I made a power base, cut open the original adapter, put the circuit board inside, added a switch, rewired it, placed a fan to enhance heat dissipation, and finally cleaned the base plate and glued it securely with silicone!
Modification Notes:
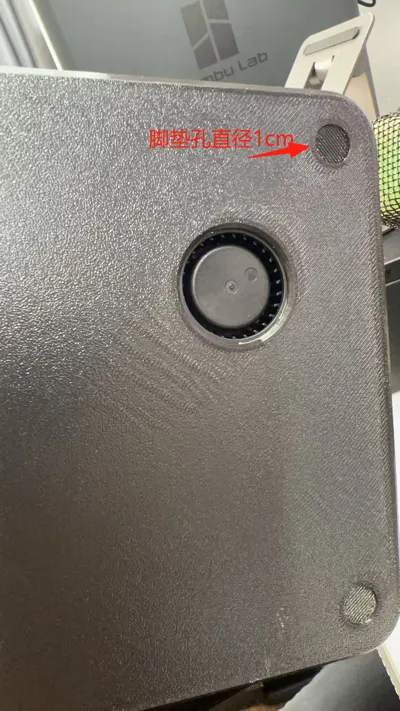
1. The base plate has cooling holes. If you install a turbine heatsink, you'll need to increase the height. Therefore, it's designed with footpad holes, and you'll need to buy 1mm diameter, 4mm high rubber footpads to stick into the holes.
2. Ensure the top of the adapter is well insulated to prevent contact with the aluminum base plate, which could electrify the casing.
3. Fully discharge the adapter before disassembling it. The large capacitors inside can give quite a painful shock /(ㄒoㄒ)/~~
4. Since I didn't anticipate the top sidewall of the three-pin power port being thick, you just need to cut off a small part with a knife; it won't affect the aesthetics.
5. The support for the power cord hole is difficult to remove. If necessary, you can use a Phillips screwdriver and a small hammer to knock it out.
License
You shall not share, sub-license, sell, rent, host, transfer, or distribute in any way the digital or 3D printed versions of this object, nor any other derivative work of this object in its digital or physical format (including - but not limited to - remixes of this object, and hosting on other digital platforms). The objects may not be used without permission in any way whatsoever in which you charge money, or collect fees.
Comment & Rating (0)