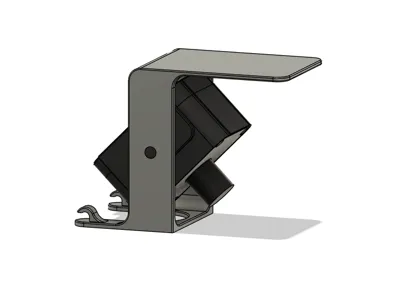
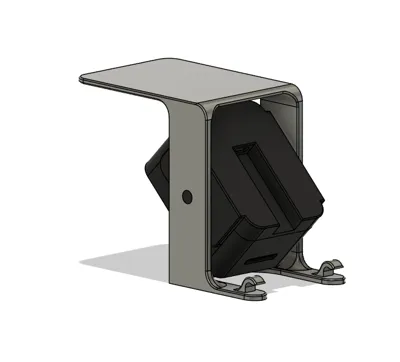
Eufy Camera Custom Housing


Print Profile(1)

Description
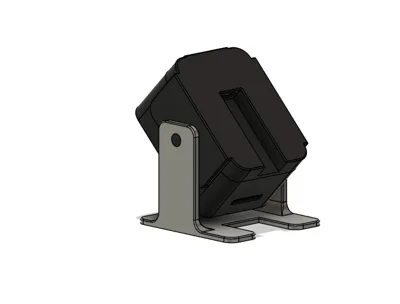
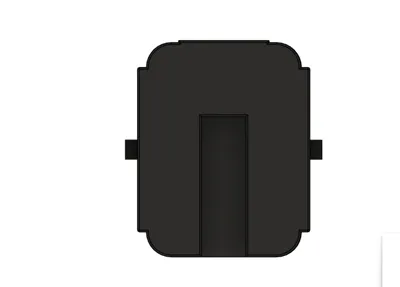
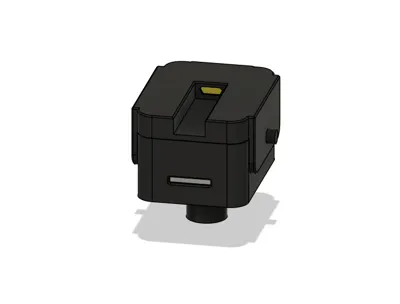
Designed for this camera.
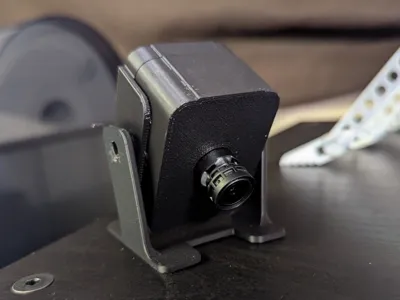
I made a custom housing for my Eufy Indoor Cam Pan and Tilt so that I could use it for my printer. I didn't want the pan/tilt features or the speaker/microphone enabled because these aren't the most secure cameras. I removed all those things and made a smaller stationary housing. All the wifi, streaming, notifications and homebase storage functionality still works.
Boost Me (for free)
Please consider boosting :)
If you like this model and would consider boosting, it not only feeds my printing obsession (by helping to purchase filament) but I'd also be flattered and immensely grateful for your support. If you're not inclined to do so, that's totally ok too. You're still a cool person and I appreciate you. Either way, I hope you enjoy!
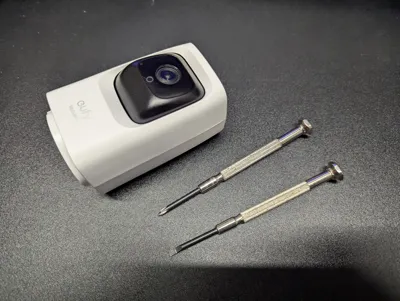
To remove the camera sensor and usb charging board you'll need the following:
- Phillips terminal driver and a small pry tool:

- Remove bottom screw (1) and pry bottom off (2):

- Remove 2 phillips screws (3) for usb charging board and save them for later. Remove the two smaller screws (4) holding the housing together:

- Pry the housing apart (5):

- Unplug the 3 connectors (6) for the motors and speaker. Remove the 4 screws (7) holding on the camera board:

- Trim back the pins (8) that make the connection to the microphone / IR board. Make sure they're shorter than the black plastic thingy (9) on the camera board.

- Discard all other parts
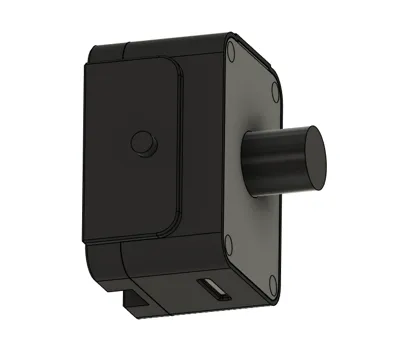
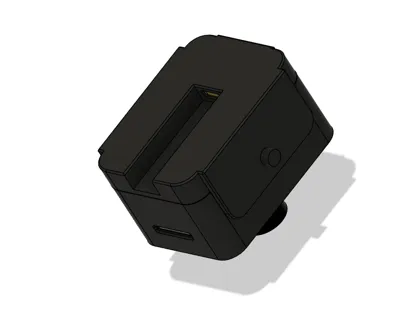
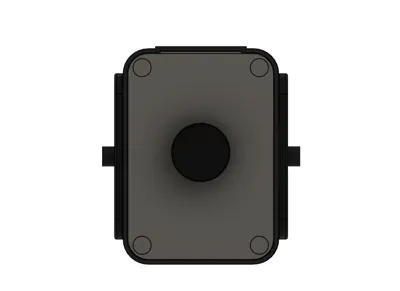
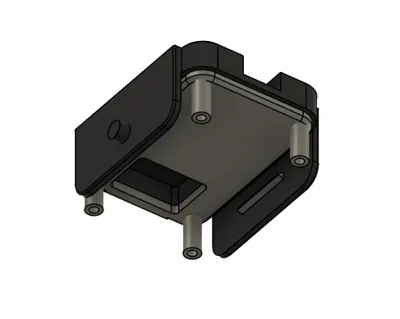
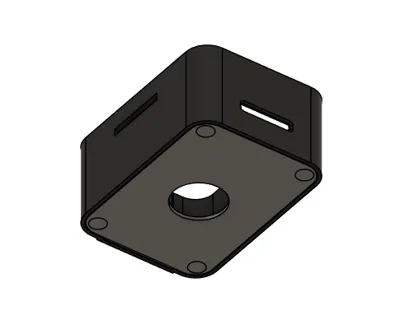
- Install the main camera board into the front cover of the new housing, making sure to align the SD card slot. The board will seat on the pins.
- Install the usb charger board into the back cover using the 2 phillips screws you removed from the original housing.
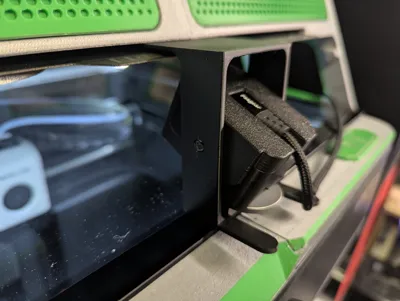
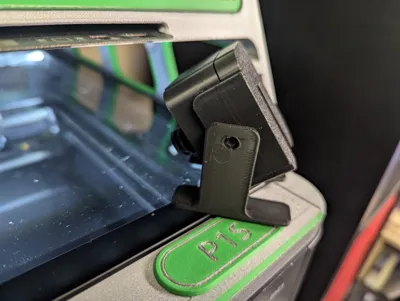
- Snap the front and back covers together, making sure they go on straight and the pins mate properly. Snap the camera into your choice of stand.
Done. Enjoy!
License
You shall not share, sub-license, sell, rent, host, transfer, or distribute in any way the digital or 3D printed versions of this object, nor any other derivative work of this object in its digital or physical format (including - but not limited to - remixes of this object, and hosting on other digital platforms). The objects may not be used without permission in any way whatsoever in which you charge money, or collect fees.
Comment & Rating (0)