
Yeelight Controler replace
Print Profile(1)

Description
Boost Me (for free)
Boost me if you appreciate this design! Your support is invaluable!
Boost Me (for free)
Boost me if you appreciate my design! Your support is greatly valued!
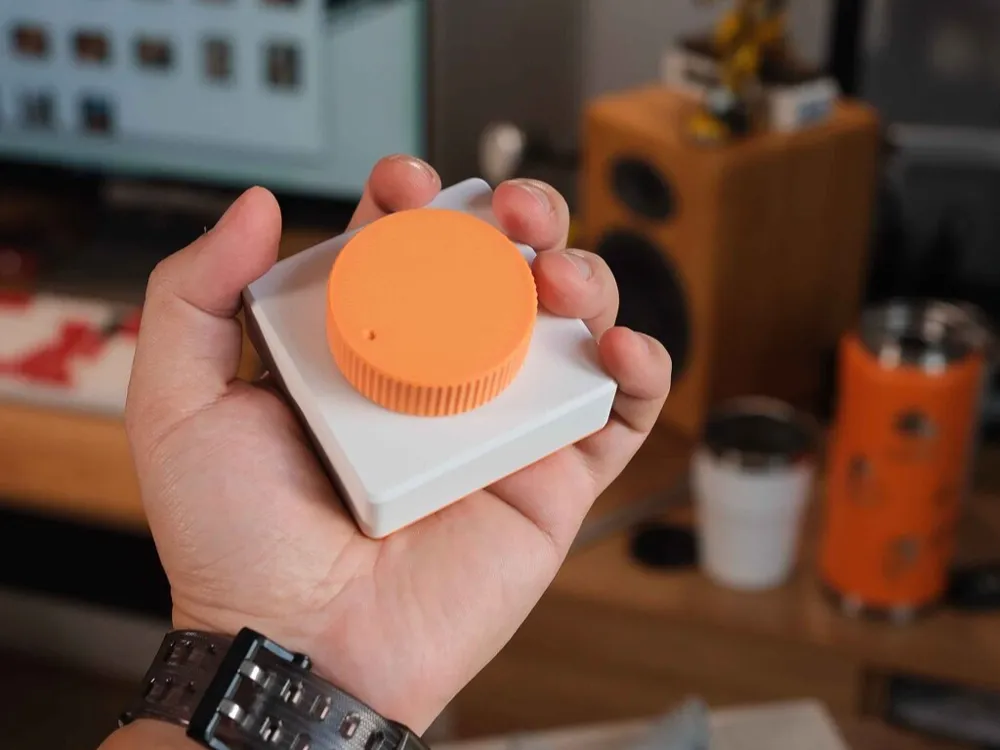
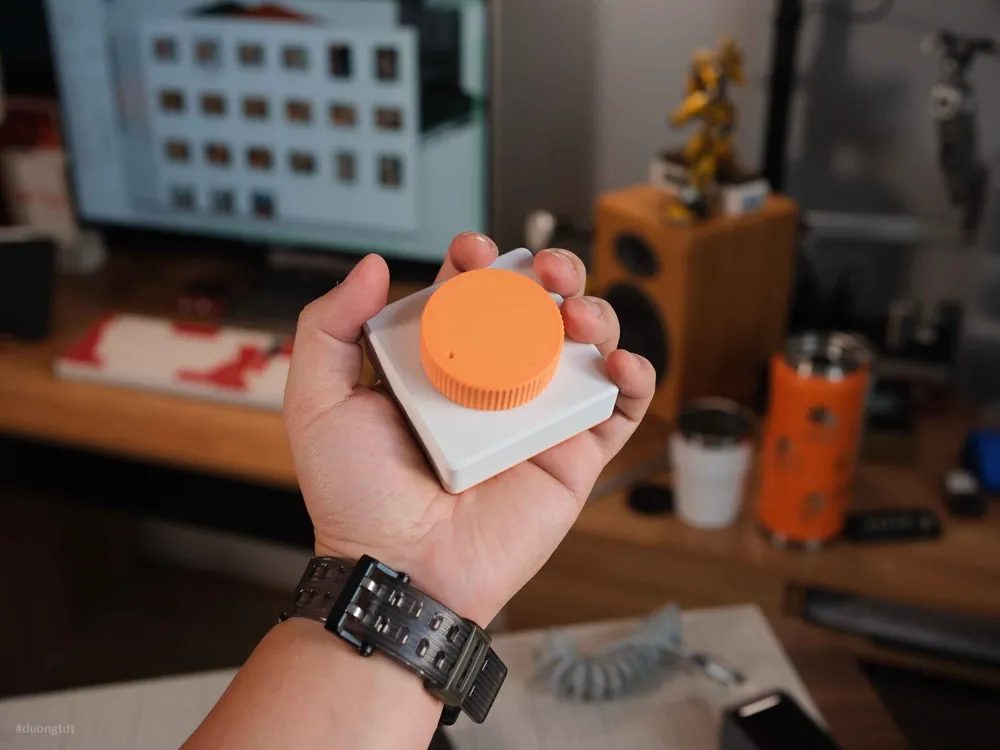
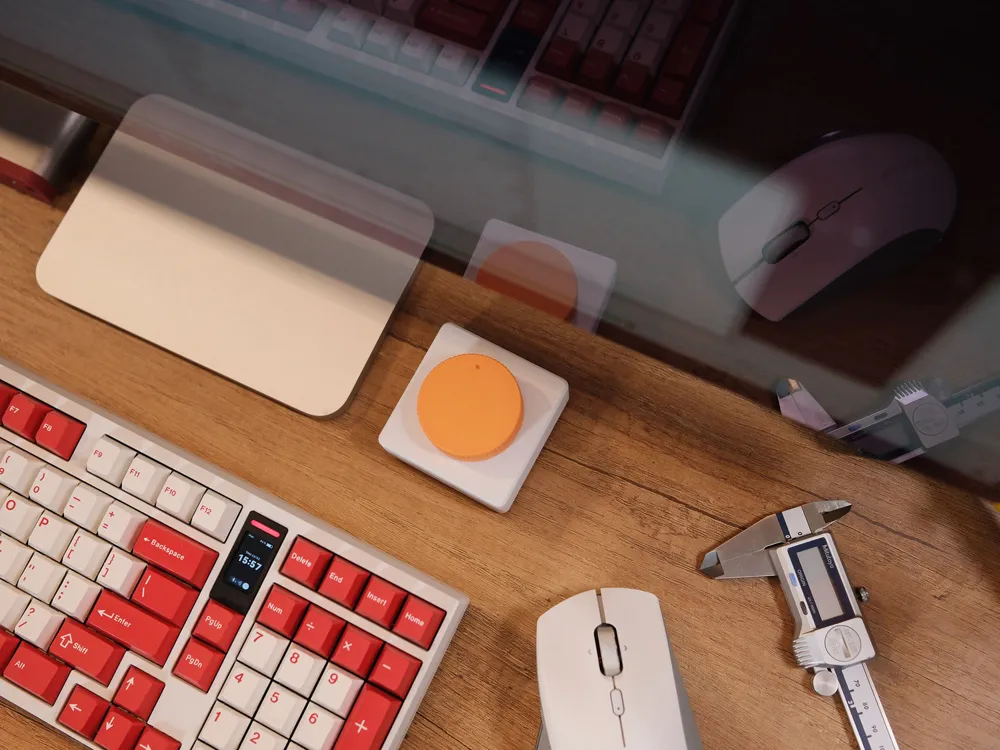
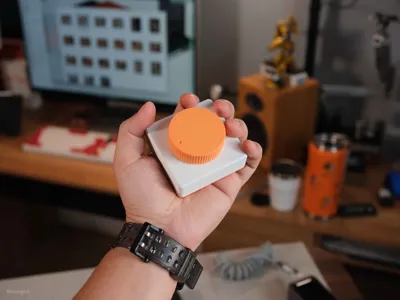
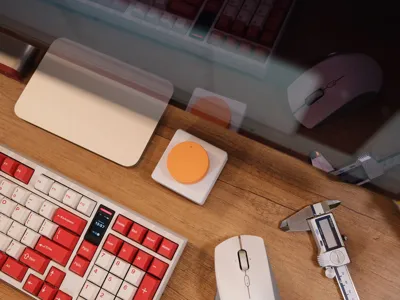
This guide addresses a common issue with Yeelight smart lamp controllers: over time, the plastic casing degrades, becoming sticky and unpleasant to handle.
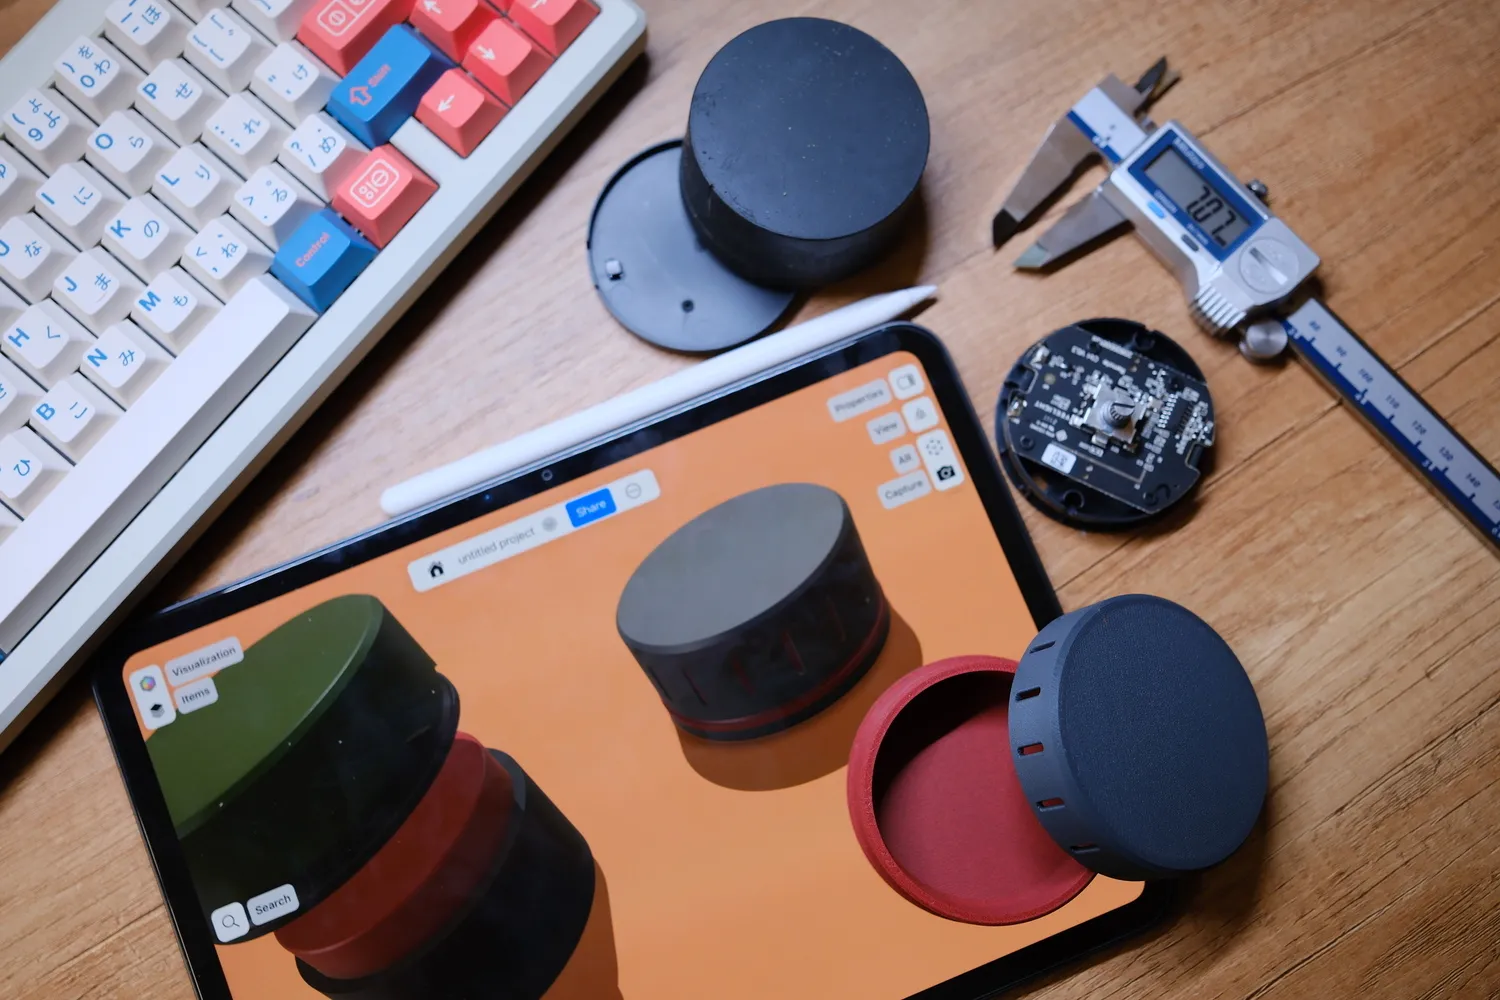
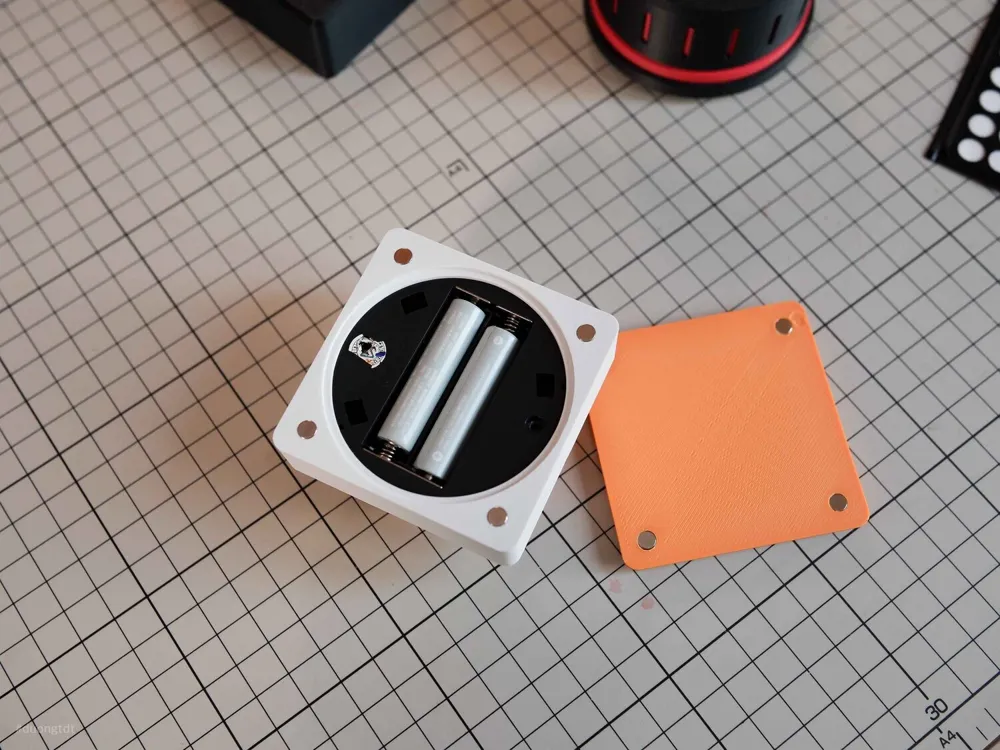
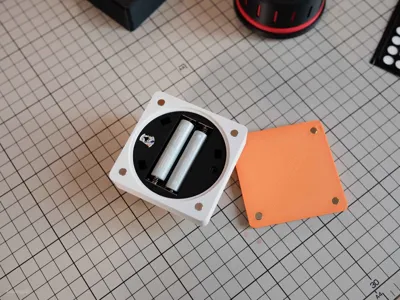
I've designed a replacement case, and this guide details its simple installation. First, carefully open the original controller's base, remove the battery cover, and unscrew the two retaining screws to easily extract the control unit.
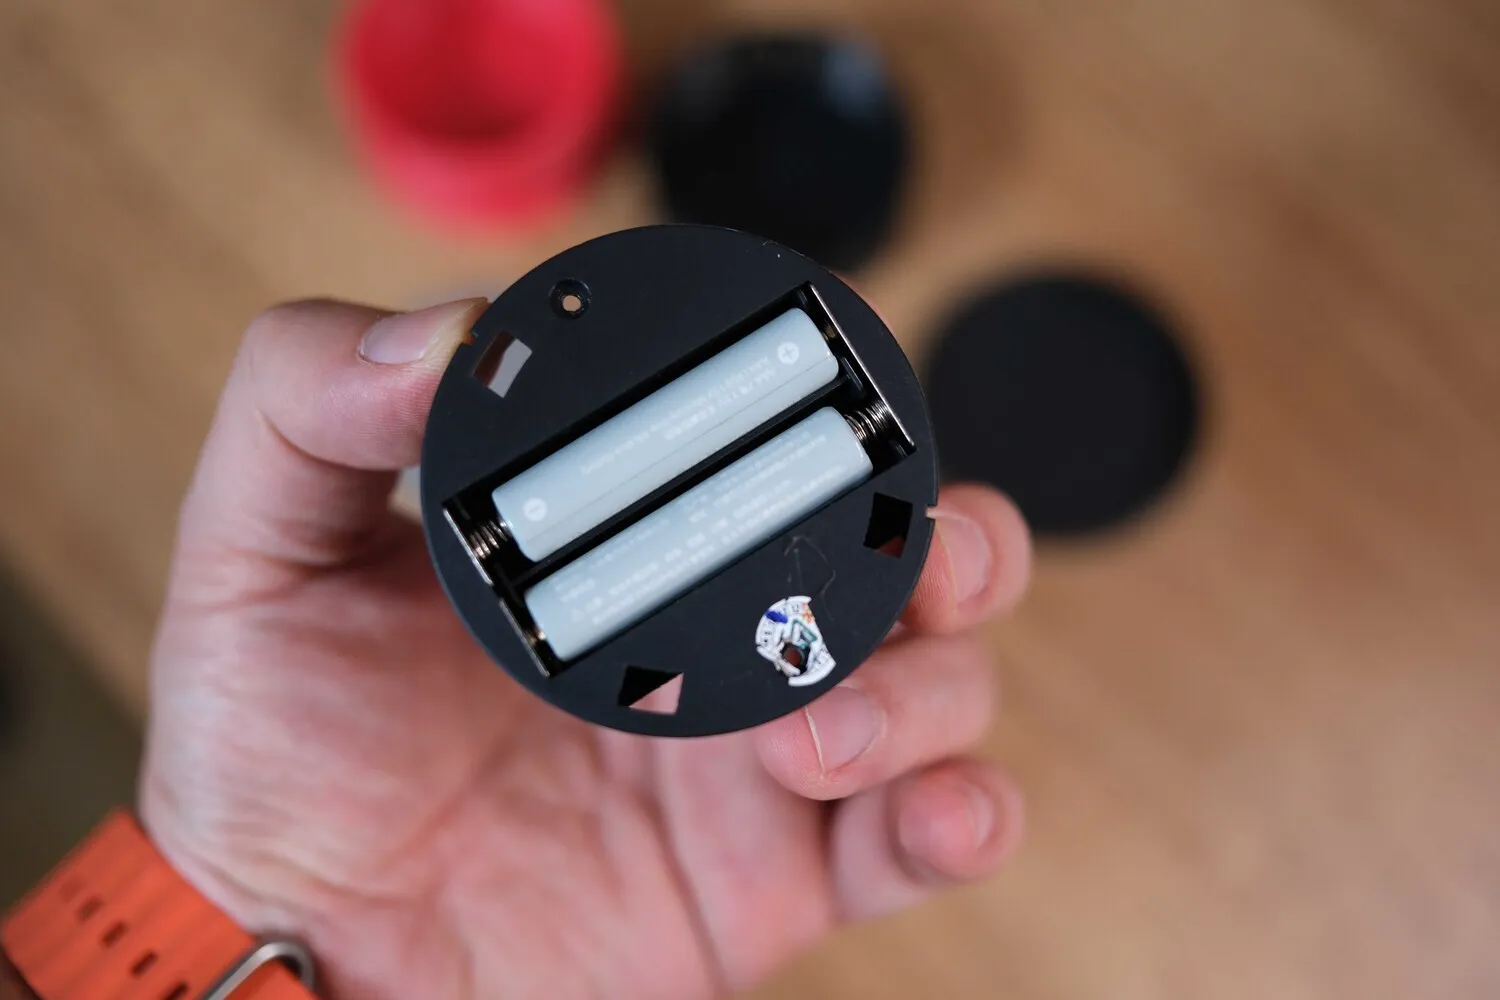
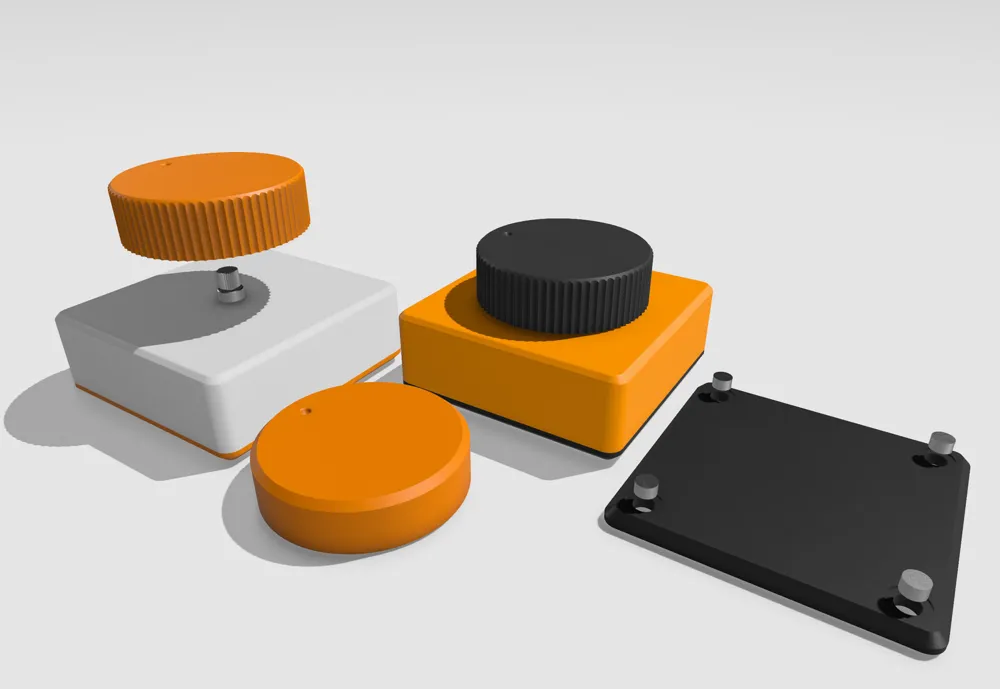
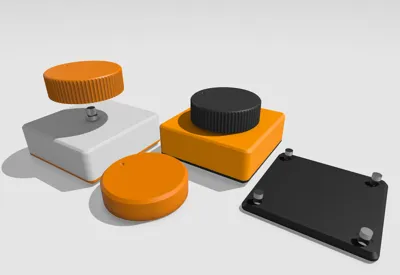
Next, insert the original control unit into the new case. The case comprises four parts, as shown in the image.
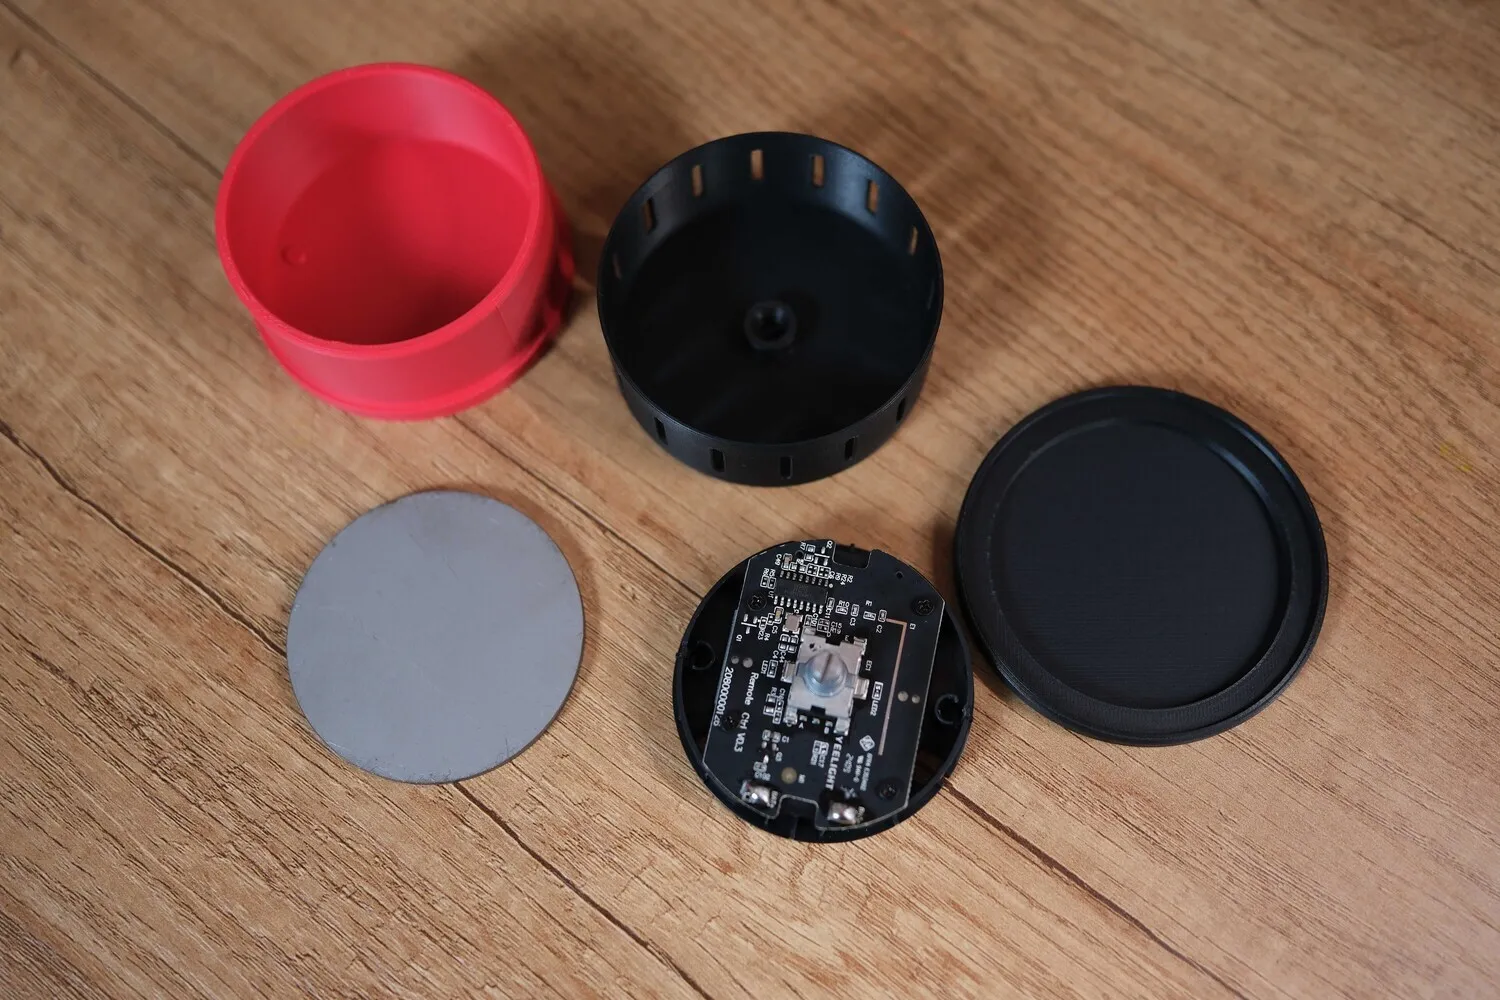
I've included a base section for attaching a metal weight, enhancing the controller's heft and feel. Secure it to the bottom section.
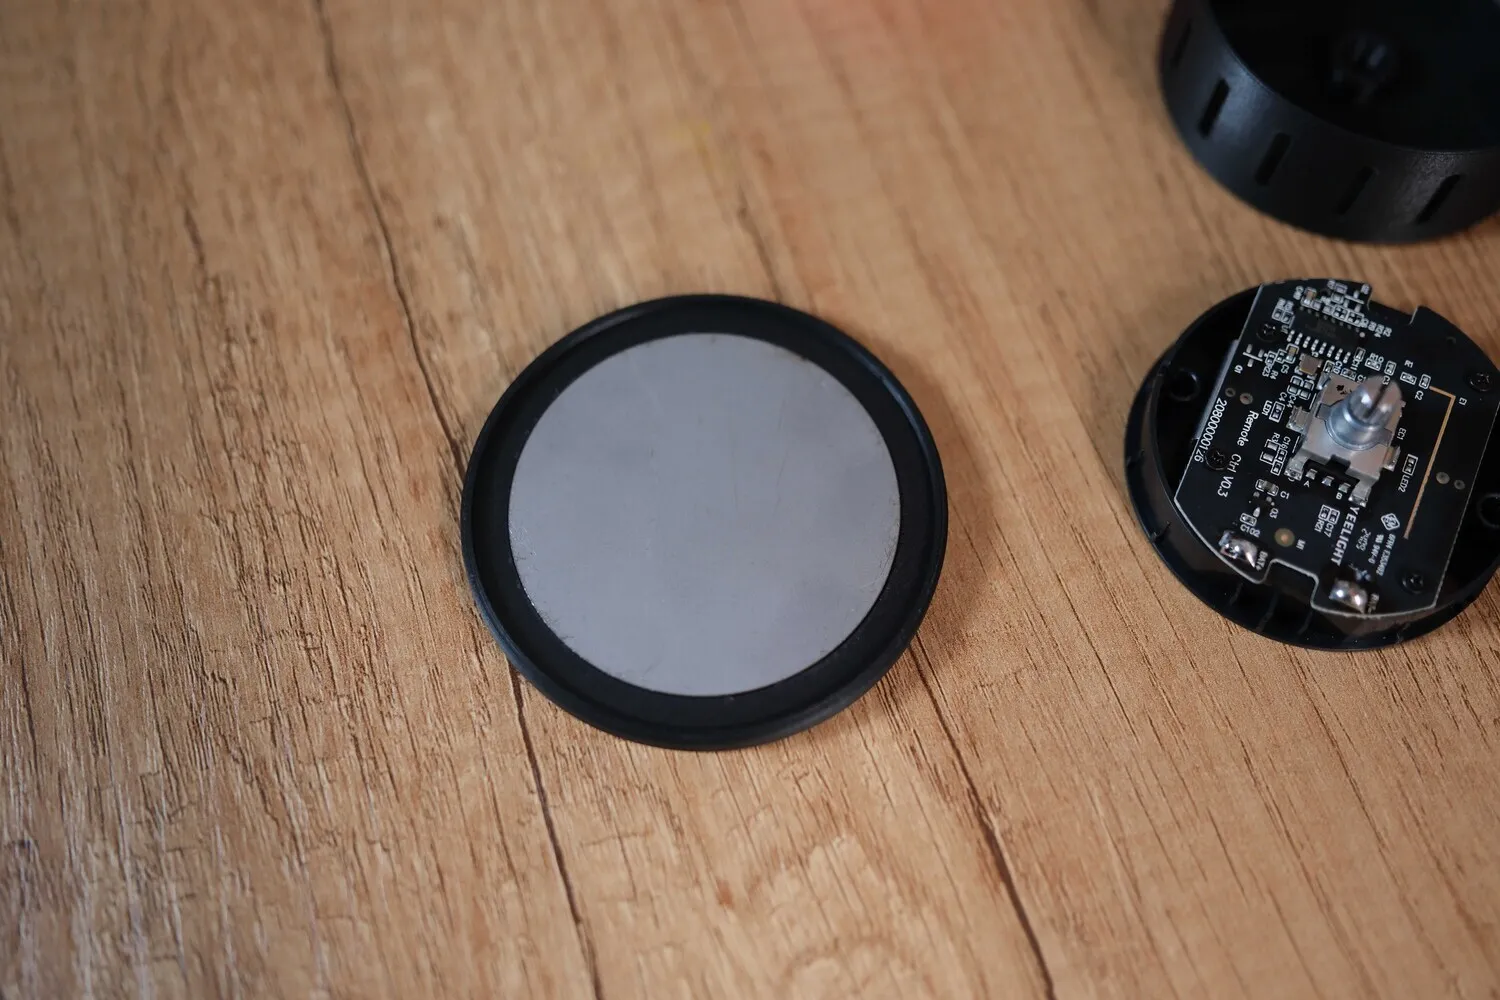
For added security, consider applying adhesive to a few points.
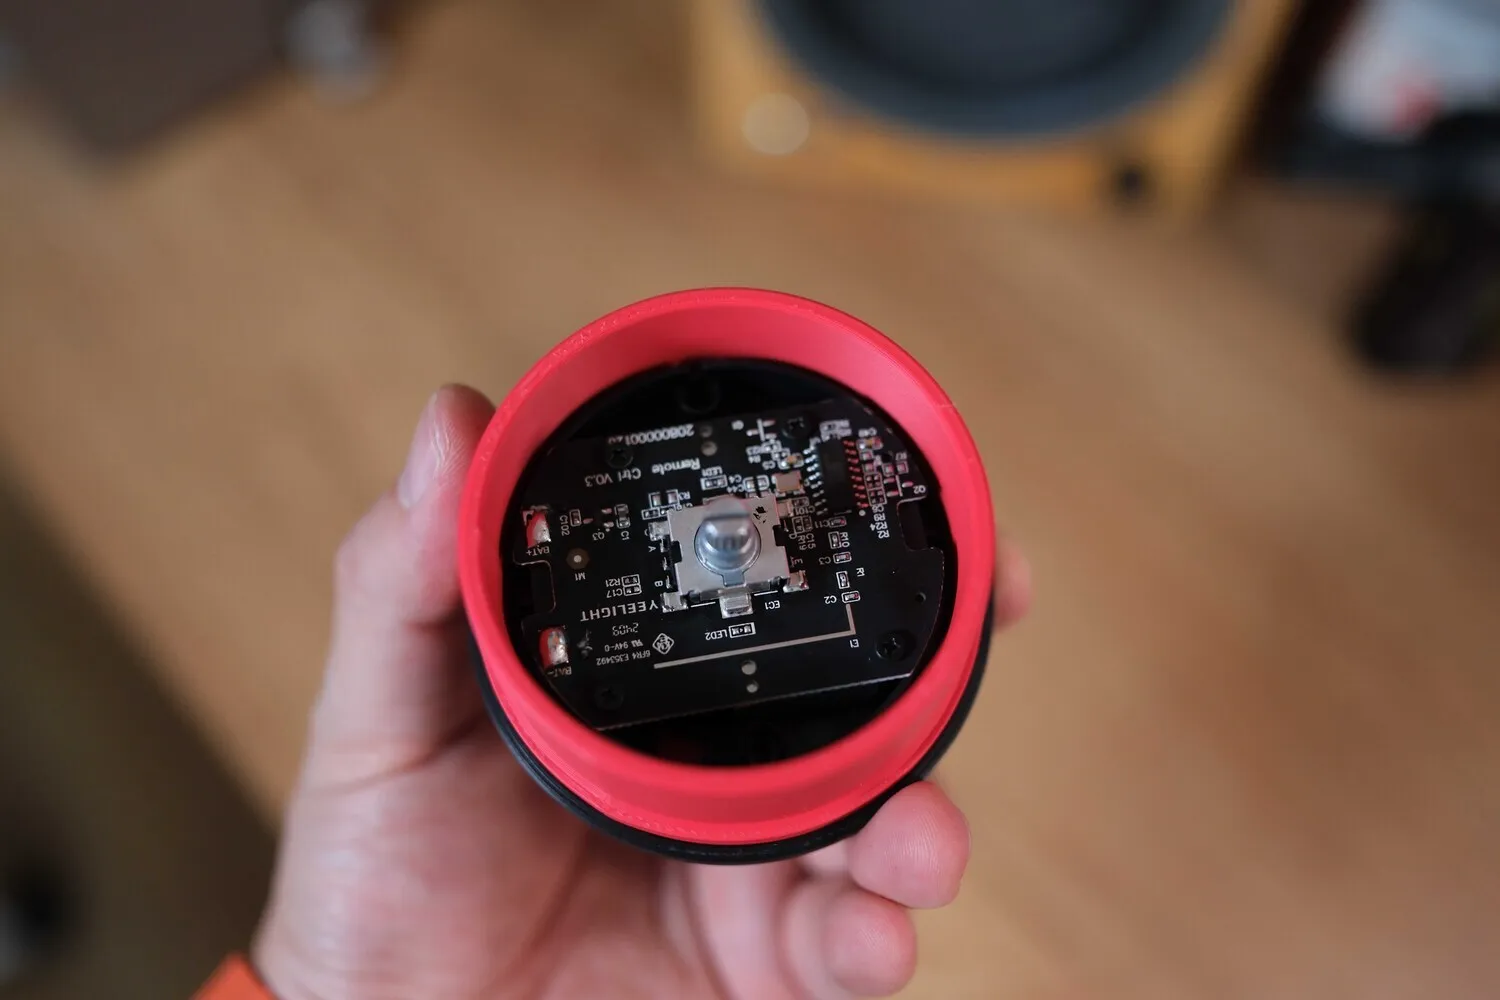
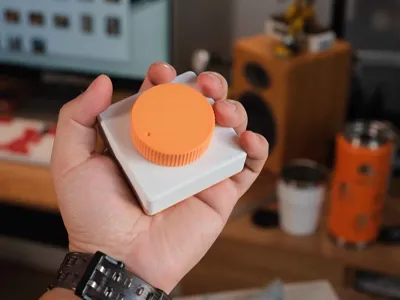
The original control unit remains intact and fits snugly within the new housing. The screws from the original unit can be reused or omitted, as the fit is quite tight. Its stable design requires minimal reinforcement.
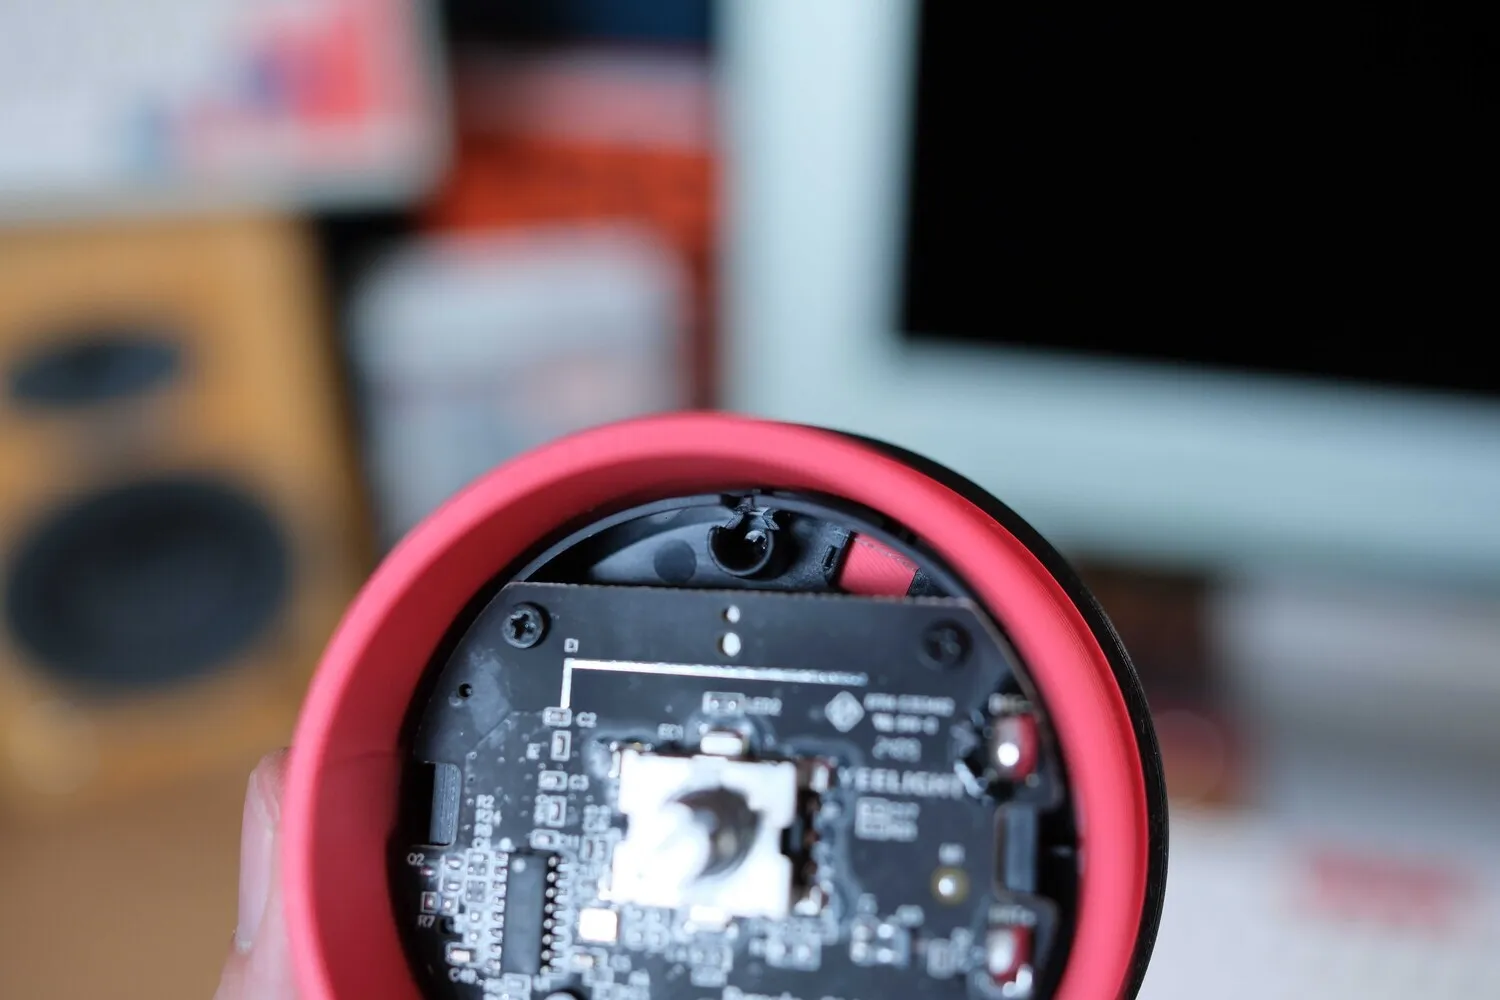
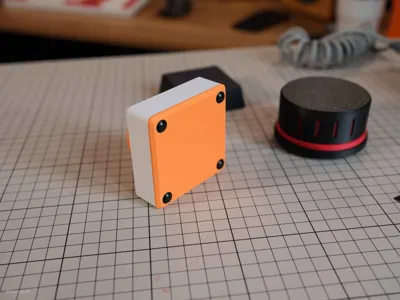
An optional screw can be added at this location, though it's not strictly necessary.
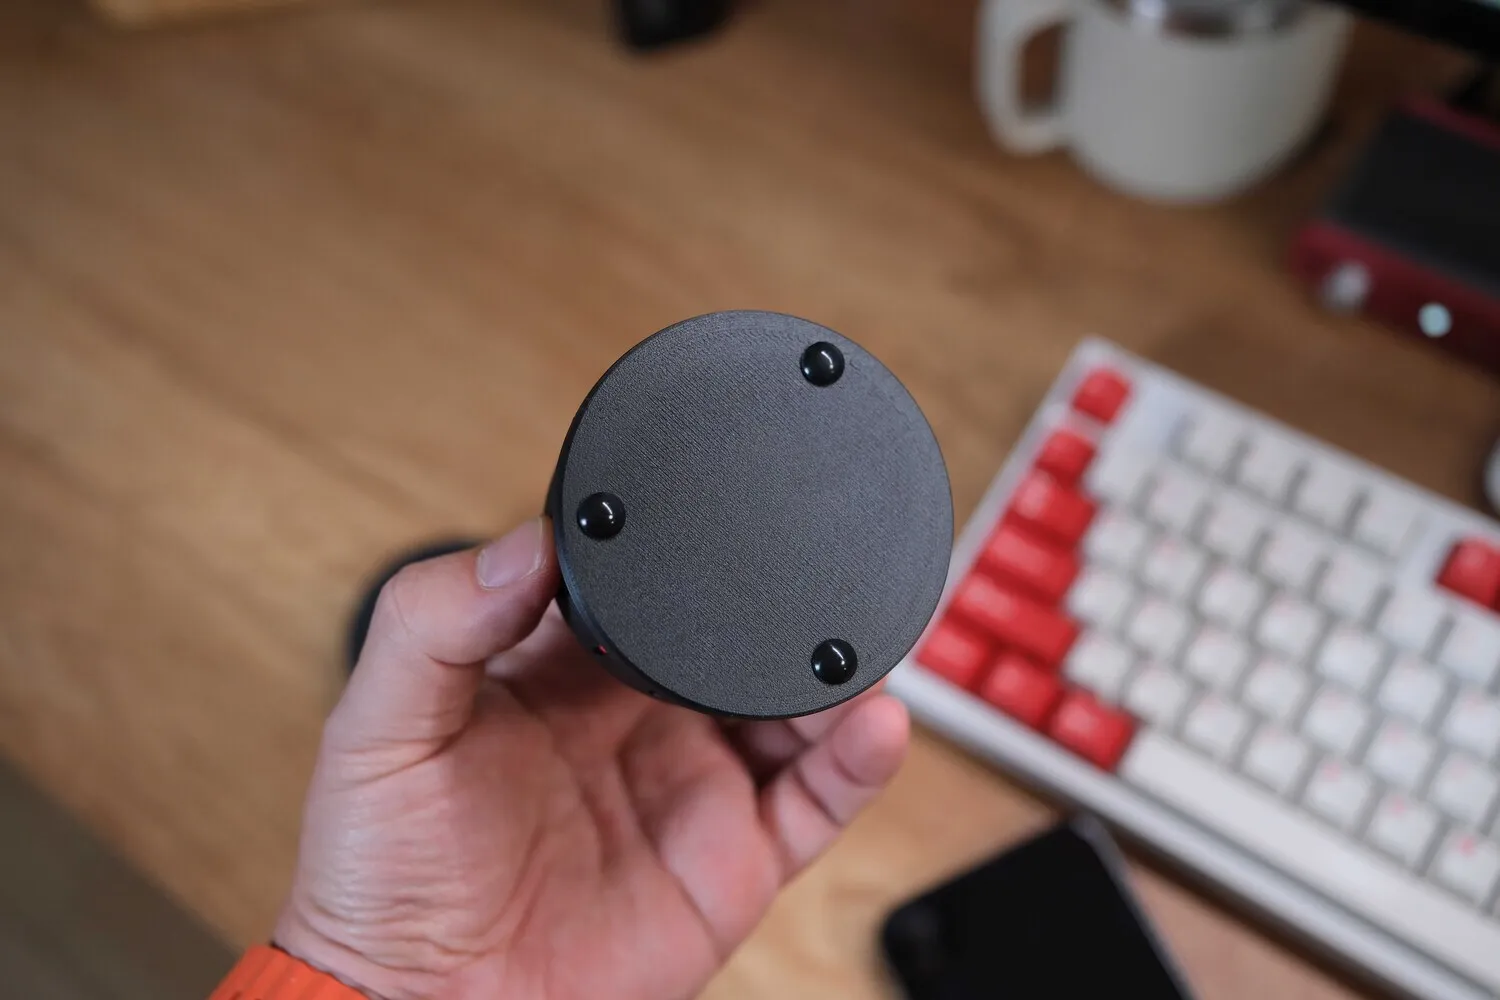
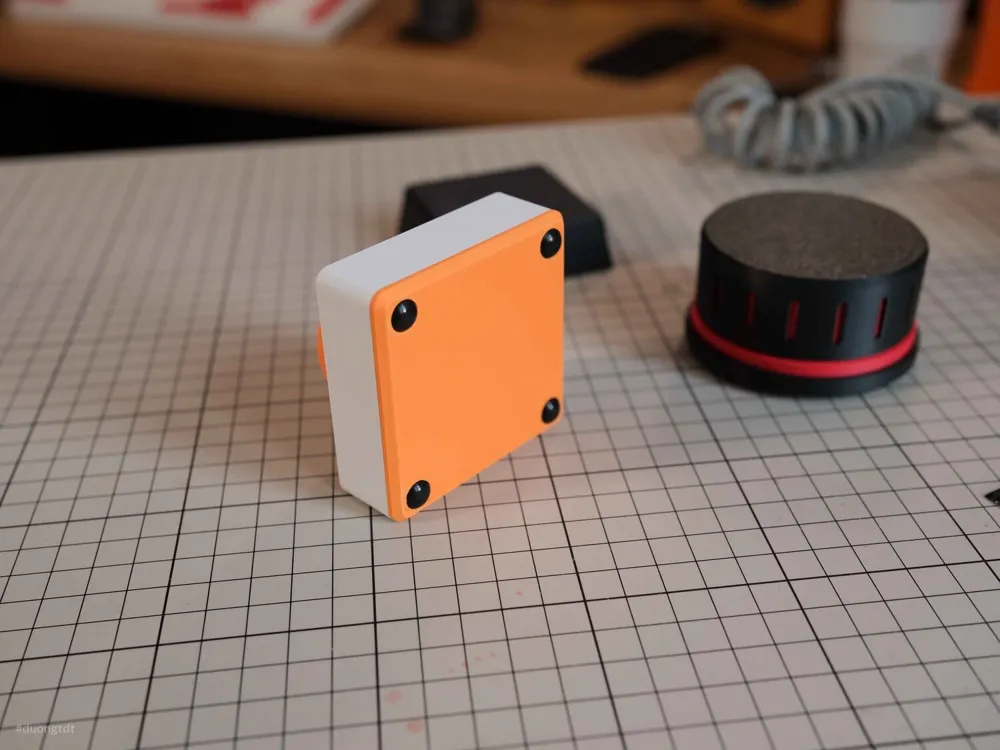
Three anti-slip silicone pads are affixed to the underside to prevent noise and slippage during use. That's it! A video demonstrating assembly is included below. If these instructions are unclear, please refer to the video.
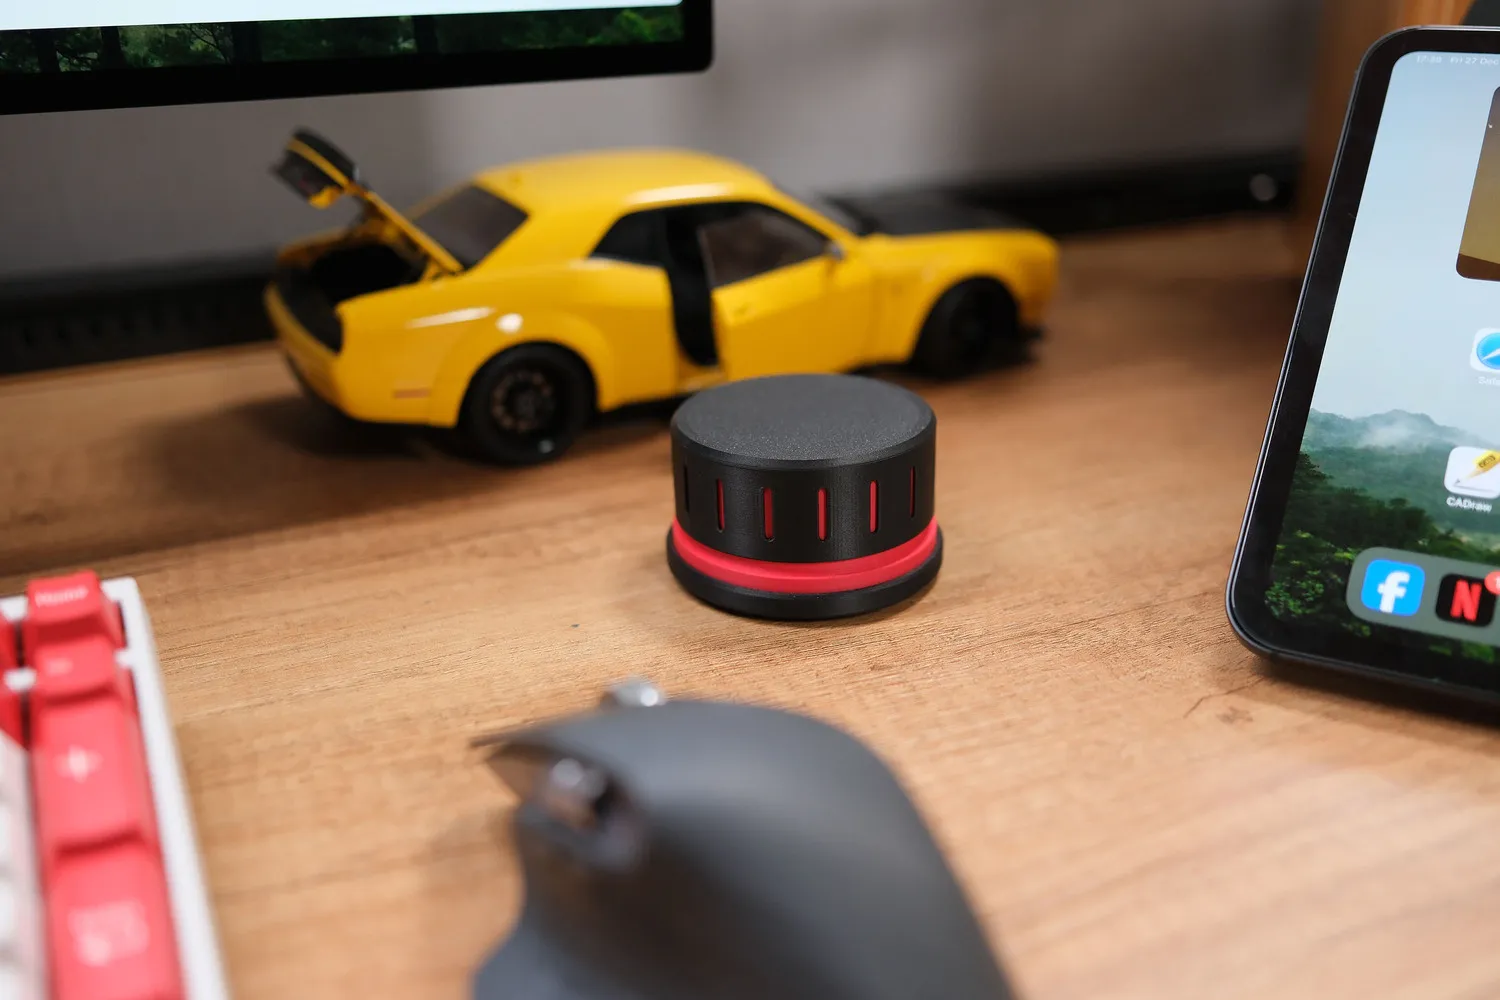
License

You shall not share, sub-license, sell, rent, host, transfer, or distribute in any way the digital or 3D printed versions of this object, nor any other derivative work of this object in its digital or physical format (including - but not limited to - remixes of this object, and hosting on other digital platforms). The objects may not be used without permission in any way whatsoever in which you charge money, or collect fees.


Comment & Rating (6)