Ultimate Dry Fire Kit


Print Profile(4)


Description
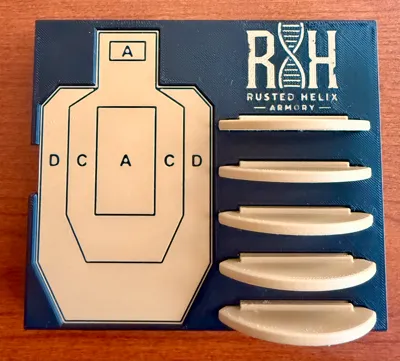
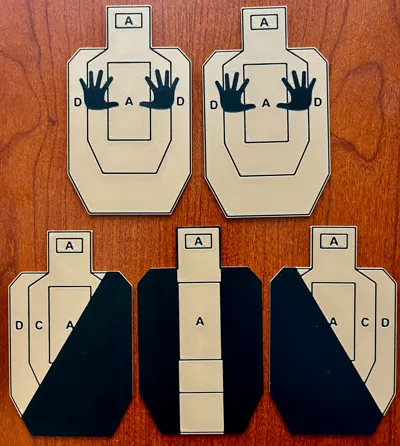
Design your own course of fire!
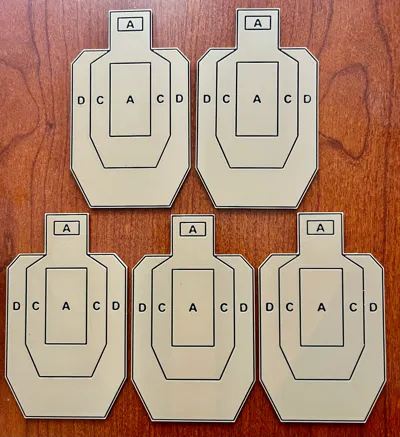
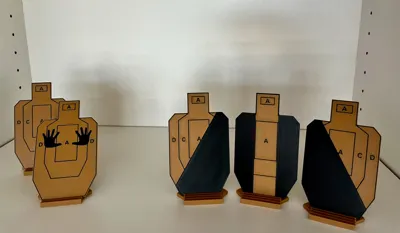
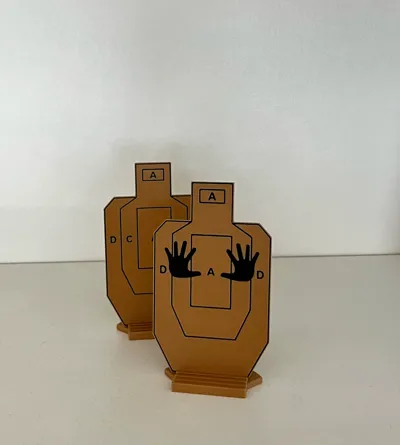
- The double-sided dry fire targets and stands enable you to position targets at various heights and angles, allowing for endless training scenarios
- The targets are precisely scaled to simulate distances of up to 25 yards within just 12 feet of space.
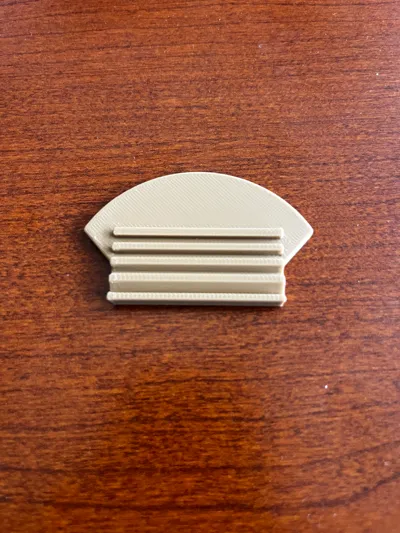
- The target stands feature four grooves, enabling seven different viewing angles to position targets above, below, at sight-line, and anywhere in between.
Target Stand Groove Angles (Front 2 Back)
- #1 - 135° For targets far below the shooter or on the ground.
- #2 - 120° For distant targets below the shooter or on the ground.
- #3 - 105° For mid-height targets below the shooter’s sight-line.
- #4 - 90° For targets level with the shooter’s sight-line.
To place targets above you, rotate the stand for acute viewing angles:
#1 = 45°, #2 = 60°, #3 = 75°.
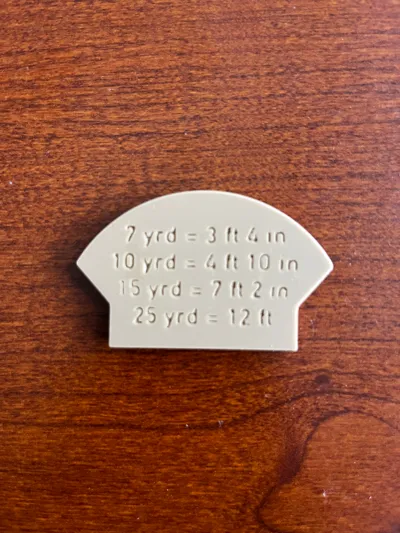
To replicate realistic shooting distances, place the targets as follows:
- 3 ft 4 in represents a std target @ 7 yrds
- 4 ft 10 in represents a std target @ 10 yrds
- 7 ft 2 in represents a std target @ 15 yrds
- 12 Ft represents a std target @ 25 yrds
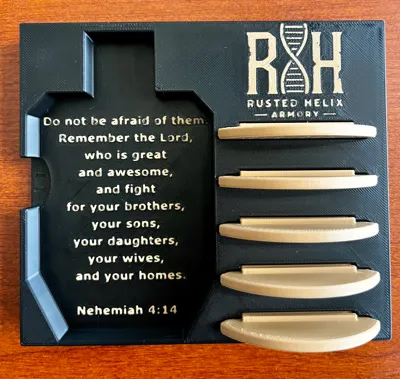
The target base design includes two personalized modifiers: my distinctive logo and an inspirational scripture I've chosen specifically for this piece. I believe these elements add meaningful depth and enhance the overall aesthetic of the finished product. However, customization is key—if these elements don't resonate with you, feel free to remove or replace them to match your personal taste and vision. Personally, I think they bring the design together beautifully, but ultimately, it's your creation to perfect!
Always follow these guidelines for safe dry fire practice:
- Ensure the firearm is unloaded, and remove all live ammunition from the practice area before starting.
- Choose a safe practice area. Use a location with a safe backstop and free from distractions to ensure focus and control.
- Maintain firearm discipline. Always treat the firearm as if it were loaded, and never point it at anything you do not intend to shoot, even during practice.
- Check and double-check. Verify that all safety conditions are met before starting each session.
Your mental well-being is essential for responsible firearm ownership. If you or someone you know is struggling, you are not alone. We proudly support the work of Walk the Talk America, which bridges the gap between mental health resources and the firearm community.
Visit walkthetalkamerica.org to learn more.
Boost Me (for free)
Hope you enjoy this print and have a blast building out your own dry fire courses! If it helped you out, consider hitting that Boost—it goes a long way in supporting future designs and continued prototyping from our little home shop.
Comment & Rating (94)