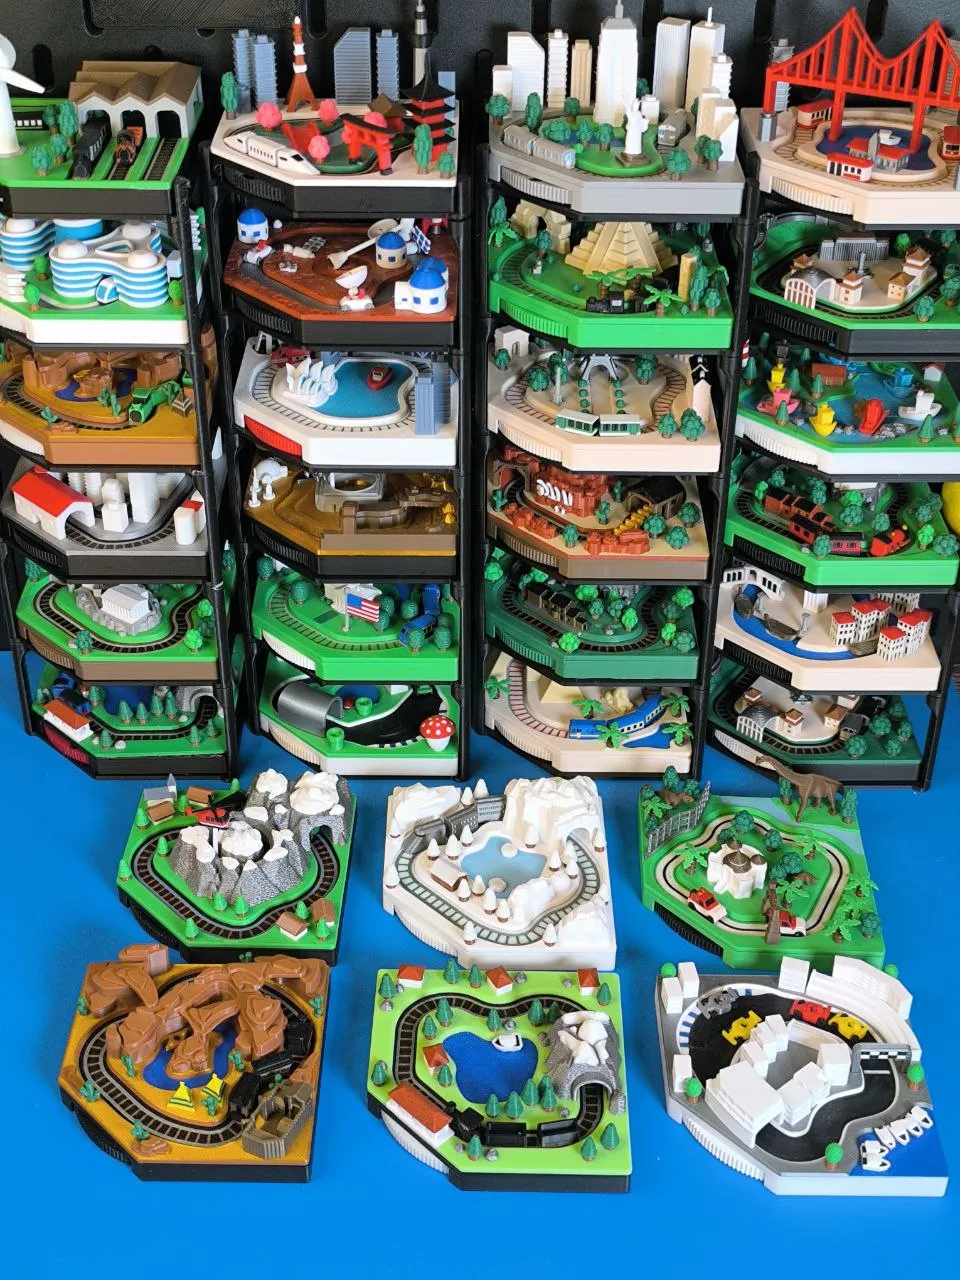
This article introduce the various motorization options available for the still growing Mini Train collection to highlight their differences.
The Mini Train series is a collection of various functional mini dioramas. Most of them feature moving trains, but boats and cars are also set in motion using magnets. They can be operated manually, but there are also several motorization options that I’d like to introduce:
Overview:
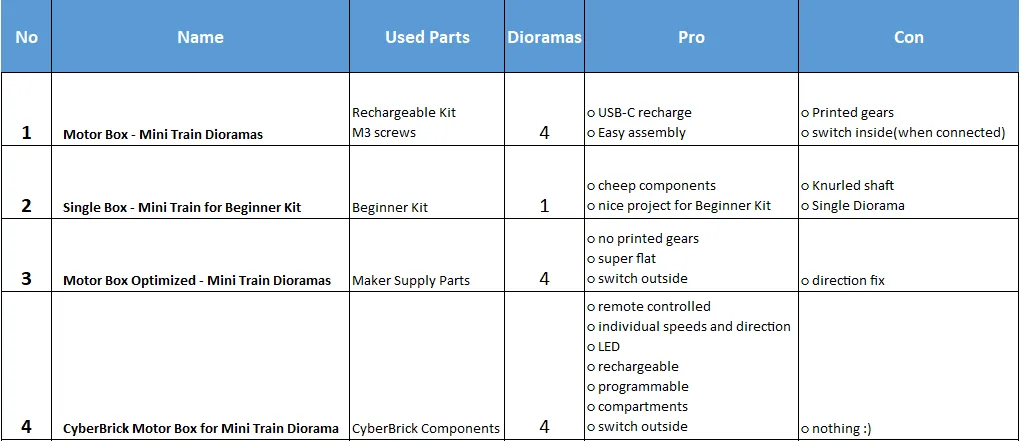
Option 1: Rechargeable Kit

- Height: 38mm
- N20 Motor
- Rechargeable Battery
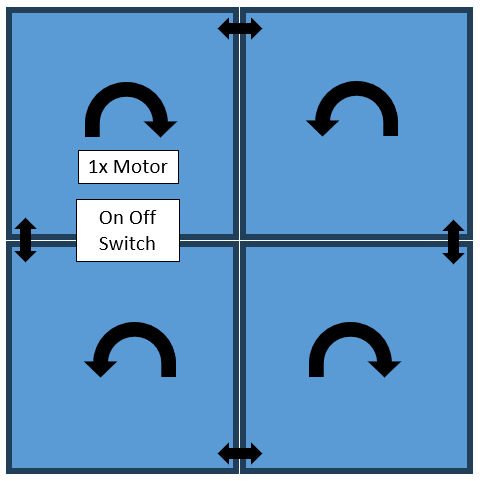
This motor box, which uses the rechargeable kit, can be connected to three additional “empty boxes.” Only one motor is needed to move four dioramas simultaneously. Apart from the kit, only 3D-printed gears are used, which requires precise filament calibration and may cause issues for some users. The motor has a noticeable strain when driving all four dioramas. The switch is not accessible when the boxes are connected. The direction is changing for the trains when another diorama is connected, that is an advantage in some cases.
The advantage is that it can be conveniently recharged via USB-C.
Option 2: Beginner Kit - Single Box
- Height: 44mm
- 030 DC Motor
- 4xAAAA
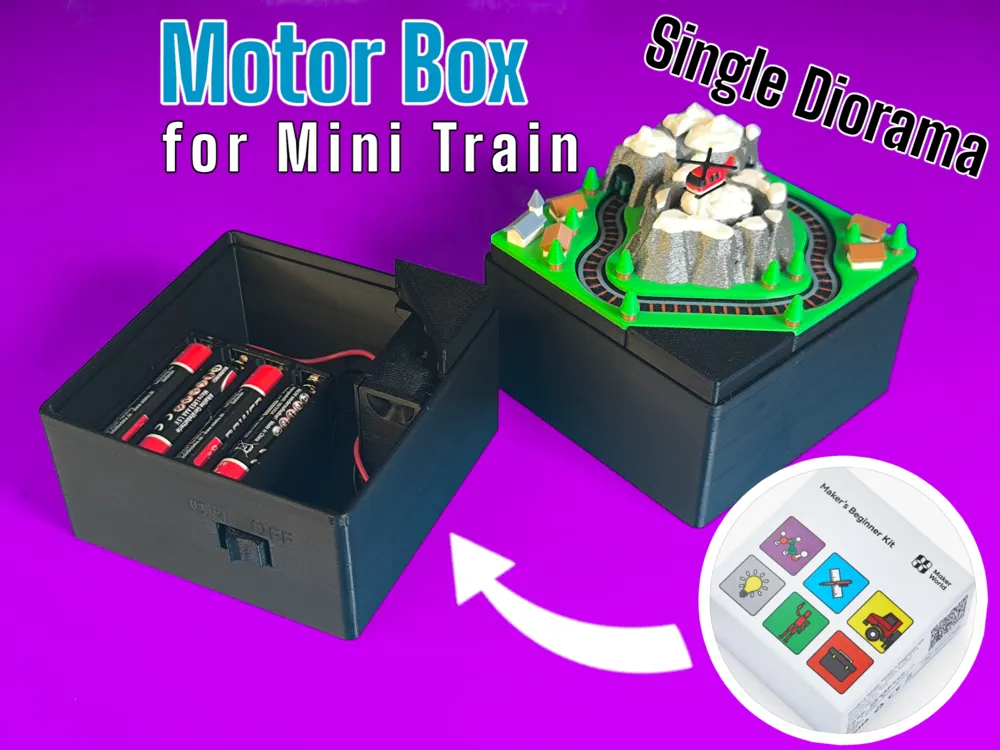
The Beginner Kit Motor Box is designed to power a single diorama. No additional parts are needed apart from the Beginner Kit itself and four AAA batteries. The switch and battery box are 3D-printed, and it uses only one printed gear for the drive, which works reliably if the printed shaft is slightly smoothed or sanded. The drive direction can be reversed by changing the motor wiring.
A great project for the relatively inexpensive Beginner Kit.
Option 3: Maker Supply
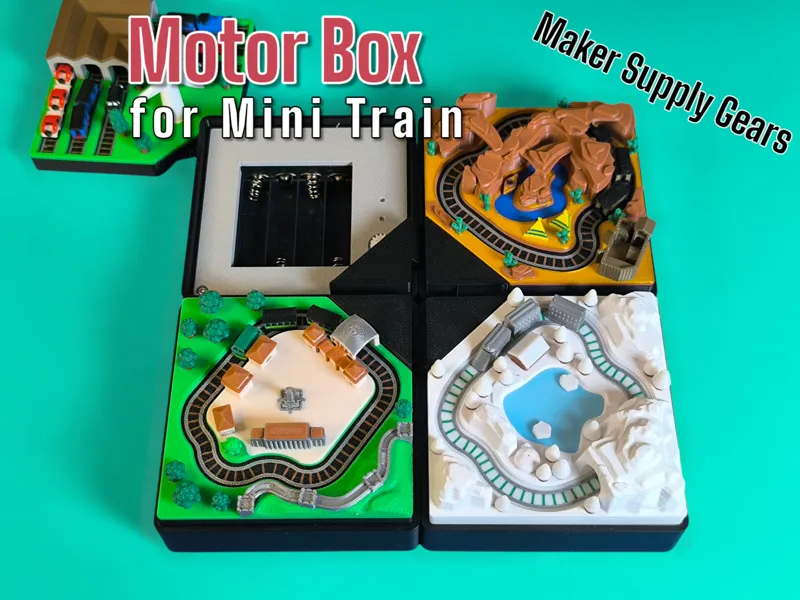
- Height: 23mm
- 030 DC Motor
- 4xAAAA or USB cable
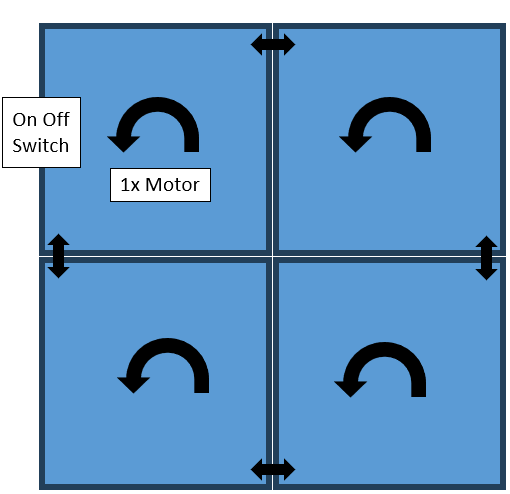
This is essentially an improved version of the first box, where I tried to address some of its weaknesses by using Maker Supply components. Like the previous version, this box can be connected to other boxes via magnets, allowing one motorized box to drive up to three additional “empty” boxes. This time the magnets mounted from the inside and are not visible.
By using purchased injection-molded gears, the performance has been significantly improved. The switch could be placed on the outside, and the height of the box was also greatly reduced. Unlike the first box, the movement direction when connect doesn't change. This can be seen as either an advantage or a disadvantage.
Option 4: CyberBrick
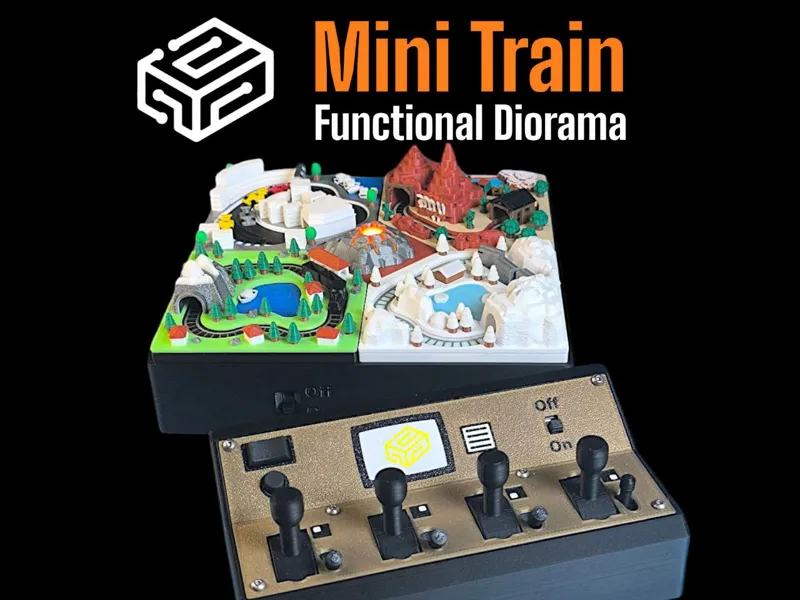
- Height: 36mm
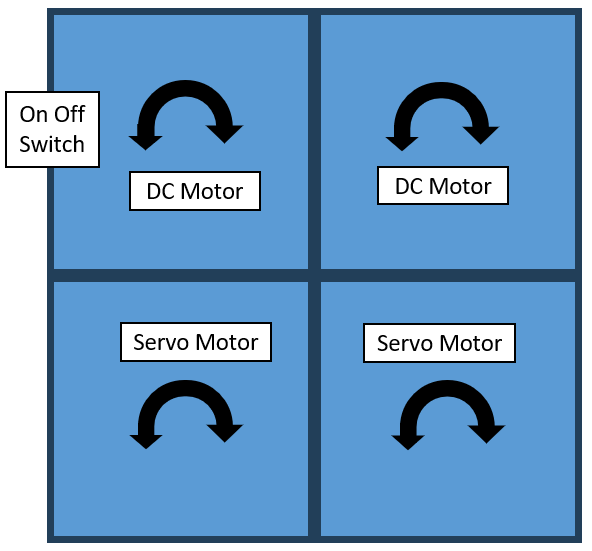
- 2x 030 DC Motor & 2x 360 Servo
- Battery Packs
This setup uses two DC motors and two servo motors to operate the dioramas. Thanks to CyberBrick, the trains can be controlled individually. The control panel or remote allows for smooth, continuous speed adjustment, as well as stopping and reversing the trains — providing great play value.
The box is designed as a single unit for four dioramas, without the option to connect additional ones. However, two individual motor boxes can be controlled with one remote. Inside, the box offers plenty of space for extra spare parts and trains, and the switch has been placed on the outside for convenience. The battery packs used for both the box and the remote are easily accessible and rechargeable.
The CyberBrick Solution is not the most affordable option, but it’s the coolest one.
A wonderful project if you have not the space for a real train set.
Thanks for reading! Happy Printing 😊👍