
Hello all!
Many users here on MakerWorld have reached out to ask me how I design my model kits, what software I use, and how long I've been designing and so I'm happy to be writing this Community Article to answer some questions and share some details and info about my design process!
Here's a quick rundown of the important points:
- I use FreeCAD to design, it's completely free and you fully own all the work you do with it!
- I start a design with some rough drawings before doing a no-detail model. Then I test it before adding in final details and aesthetic choices
- I've been 3D modelling for less than 2 years!
My Design Software and Setup:
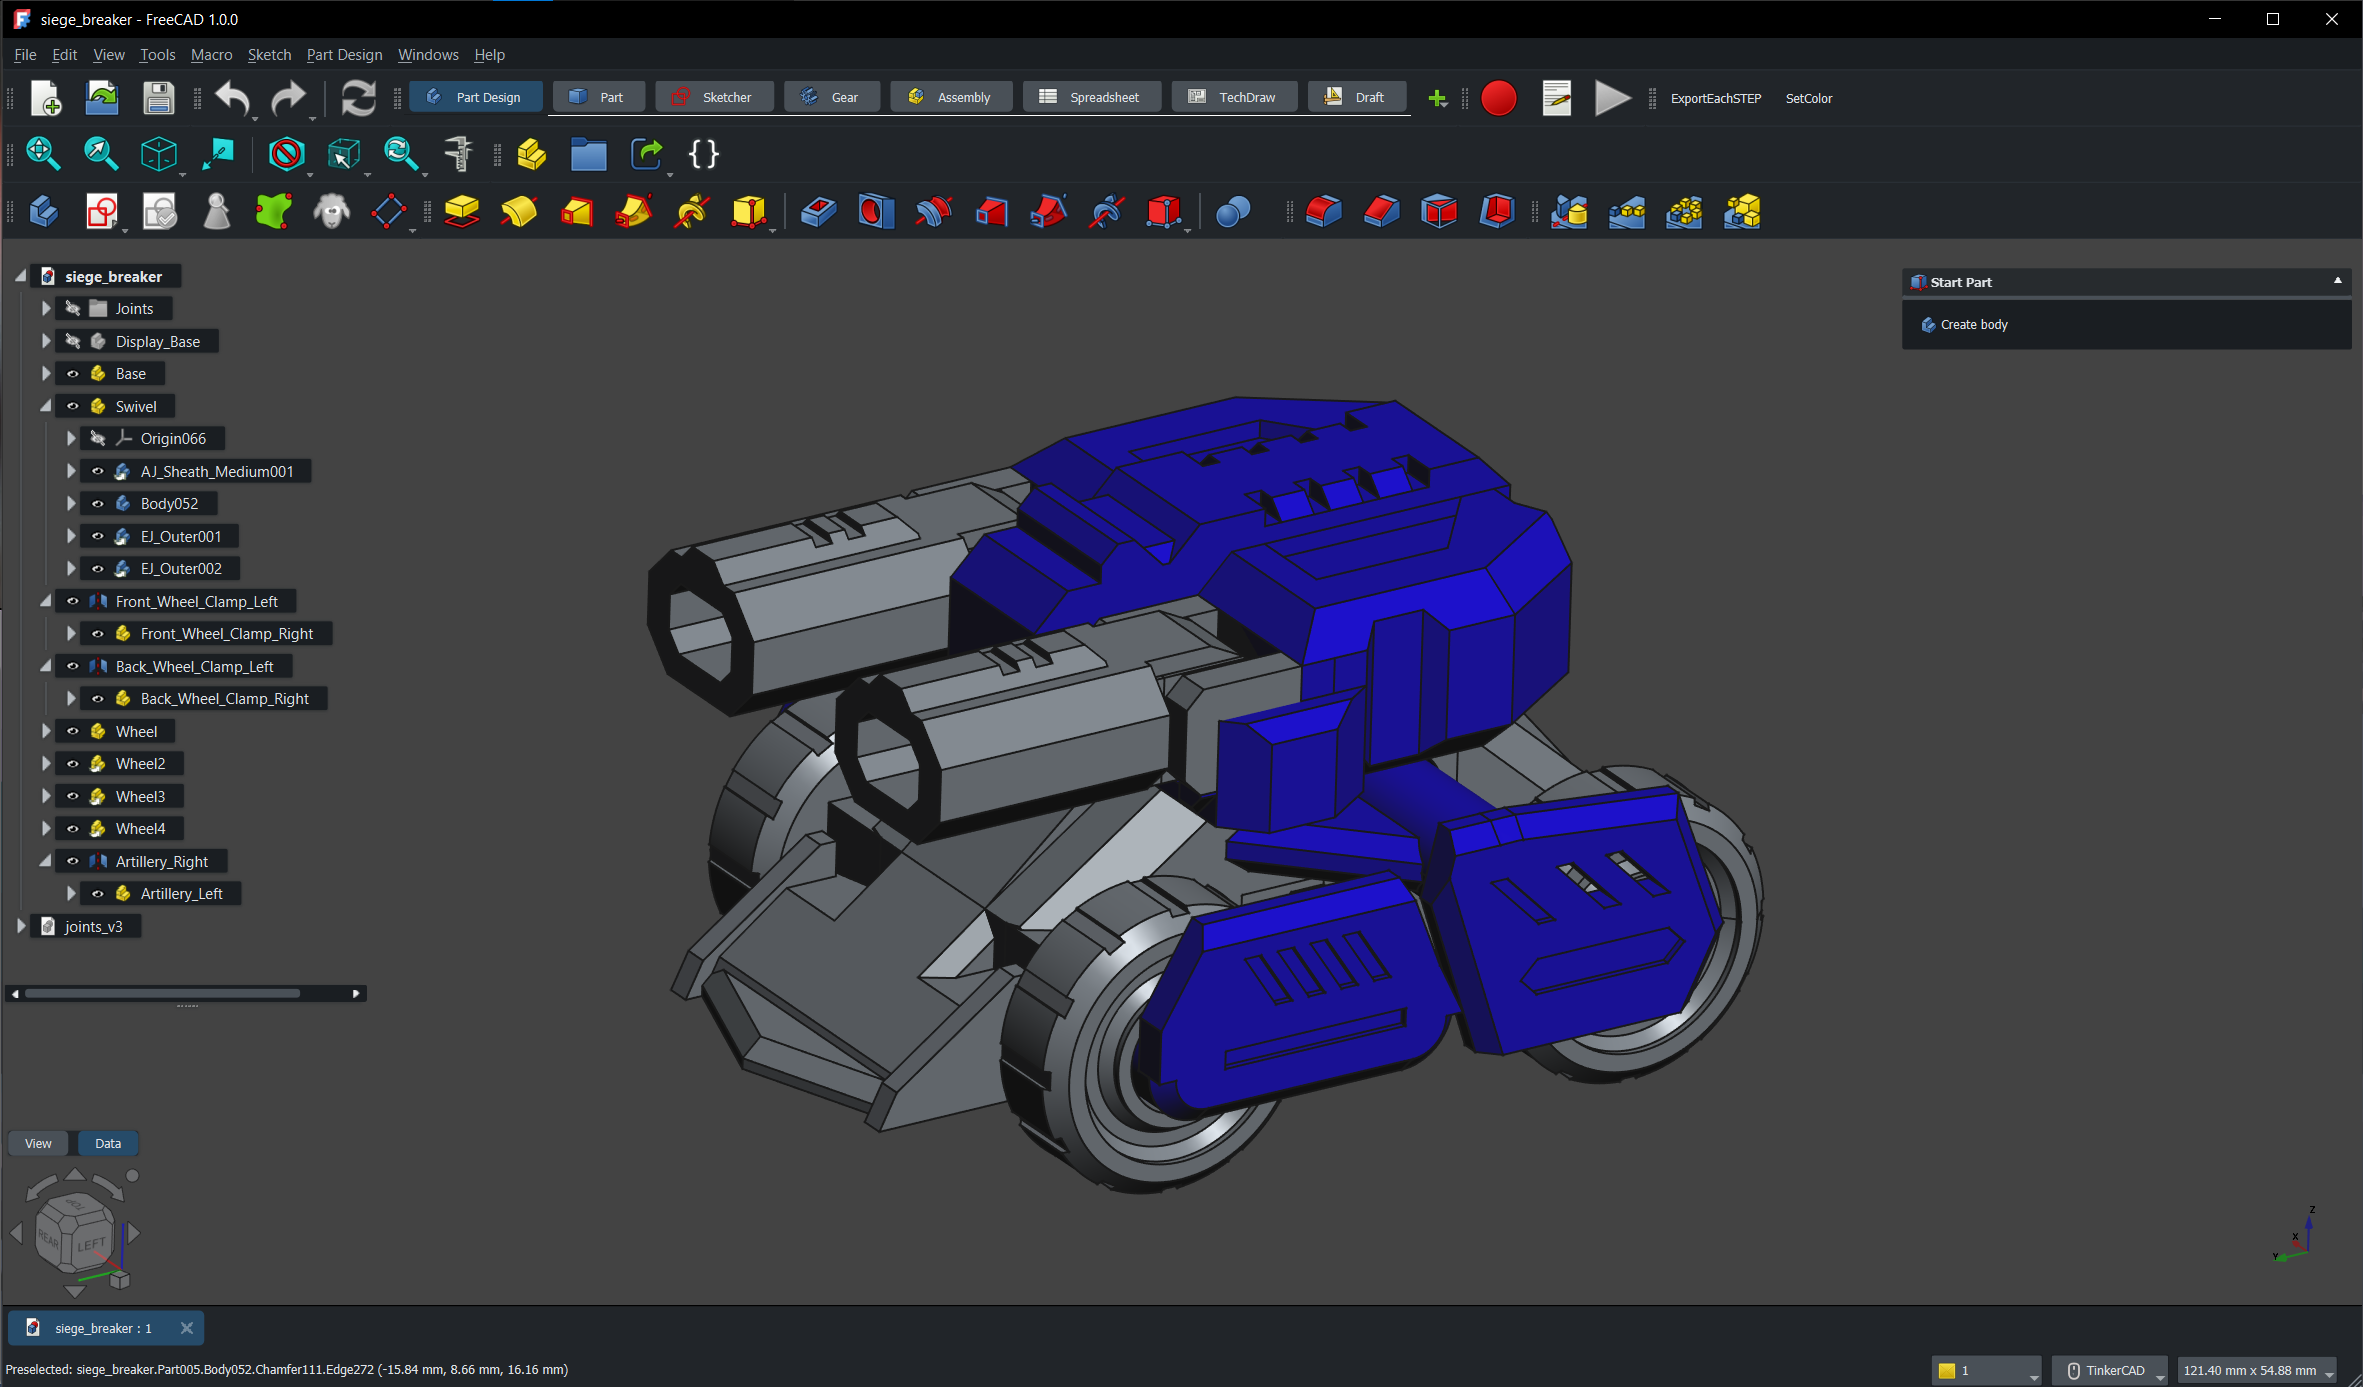
I started learning to 3D model using FreeCAD 0.20 and since then FreeCAD has been growing and is now at version 1.0! I chose FreeCAD over other options like Fusion360, SolidWorks, OnShape, and others because as a software engineer I appreciate the freedom that open source software gives me. I highly recommend FreeCAD; it has its quirks but I've really grown fond and attached to this software.
As for prototyping and testing, I have four 3D printers, all Bambu Lab. I started with an X1C w/ AMS and as my 3D printing needs grew I used MakerPoints to get gift cards for more printers, where I currently have three other printers (an A1 and two A1 minis).
The reason for having multiple printers is mainly for speed and convenience. I have an AMS and two AMS Lites and so I essentially have 13 filament colors available at once. Having multiple printers allows me to prototype faster by splitting the parts among the printers all at once. For example, a model kit that takes 90 minutes on one printer takes about 30 minutes total when using all four printers at once.
My Design Process:
When designing new models, my design process distills down to 4 major stages: Inspiration and Sketching, Rough Draft, Prototyping, and Details and Finishing.
Inspiration and Sketching:
Every model starts with an idea, of course. I get my ideas from many different sources; sometimes I see something on TV, in a game, or in real life that gives an idea while other times I get suggestions from users here on MakerWorld or Patreon. Sometimes it's a very direct and simple idea such as when I saw construction near my home and thought an Excavator as a Mech would be interesting.
Other times, the inspiration is less obvious like the Citadel Crawler. I imagined a city on a mech after thinking about the Lion Turtles in Avatar: The Last Airbender. While the Citadel Crawler doesn't look anything like a Lion Turtle, the main point of inspiration is a landmass on the shell of a beast.
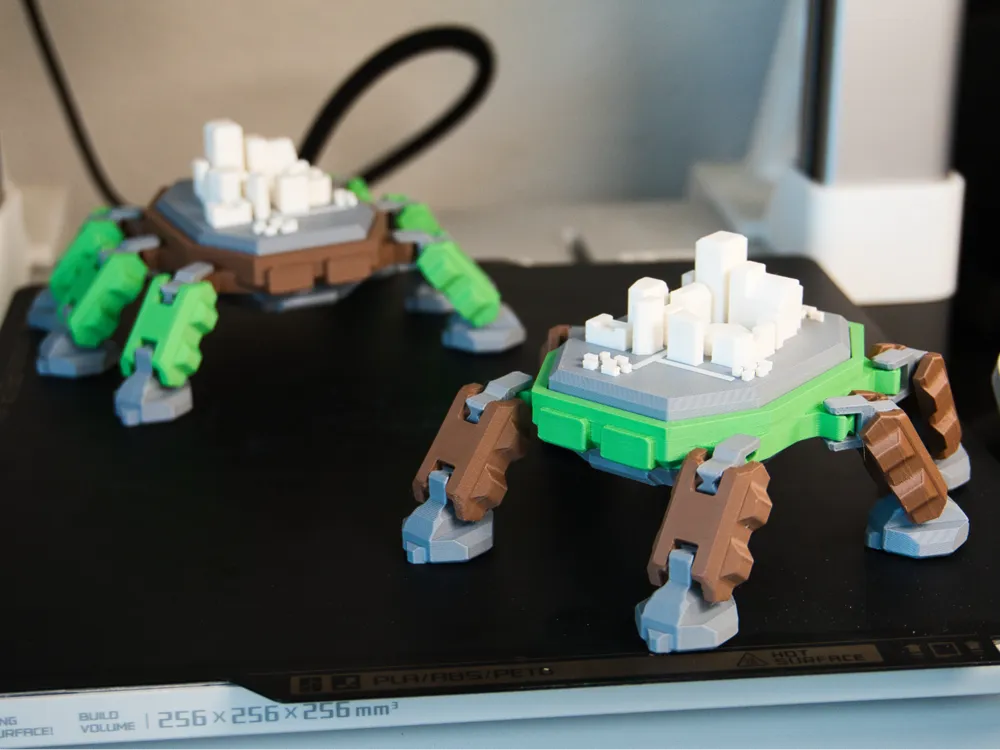
After having the idea, I “sketch” a design, usually in my mind. I'm a very poor 2D artist and struggle with drawing. I try to form a rough 3D shape of the design in my head before I move to FreeCAD to do some basic 2D shapes to outline the design before moving on to the Rough Draft stage.
Rough Draft:
When I rough draft, I aim to create the design with no details at all. Only the important forms of the design are created during this stage. I used to do a lot of clay sculpture and pottery and apply the same kind of creative process when 3D modelling.
Here's an example of a rough draft model:
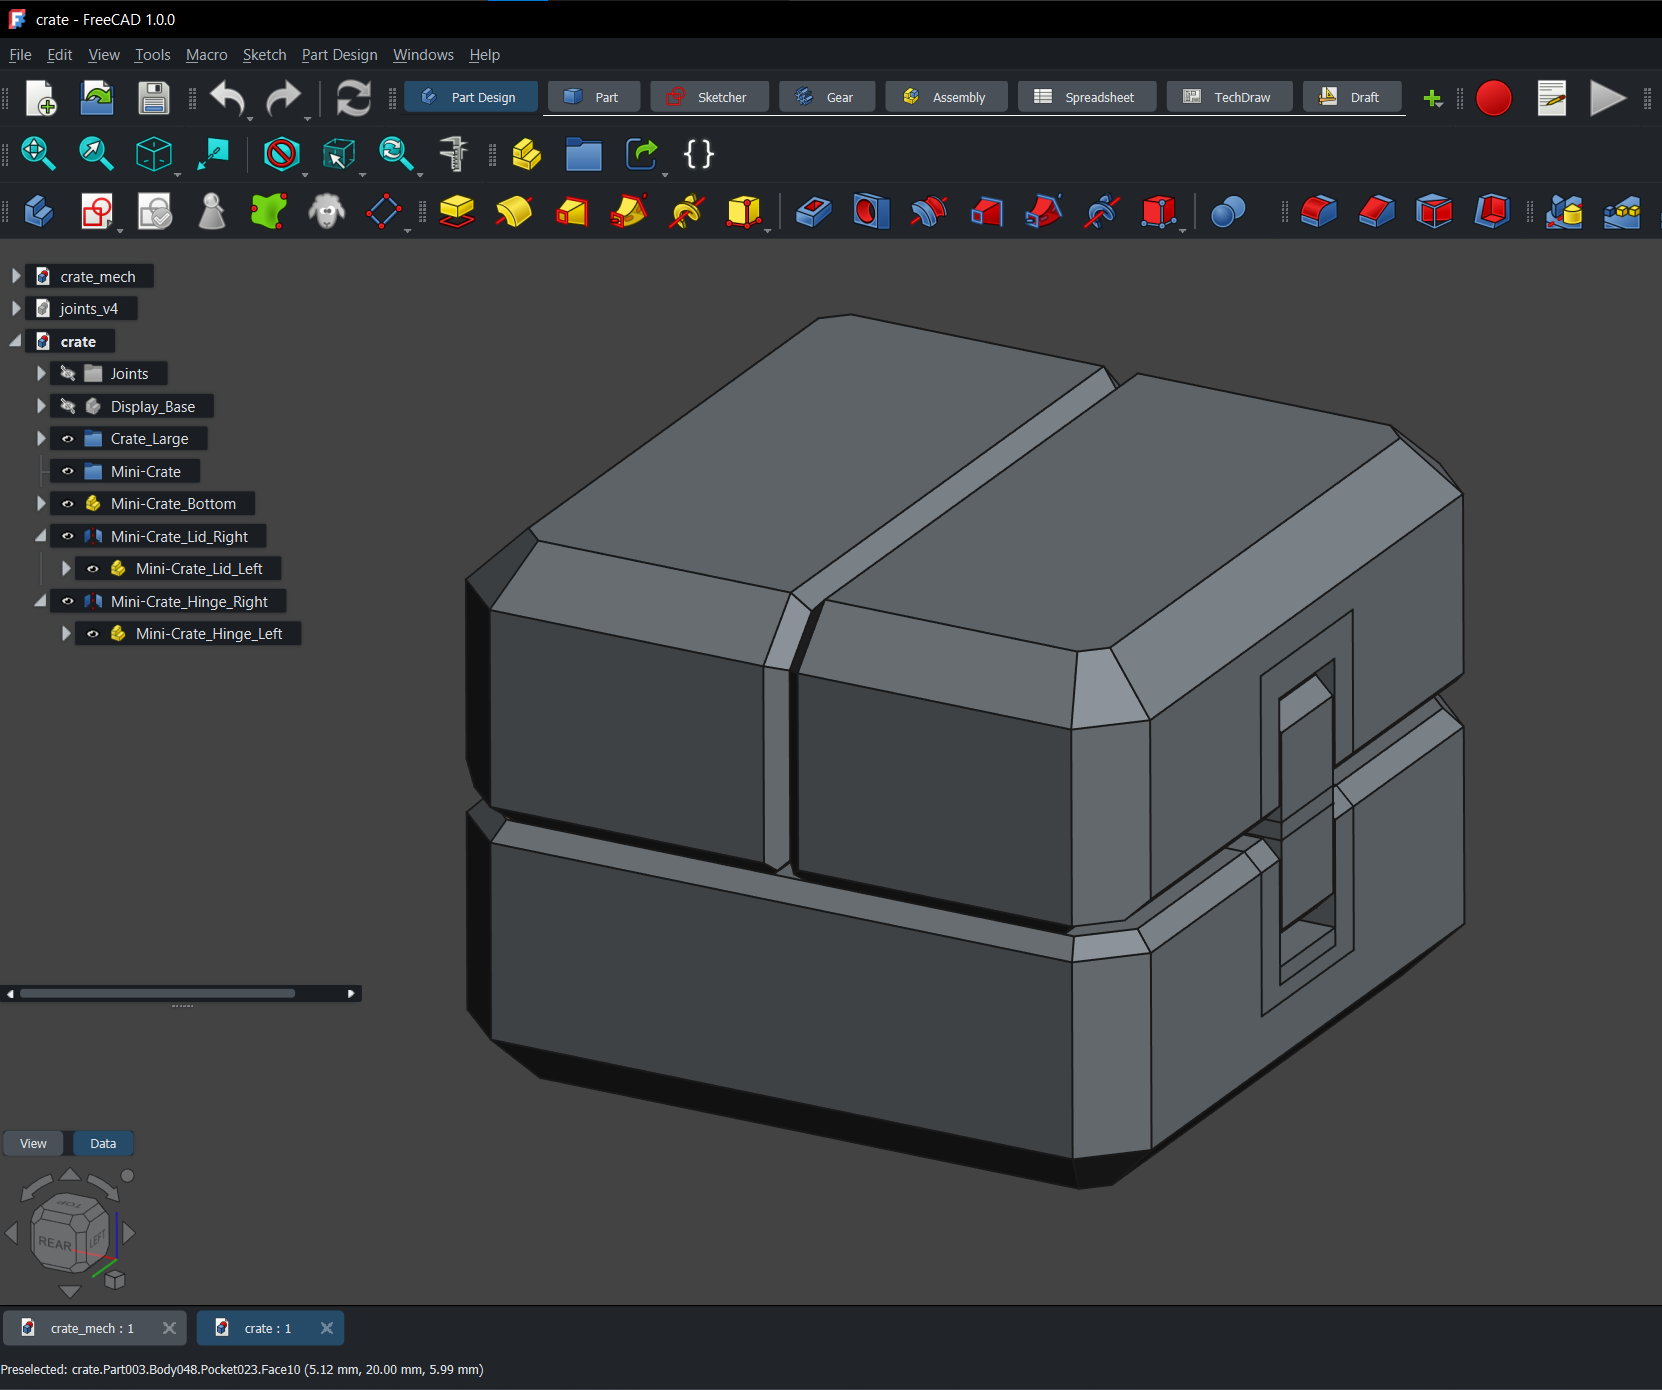
This is a simple crate that opens up on the top. It's got just the bare minimum and is ready for prototyping!
Prototyping:
At this stage, I move into Bambu Studio for slicing. I have a preset for the settings that I feel are optimal for speed and strength for my model kits (all of the profiles I upload use these settings).
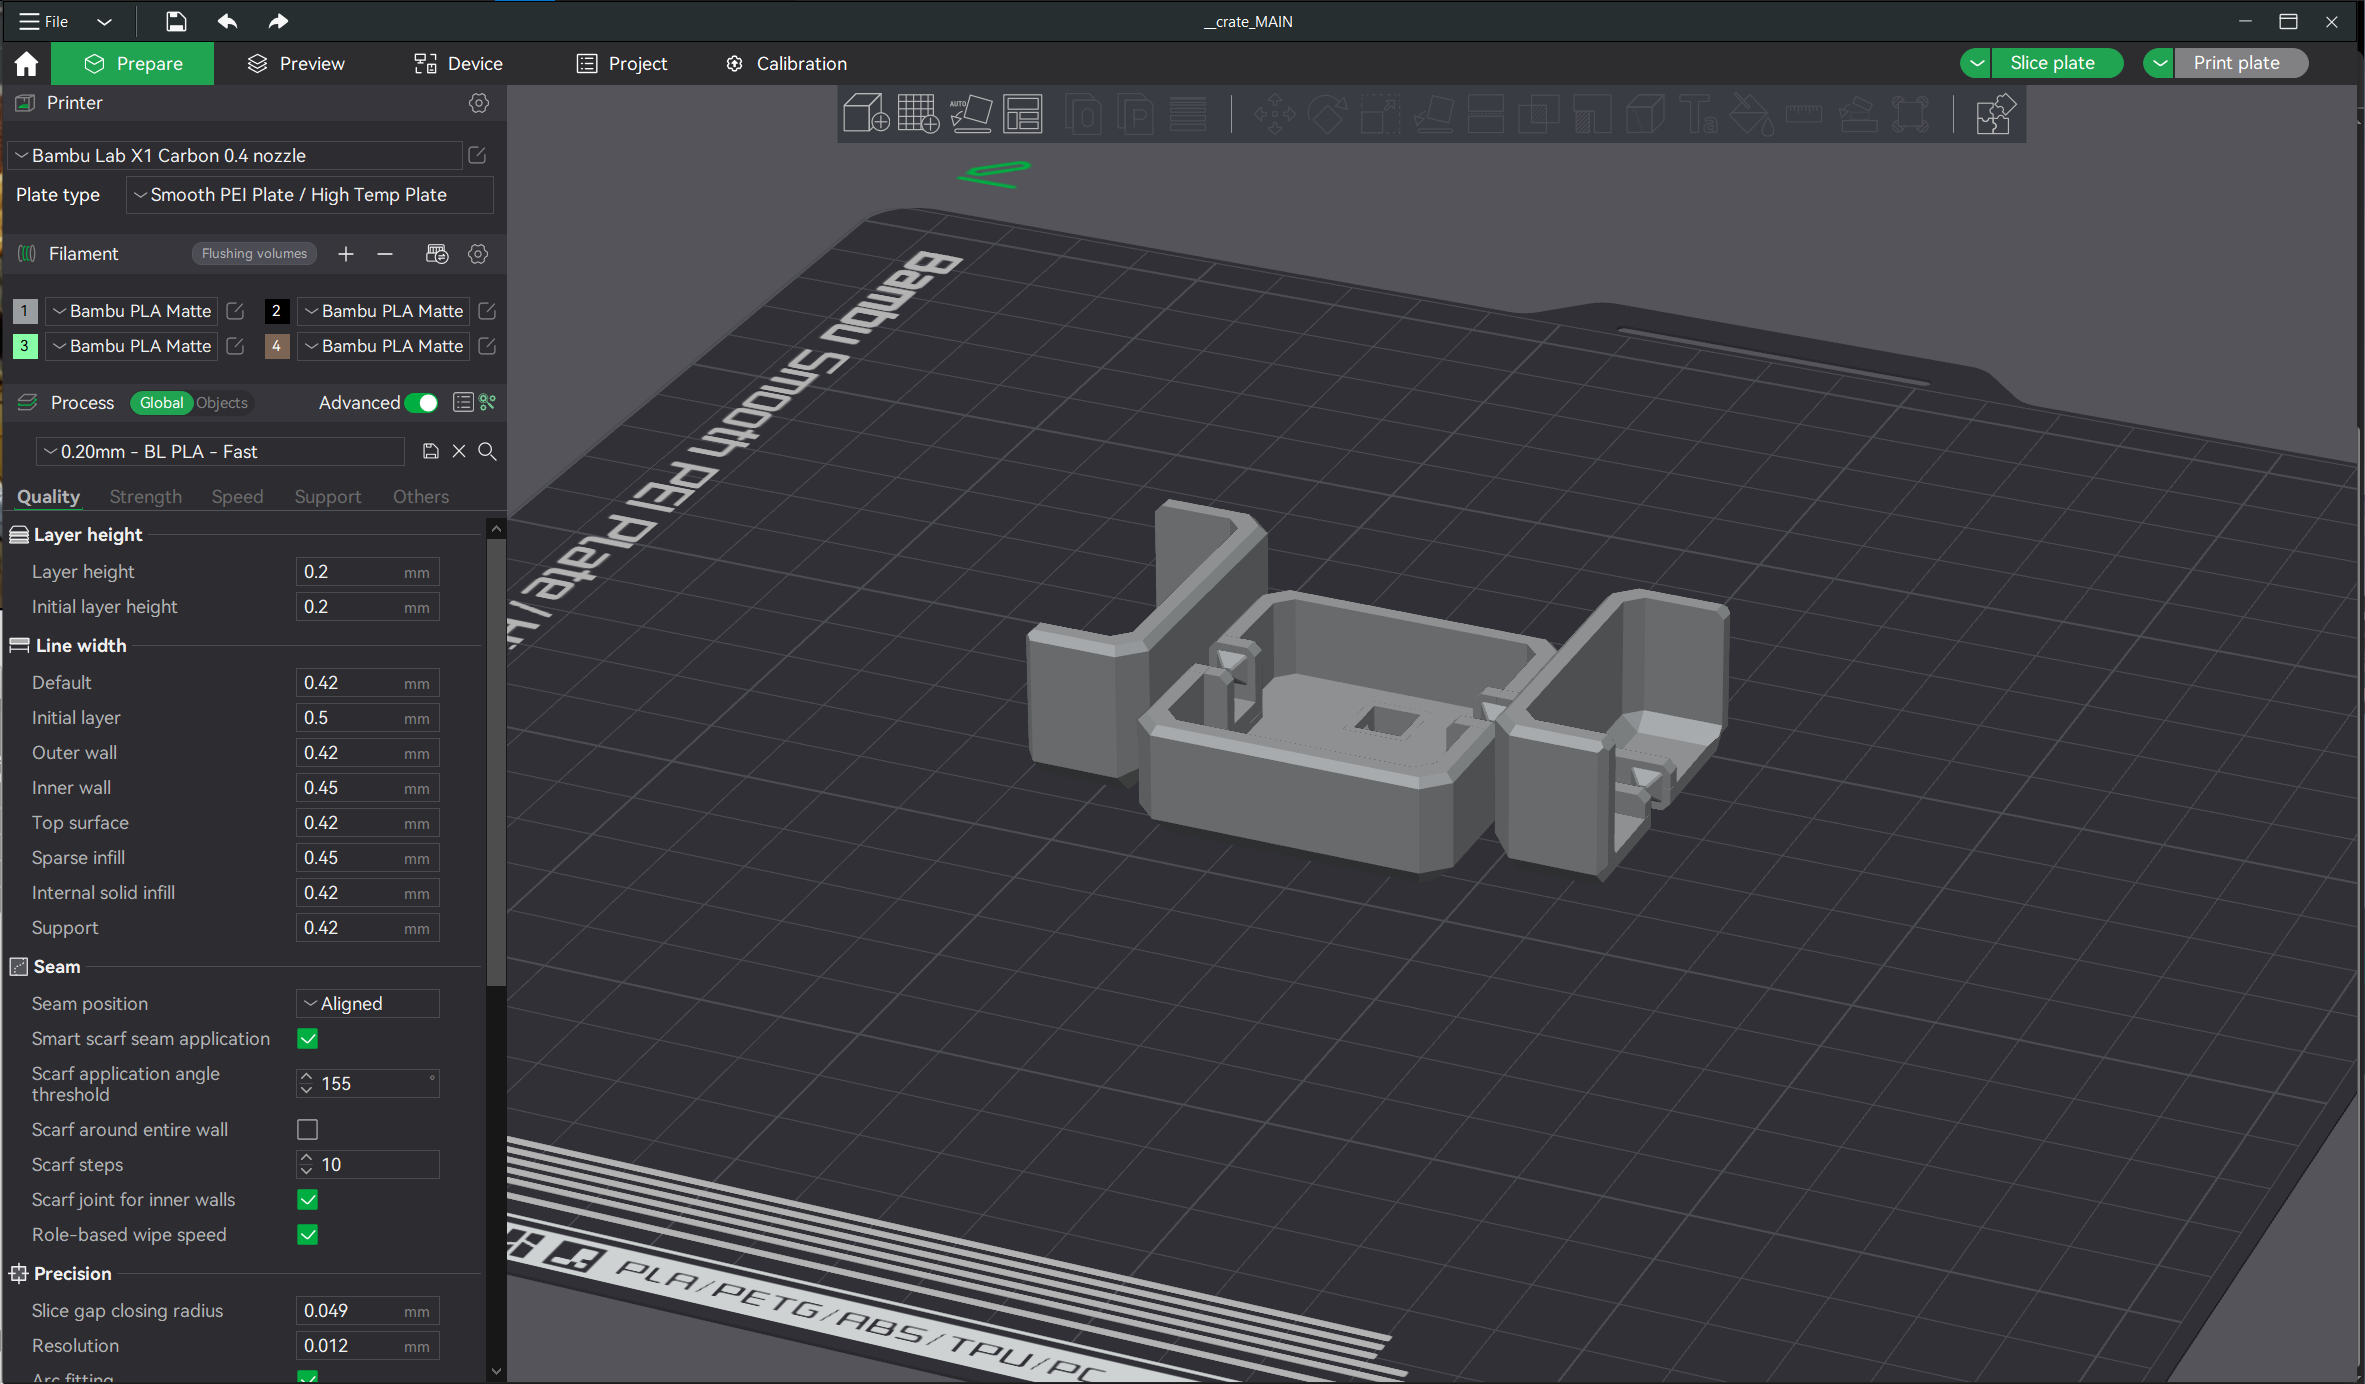
Usually while my prototypes are printing, I choose to play some video games instead of design more :)
I am currently enjoying Marvel Rivals and Monster Hunter Wilds! I'm Diamond II in Marvel Rivals (Vanguard main) and HR 65 (Charge Blade/Hunting Horn) in Monster Hunter Wilds as of this post.
When the print is finished, the main things that I check for are:
- Joint Articulation and Range
- are all of the joints moving the way I expect?
- are any parts clashing with each other?
- Printability
- are there any overhangs that need correcting?
- are any parts too fragile?
- do any parts need bed adhesion improvements?
- Shape and Form
- does the shape accurately match what I wanted?
I'll go through this list and see if any of these need to be addressed. If so, I'll go back and fix it in FreeCAD, print the new prototype, and check again. When it's satisfactory, I move on to my favorite stage, Details and Finishing.
Details and Finishing:
This is where I have the most fun. Adding in details and alterations to the form to really bring out the character of each model kit is incredibly fun and satisfying.
For the crate above, it functionally worked great but had no character or feeling to it. Here's an updated version with just some basic additions:
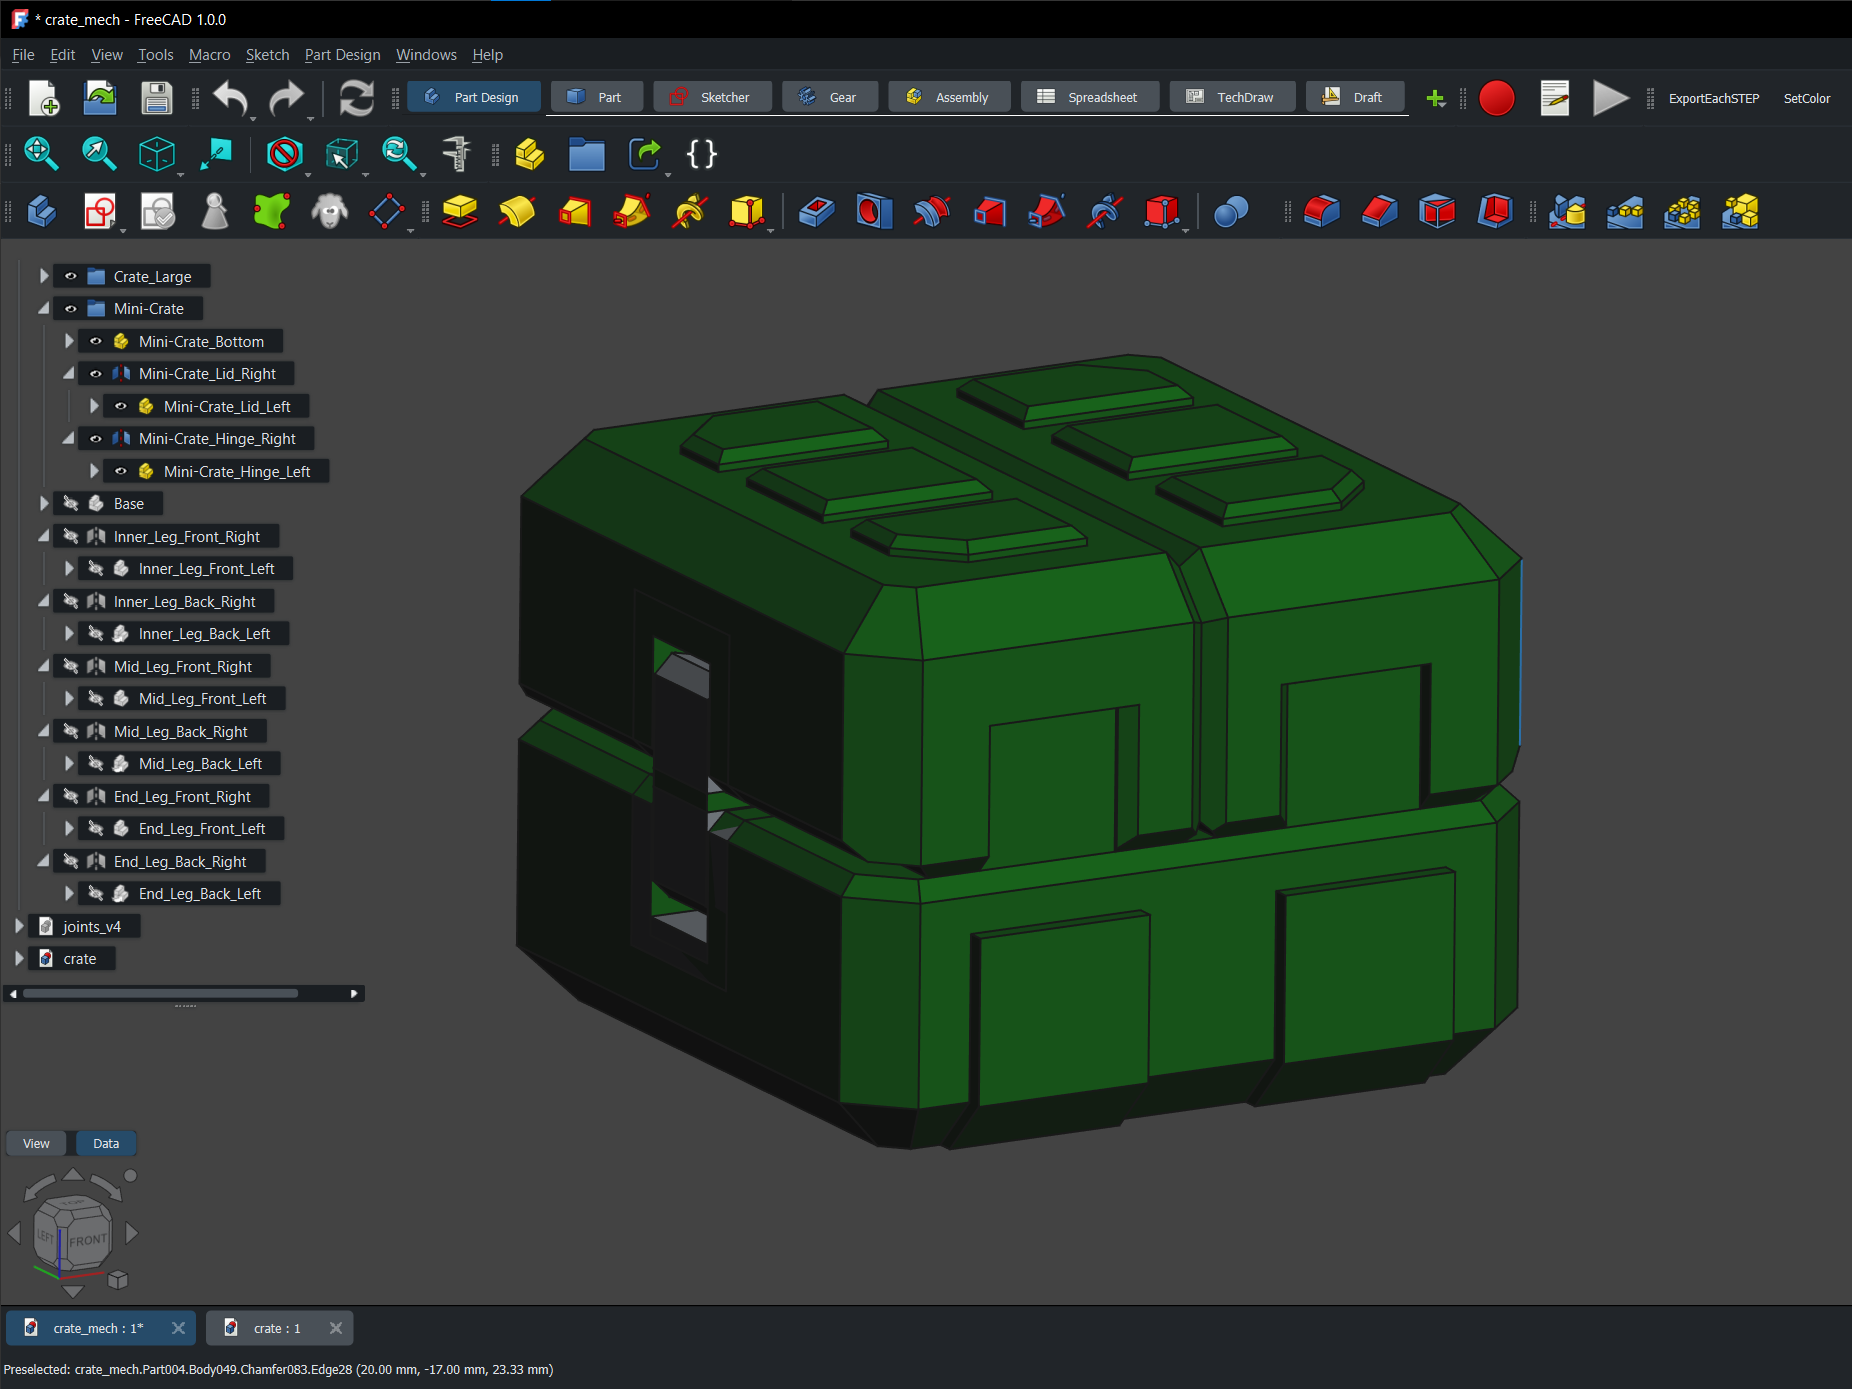
After that, I went even further to make it a mech as well!
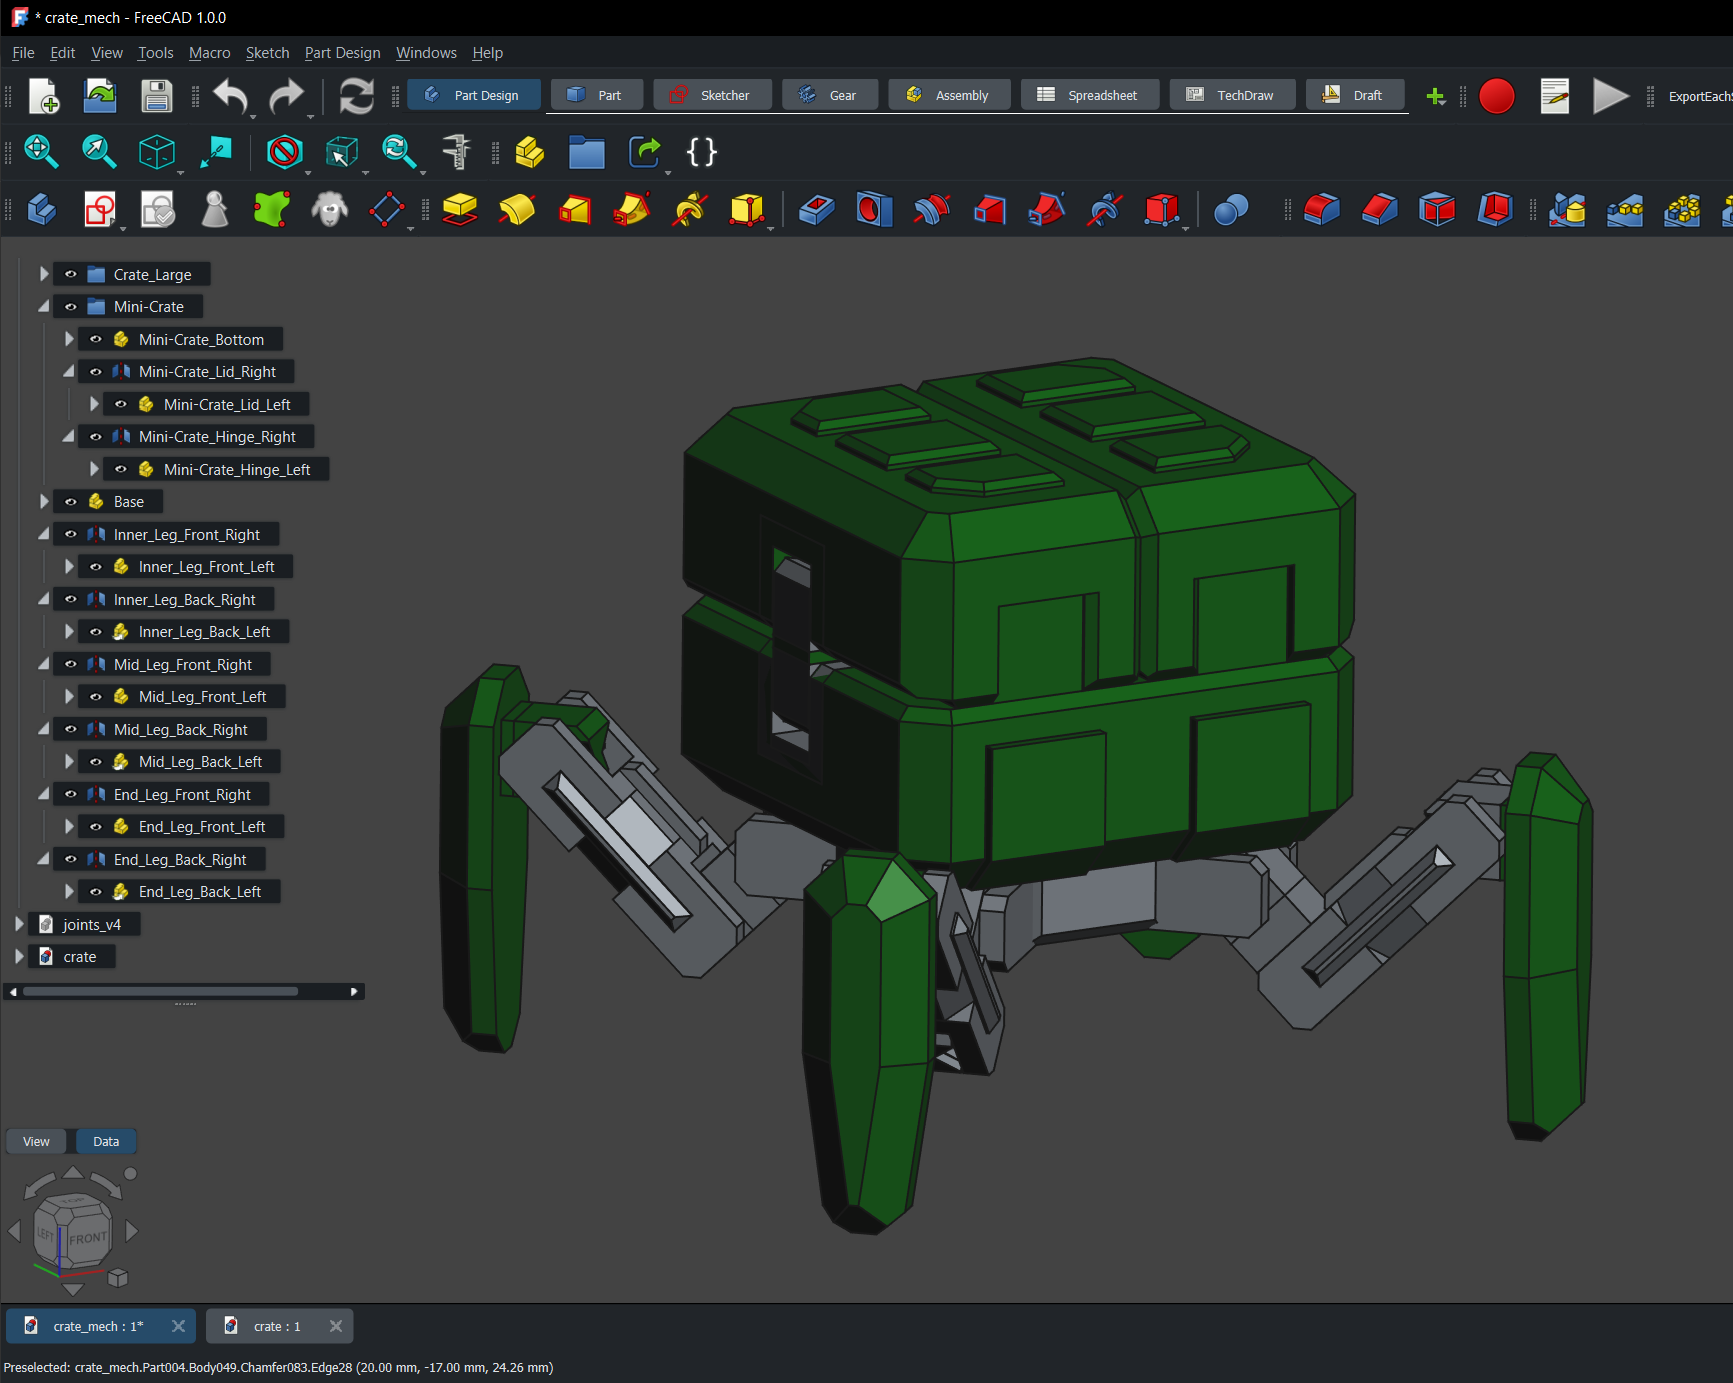
This isn't the final step of the stage of course as I have to print out a final test of the design with its full details. This Crate Mech printed well and after saving the .3MF file and .STEP files, the real final step is to take pictures to upload the design.
I use a Sony a6400 digital camera and have tried a variety of backdrops for my designs. What seems to do the best and looks the best to me is to pose the models on the print bed of my A1 or A1 mini.
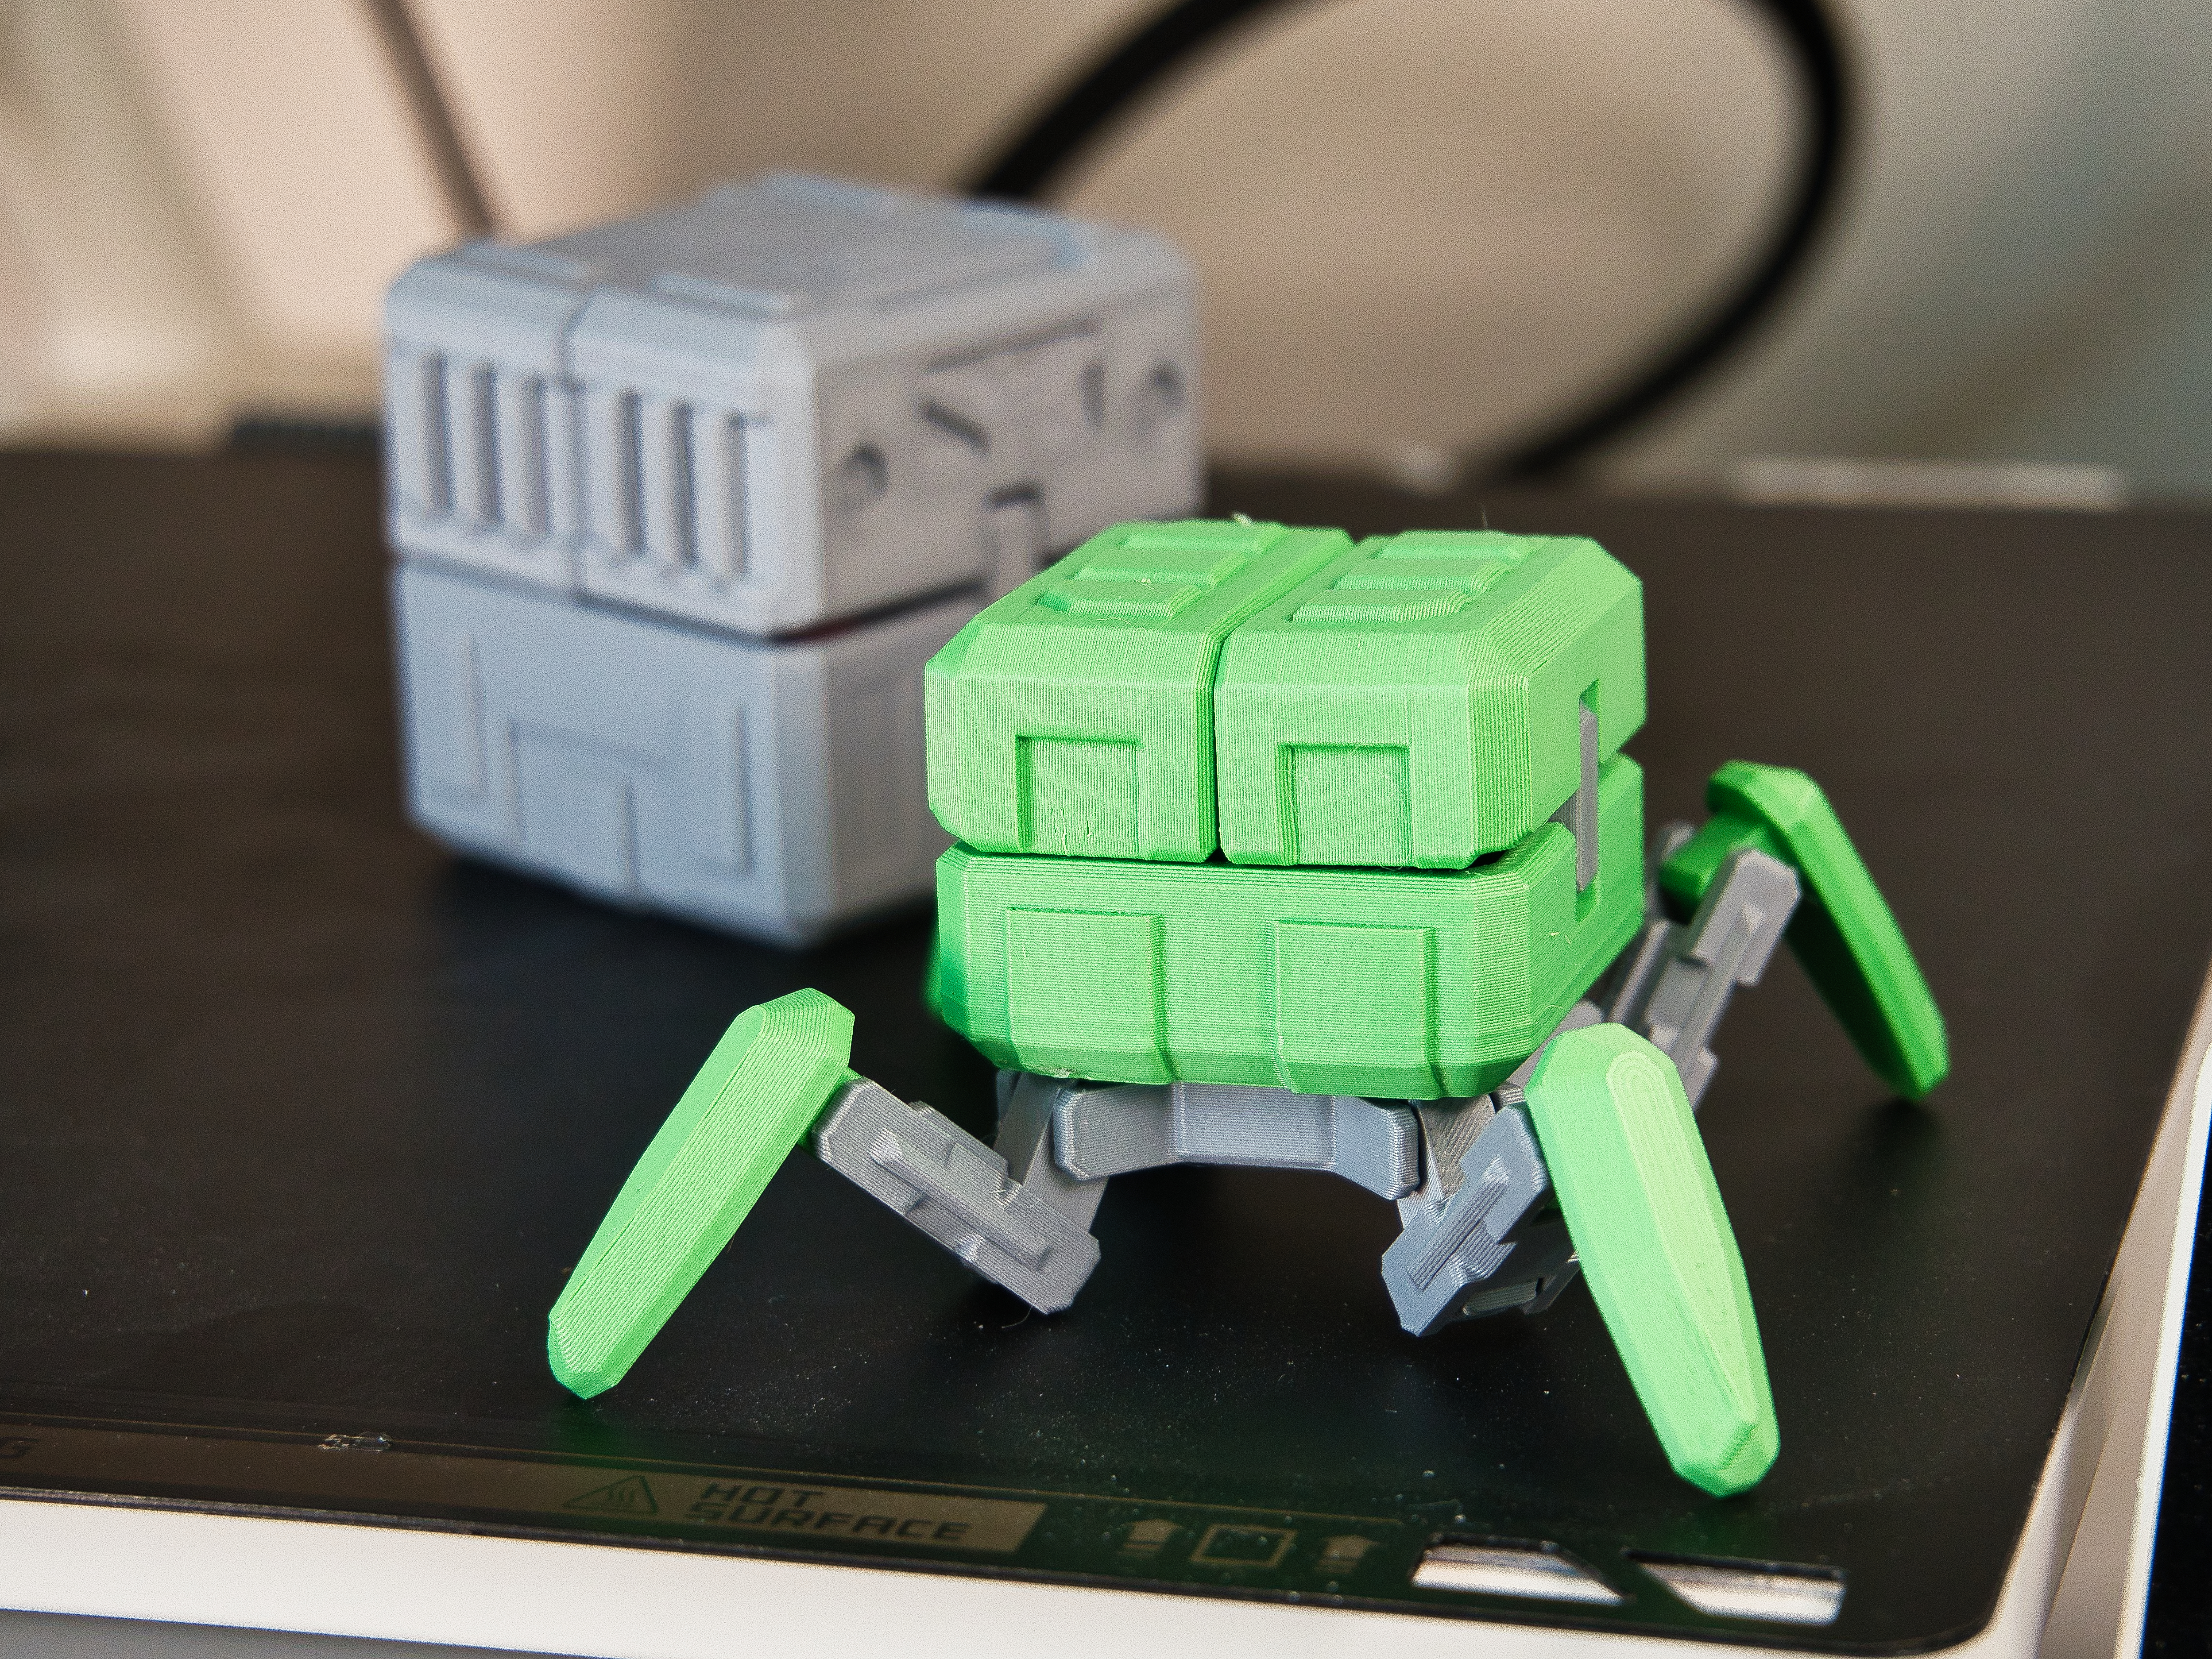
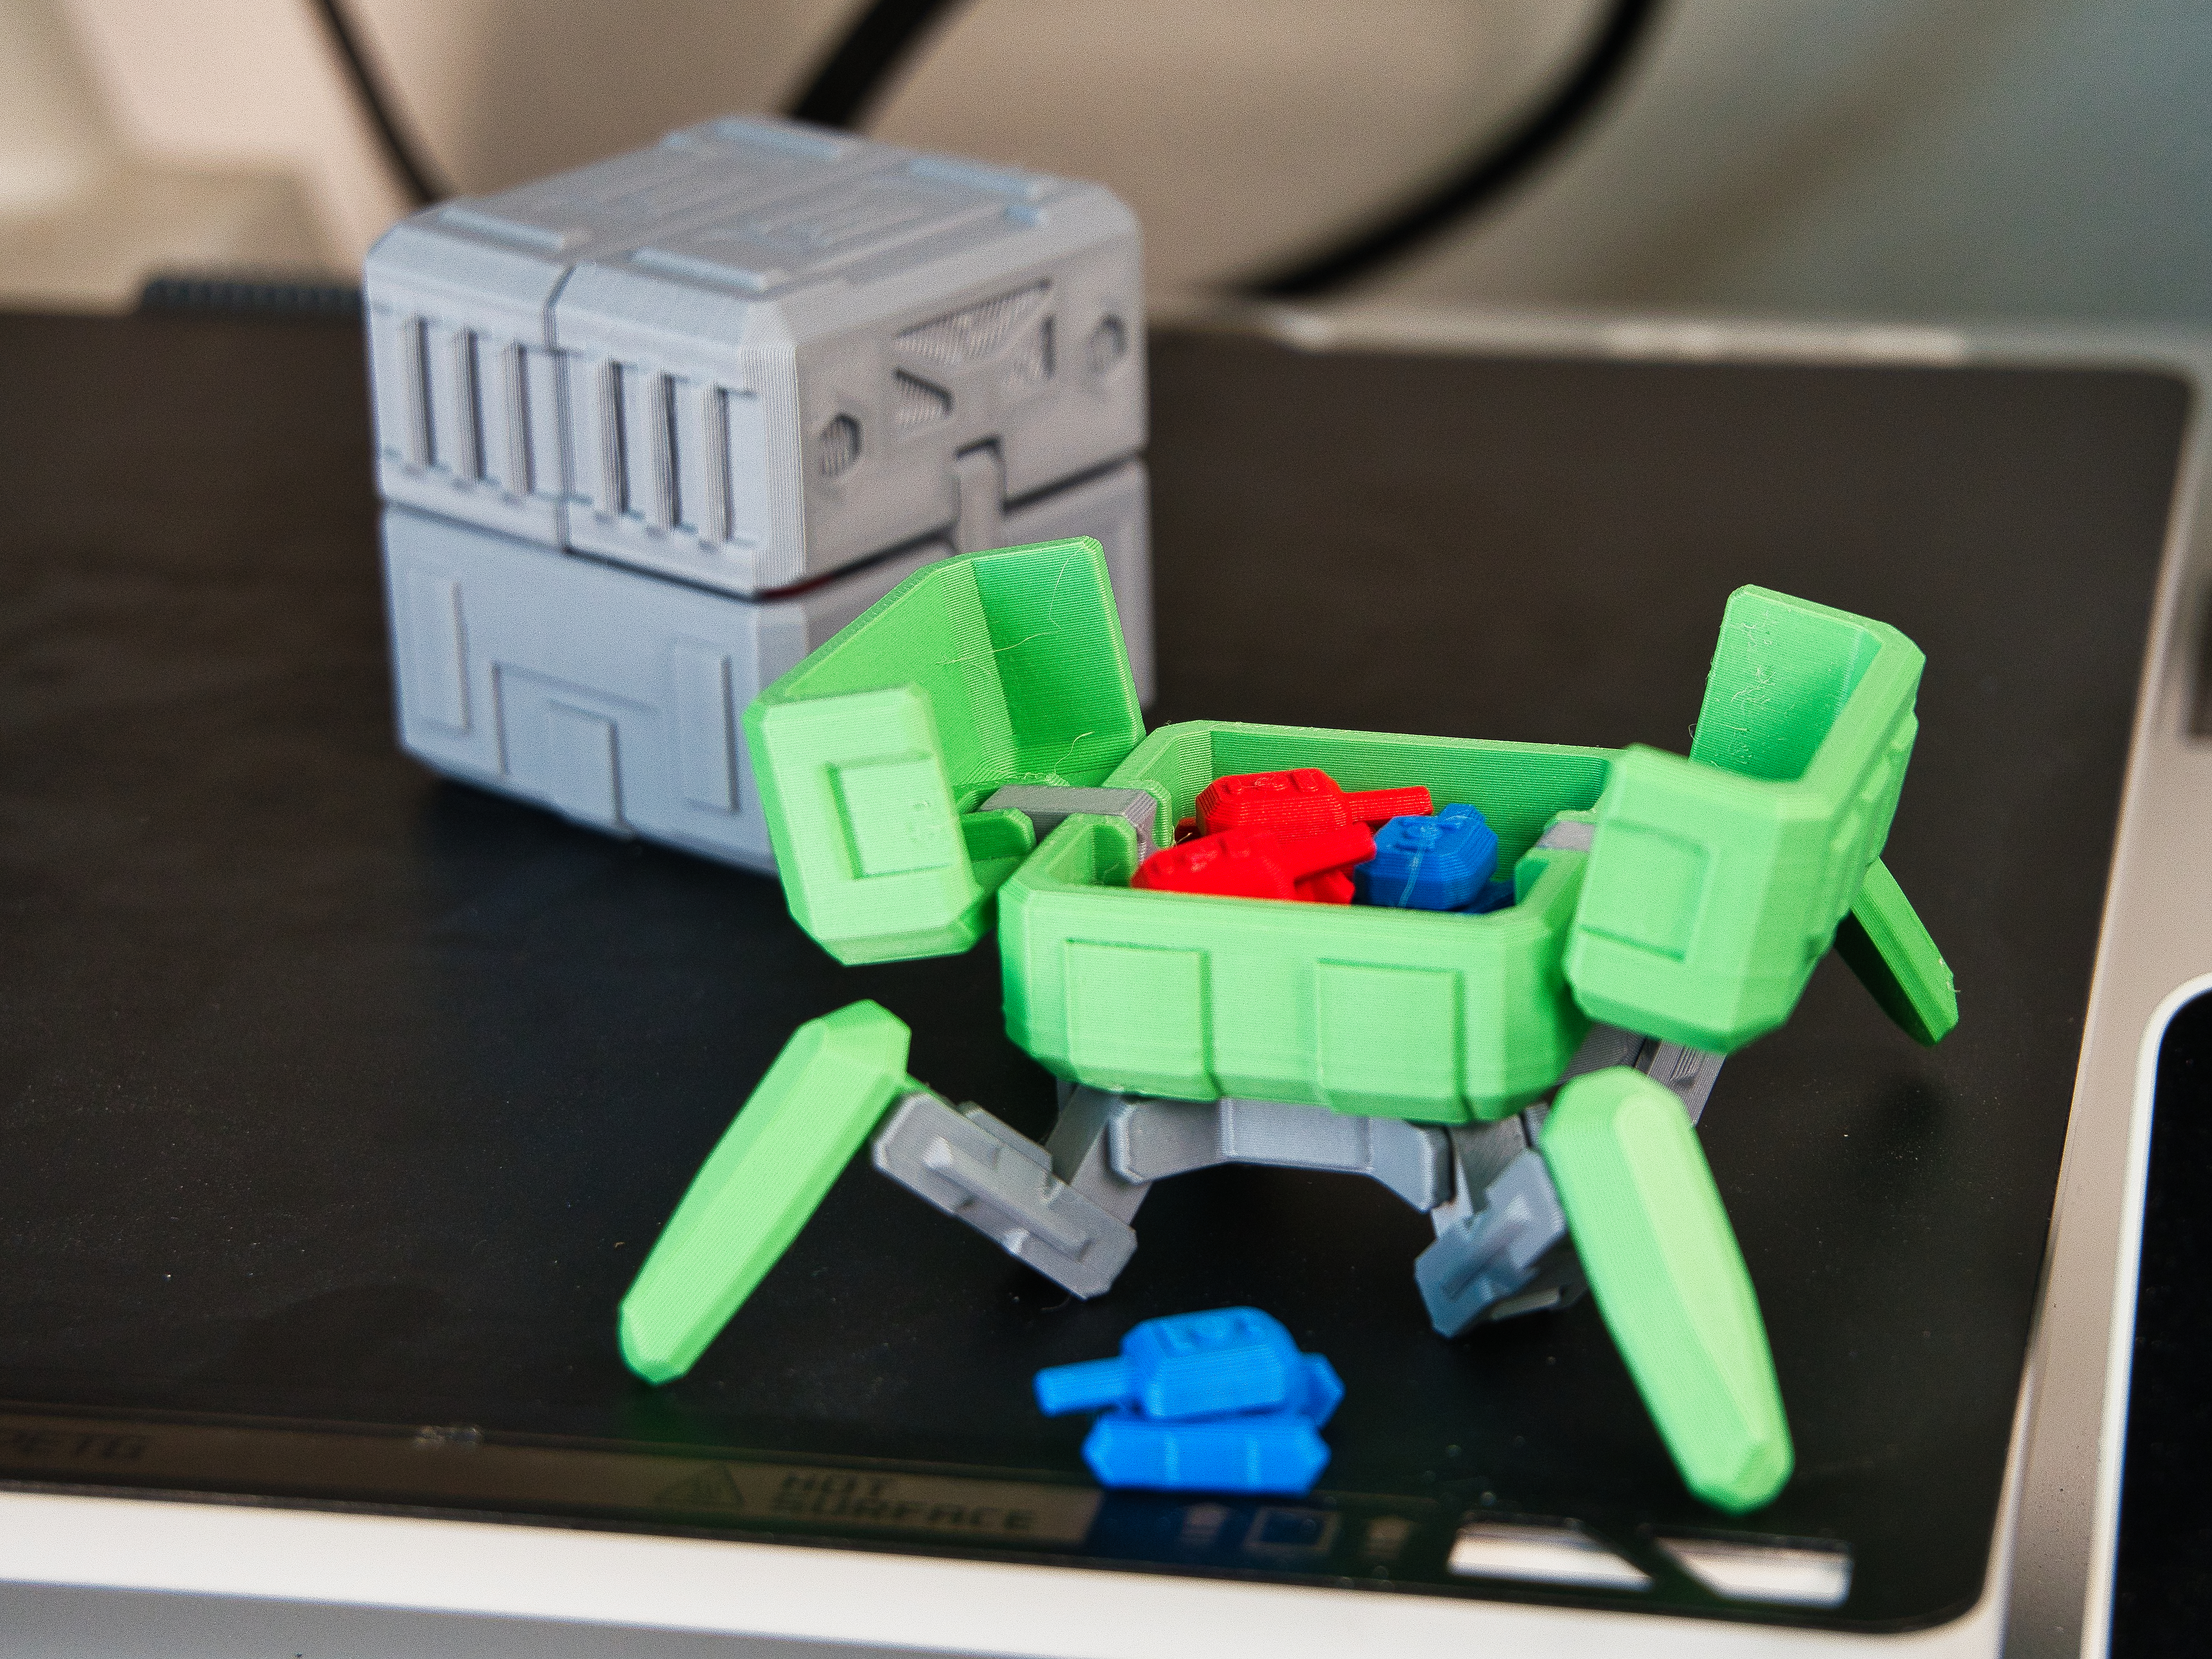
And that finishes out the process that I go through when designing a model kit!
I started 3D modelling in August of 2023, my first project was this F1 Car Kit Card:
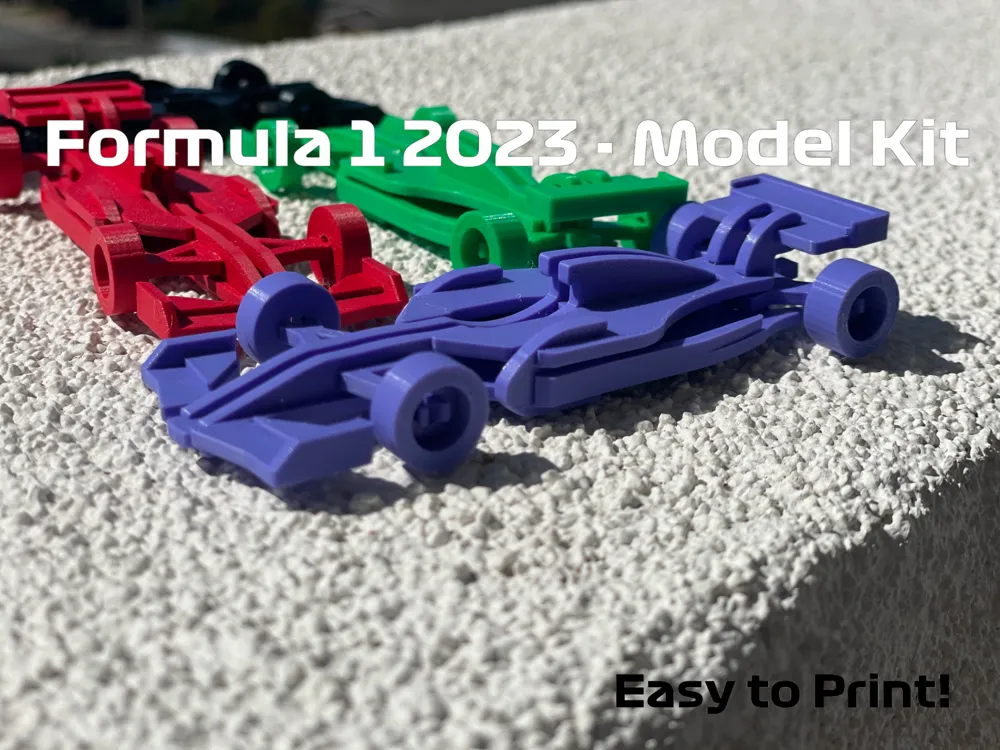
Since then, I've received an incredible amount of support from everyone here as well as from MakerWorld and continued to design more and more until I reached where I am today! So thank you very much to all of you who have downloaded my designs, left kind comments, and boosted me. Also, thank you to MakerWorld and Bambu Lab for creating a platform for me to grow with.
I hope this article was interesting or useful to you, thank you for your time!


