Playstation VR2 Charging Station Headset Stand


Print Profile(1)

Description
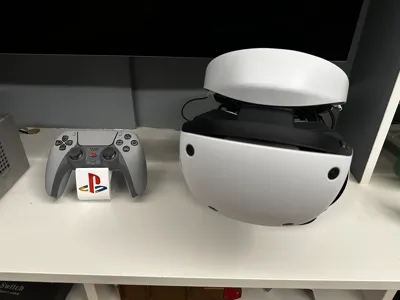
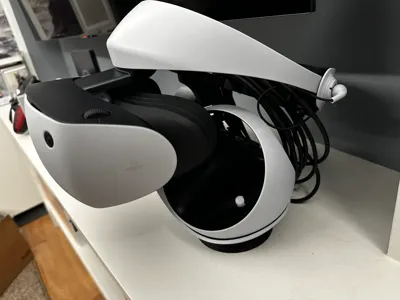
Compact stand design to store/display the headset with the official Playstation VR2 Sense Controller Charging Station (https://direct.playstation.com/en-us/buy-accessories/playstation-vr2-sense-controller-charging-station?smcid=pdc:us-en:web-pdc-ps-vr2:textblock-Buy%20now).
Printed with eSun Pla+ Black which matches fairly well to the charging station. Minimal supports are required and already set up in the print profile.
Requires 4 m3x8-10mm screws and suitable glue for your material.
Assembly
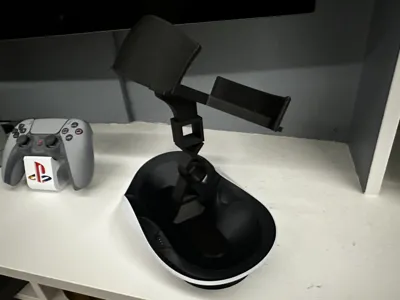
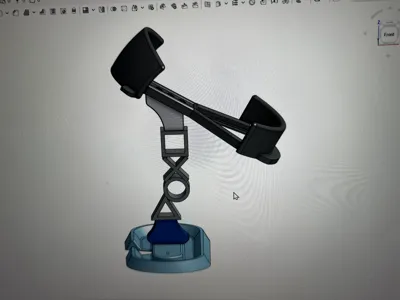
- Glue the two ends on the central support structure (reference the CAD rendering for this).
- Set the charging station into the base, making sure the cutout is to the back where the cord plugs in.
- Screw the support piece to the base using 2 m3 screws. The arrow on the bottom of the support should be pointed toward the front of the charger.
- Note that the support piece and headset rest are backward in the CAD file image and should be attached so that the higher part of the top piece faces away from the cord cutout in the base.
- When fully secure there should be a small amount of wiggle room between the print and the charger, but they will now move together without separating when you need to move the setup around.
- Attach the headset rest to the top of the support column using the other two m3 screws. The taller rounded-over wall goes toward the front.
I recommend extending the lenses out before setting the headset down or the facial interface may push around the controllers.
Update v1.1: Tigher tolerances on symbol piece ends.
License
You shall not share, sub-license, sell, rent, host, transfer, or distribute in any way the digital or 3D printed versions of this object, nor any other derivative work of this object in its digital or physical format (including - but not limited to - remixes of this object, and hosting on other digital platforms). The objects may not be used without permission in any way whatsoever in which you charge money, or collect fees.
Comment & Rating (14)