Little K Radio Case


Print Profile(1)

Description
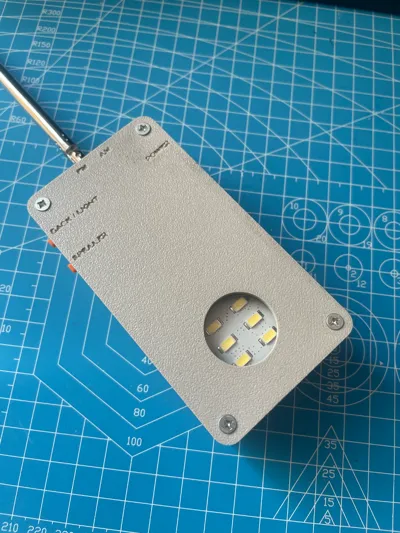
This is a 3D printed case for a DIY radio made by B station up master @小K制作所. Because I just learned modeling for a few days, it is relatively rough, but some people want the model file, so I will share it. When I have time later (after the lazy cancer is over), I will optimize it.
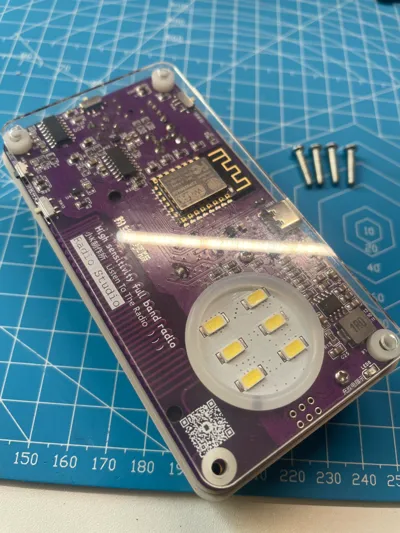
Because I don't have transparent materials on hand, the LED light on the back is borrowed from the original back cover when designing. When I buy transparent consumables, I will release a version without the original back cover. This will make the finished product thinner.
Due to the small size of the radio buttons and toggle switches, coupled with my limited skills, and the size is measured by hand, and is limited by the printer's accuracy, it is very likely that the printed shell needs to be reworked and polished. Please be prepared:).
In addition to the radio itself, you will also need to prepare:
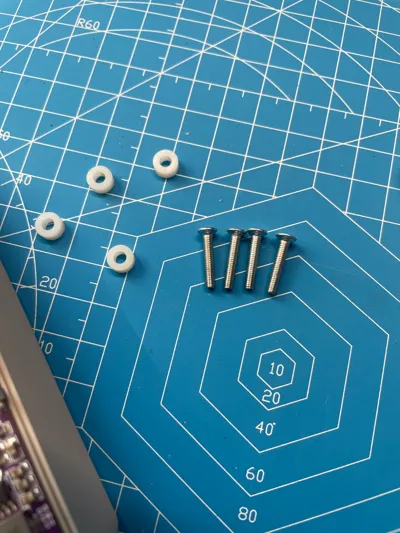
- 4 M3*16 countersunk screws
- 4 M3 hot melt nut inserts
From the original radio:
- 4 white washers
- LED light rubber ring
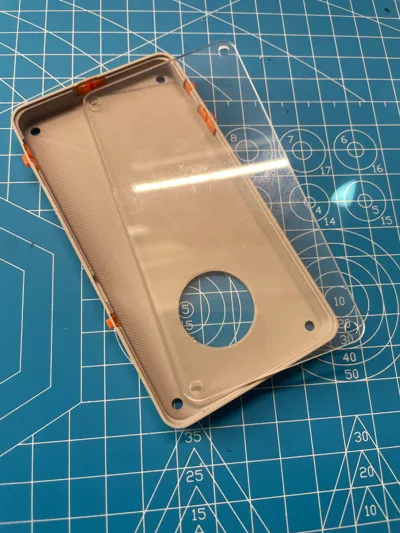
- Original back cover
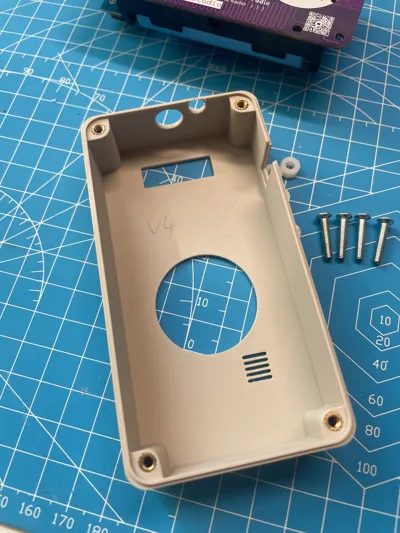
After printing, please refer to the accompanying picture for installation.
- Use a soldering iron to melt the hot melt nut inserts into the top cover
- Remove the radio motherboard and place it in the top cover
- Insert the LED light rubber ring and 4 white washers
- Carefully place the original back cover
- Put the printed switch into the printed back cover, and move it by hand to ensure it is smooth (it is highly likely that you will need to grind it here)
- Move the toggle switch to the same position as the switch on the radio, and then gently close it. When closing, pay attention to the 3 toggle switches and 2 push-button switches. Do not use brute force, otherwise it is very likely to damage the switch.
- Tighten the screws and radio antenna
- Toggle the switches and press the buttons to ensure that the functions are working properly.
Put on the relevant links:
Little K radio introduction:
Welcome to leave a message, share your printing effect map, and propose modification suggestions.
Comment & Rating (0)