XBOX X/S Controller Stick Cover (TPU)


Print Profile(2)

Description
If you enjoyed this model, remember to like, follow, and support my work with a nice
Boost Me (for free)
Boooost!
If you're interested in using my models, several membership plans are available, even if you just want to buy me a coffee to show appreciation for my work :D
Membership
Join me or buy me a coffèèè
If you have any requests, don't hesitate to ask in the comments or personal messages!
For anything, don't hesitate to contact me; every request will be fulfilled promptly!


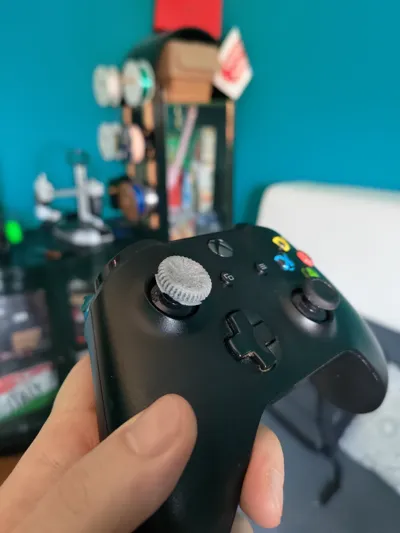
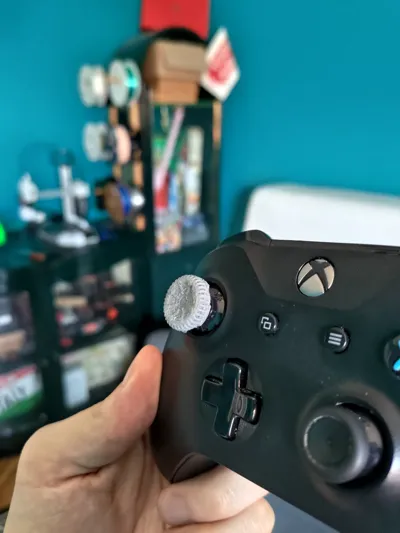
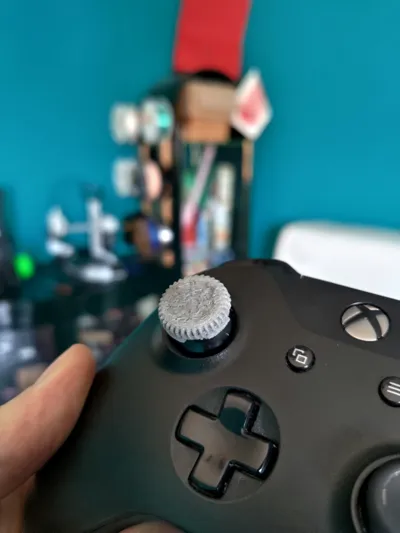
A modified version of a previuos existing model for a cover for XBOX Series X/S Controller sticks.
This is just a “cap” for the stick, intended to cover the plastic part when the rubber top fell off. And it happens a lot if you play hardcore ;)
As the title suggest the model has been ideated for TPU or rubber material a-like, in order to have best feelings with your thumbs.
Ah yes, and also to put it on, otherwhise it's impossibile to fit the lever.
Feel free to
Boost Me (for free)
!
Every model is PIP; the wheels are actually working.
I used AMS to achieve optimal multicolor results.
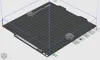
The model requires no assembly; you just need to carefully remove the tree supports already set in the print profile.
Better results can be achieved using the 0.2 mm printhead, at the expense of increased print times.
It's recommended NOT to change the print profile settings to avoid having problems with the final result.
I invite you to use tweezers and small pliers to remove the supports.
In more recent models, I've used smaller tolerances for the wheel alignment, to ensure a higher level of detail and fewer supports to remove in that area.
For this reason, it's necessary to "break in" the car once the supports have been removed (trying a couple of times) :D

Comment & Rating (26)