Roll Cage: Traxxas X-Monster / Maxx - RC


Print Profile(1)
Bill of Materials
- Vis à tête plate 3x8 mm x 1: https://traxxas.com/3931-flat-head-machine-screws-3x8-mm-6
- Vis à tête plate 3x10 mm x 1: https://traxxas.com/4859-flat-head-machine-screws-3x10-mm-4
Description
Pickup roll bar Traxxas X-Monster ( Part number :
7692 - 7691 - 7697 )
👇read carefully
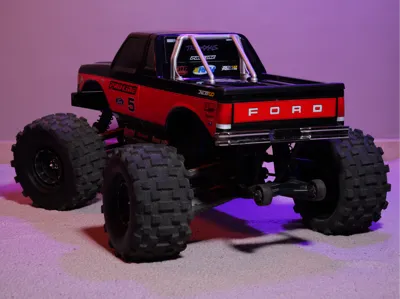
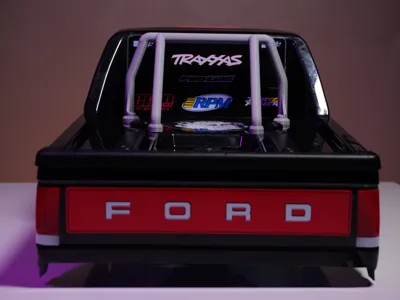
I created this bed roll bar for the X-Monster series bodies, inspired by pickup style roll bars,
and some monster trucks, like the real Bigfoot No 8
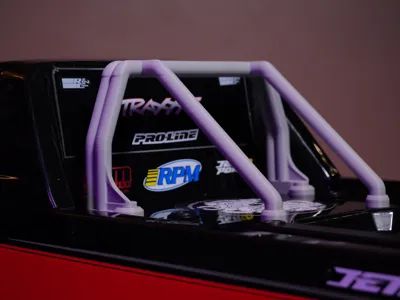
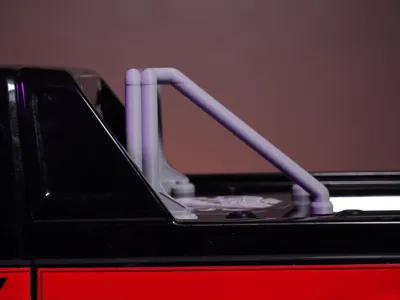
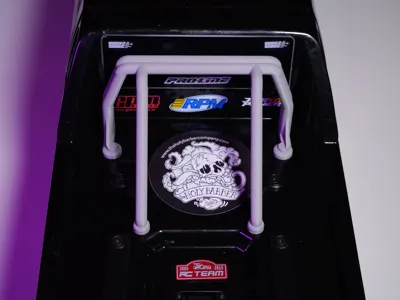
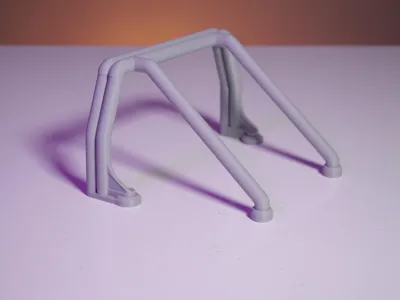
Choose between two types of roll bars: the single tube ideal for mounting lights and the double tube for a massive style
_Compatibility_
⚠️ Compatible bodies:
X-Monster BIGFOOT body support: 7692Ford F-150 series body: 7691 - 7691R - 7691-BLUE - 7691-BLK
Chevrolet GMT400 CK series body: 7697 - 7697R - 7697-BLUE - 7697-GRN - 7697-RED
Boost Me (for free)
A small boost to support a small independent creator! This model was entirely modeled by me using Fusion 360, and if you feel like it, show your support and don't hesitate to drop your best boost, it gives strength and motivation!
👇 Important points, tips, tricks and materials 👇
The models below were printed in PLA TOUGH+
- PLA Tough+ offers better flex and impact resistance, it will be more resistant than Classic PLA
- Each part was printed on an A1 mini with a Textured PEI plate,
You will need almost nothing at all!
- Hex key- Needle-nose pliers
- 4 flat head screws ⌀10 M3x8mm / 4 button head screws M3x8mm
or
- 4 flat head screws ⌀10 - M3x10mm / 4 button head screws M3x10mm- No glue required
- List of parts per printable plates
Plate - 1
x1 : Rear assembly plate
x2 : Cupped washers
Plate - 2
x1 : Single roll bar
Plate - 3
x1 : Double roll bar
Plate - 4
x1 : Drilling aid guide, body 7692 - 7697
- Assembly guide, tip :
1 - Once all your parts are printed, take the drilling aid guide
2 - Then, position it on part 7692 to mark the holes on body 7692 or 7697
👇


3 - Using a marker pen, a screwdriver or a punch, make your marks for drilling with a 3.5mm, 4mm or 5mm metal drill bit
You can also use a reamer if you have one
⚠️ Tip : you can drill directly with the guide in place on part 7692
👇

4 - All that remains is to fix everything using 4 flat head or button head screws of 3x10mm preferably, if you only have 3x8mm it will also work
👇


⚠️let the plate cool down before removing the 3D parts⚠️
Presentation Short
License
You may create derivative works based on this object, provided that all such derivative works are published exclusively on the MakerWorld platform and include proper attribution to the original creator. You may not share, upload, host, distribute, or publish this object—or any derivative work of this object—on any other digital platform, marketplace, or distribution channel. Commercial use of this object and any derivative works is strictly prohibited. This includes, but is not limited to, selling, renting, sublicensing, or using the object in any context in which you receive monetary compensation or other financial benefits.
Comment & Rating (0)