Customizable AIO Fan cover (360, 280, 240)


Print Profile(4)


Description
Disclaimer: This is my very first model uploaded to MakerWorld! I am still learning the ropes of 3D design and optimization.
Any feedback, tips, or suggestions for improvement are highly welcome. If you run into any issues during printing or have ideas for new versions, please let me know in the comments. Thank you for supporting a new creator!
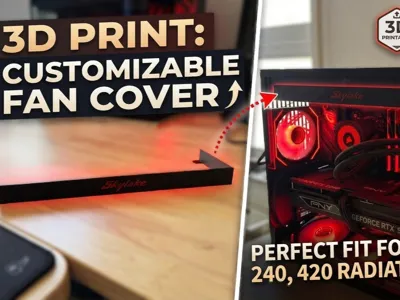
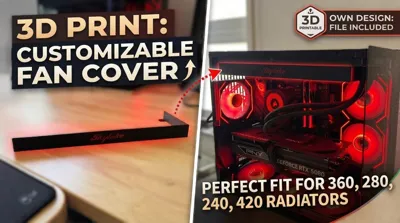
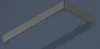
🖥️ Customizable AIO Fan Cover / Radiator Shroud (240, 280, 360, 420)
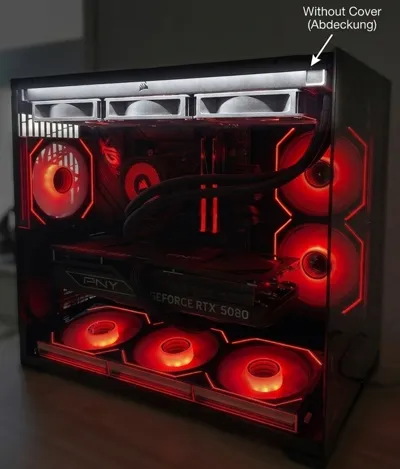
Add the perfect, clean finish to your custom PC build! This customizable 3D printable file allows you to print and install a sleek, branded fan cover that perfectly aligns with standard PC fan and radiator layouts. It’s designed to mask fan frames and cable clutter, offering a premium, customized look.
✨ Key Features:
- Premium Aesthetics: Masks ugly fan frames and cable mess for a pristine, professional build finish.
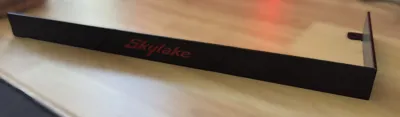
- Integrated Branding: Features custom text or logos (as seen in the image “Skylake”). The file is structured to be customizable; you can add your own logos or text directly in your slicer.
- Universal Radiator Support: 4 versions for 240mm, 280mm, 360mm, and 420mm radiators.
- Perfect Alignment: Holes are spaced to perfectly align with standard 120mm and 140mm fan mounting points.
- Simple Install: Mounts easily using existing long radiator/fan screws.
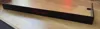
- Sleek Edge Profile: The model is designed with a sleek edge, as shown in the product image.
🔧 Print Settings (Recommended):
For best results near hot internal PC components, using a high-temperature filament like PETG or ABS is highly recommended over standard PLA.
- Material: PETG (recommended for heat resistance), ABS, or ASA.
- Layer Height: 0.2mm - 0.24mm for a smooth surface.
- Supports: No supports needed if printed flat on the build plate.
How to customize:
- Download the model and open it in your slicer
- add your own logo or text to the model
- mirror your model (since the model is face down on the buid plate)
- move your logo or text on wherever you want to have it on the cover
- slice and print
📖 Installation Guide:
- Print all parts for your AIO
- Remove all supports
- Align the 4 parts and glue them together using standard instant adhesive or superglue
- Align the printed fan cover with your radiator's mounting holes. remove the “overlapping” screws from the fans
- Install the shroud using the removed radiator screws
- Ensure that all screws are tight to eliminate vibrating noises
💬 Community & Feedback:
I’d love to see photos of this installed in your builds! Please share your makes and tag me. If you enjoy this design, please leave a rating. Happy printing!
License
You shall not share, sub-license, sell, rent, host, transfer, or distribute in any way the digital or 3D printed versions of this object, nor any other derivative work of this object in its digital or physical format (including - but not limited to - remixes of this object, and hosting on other digital platforms). The objects may not be used without permission in any way whatsoever in which you charge money, or collect fees.
Comment & Rating (0)