IP CAM support integral to the heatbed for A1 Mini


Print Profile(3)
Description
Boost Me (for free)
If you like it, boost it, it's free!
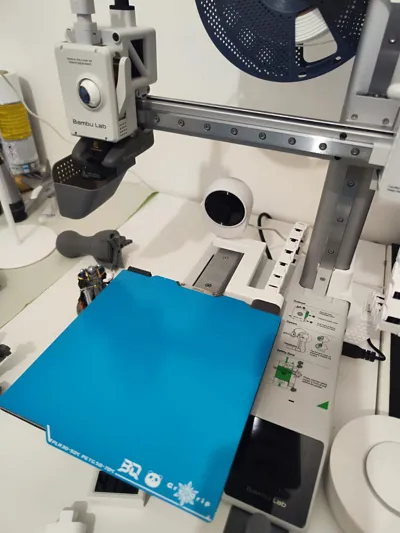
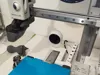
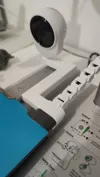
This 3D-printable arm allows you to mount an IP camera directly to the heatbed of your Bambu Lab A1 Mini.
By following the bed movement, you can achieve professional, stabilized time-lapses and monitor your prints with ease.
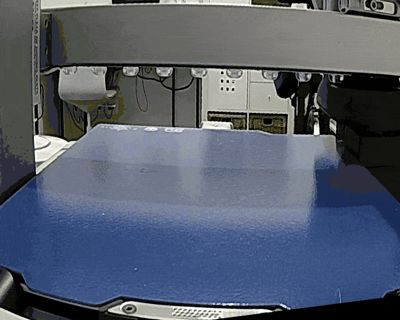
Nice timelapses even on the A1 mini, without slowing down printing or reducing quality.
A simple timelapse taken with this mount:

Safety & Design:
- Collision-Free: The arm has been carefully designed to ensure it never comes into contact with the print head, regardless of the height or position of the nozzle.
- Current Compatibility: Includes a tested version for a generic Chinese IP cam and a universal profile (more info later).
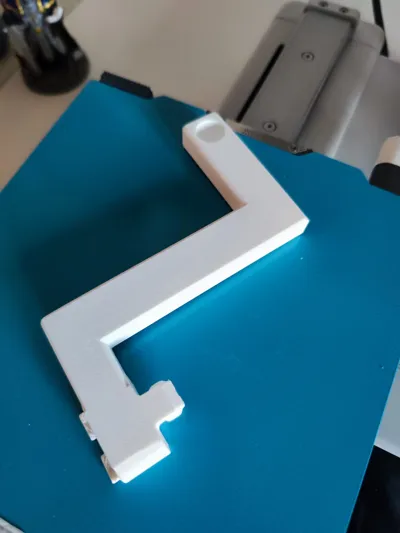
The arm mounts directly to the cable clamp that connects to the print bed and is compatible with any cable protection chains, but also works without a chain.

UPDATE 1:
I added a universal profile, simply measure the ball mount size of your IP cam and follow the instructions:
How to customize for your camera (Bambu Studio)
If your camera ball joint has a different diameter, you can easily adjust the mount directly in Bambu Studio without needing CAD software:
- Download and open the provided UNIVERSAL profile .3mf file.
- Switch to the "Objects" tab in the left sidebar.
- Locate the "Negative Part" (Sphere) nested under the main model.
- Select the sphere and use the Scale tool (or the dimension boxes) to change the X, Y, and Z size to match your camera's ball joint diameter (mine is 14mm).
- Pro Tip: Add a small tolerance (e.g., +0.2mm) to your measurement for a perfect "snug" fit.
Slice and print!

Recommended Print Settings: For a solid and durable arm, I suggest the following:
- Material: PETG (recommended) or PLA.
- Walls: At least 4 perimeter loops.
- Infill: 25% or higher.
License & Community Collaboration: I have set the license to prohibit unauthorized copies, remixes, or re-uploads to other platforms to protect the integrity of the original design. However, I would be delighted to see the community contribute! * If you adapt this model for other cameras (like Blink Mini, Tapo, Eufy, etc.), or for generi mount (not ball ones) please feel free to upload your Print Profiles and modifications directly here on MakerWorld.
- I will personally make sure to add your profiles to the main description and give you full credit/thanks for your contribution!
- If your camera has specific dimensions, send them to me in the comments, and I will try to create a dedicated version for you.
Boost Me (for free)
if you like it, boost me!
License
You shall not share, sub-license, sell, rent, host, transfer, or distribute in any way the digital or 3D printed versions of this object, nor any other derivative work of this object in its digital or physical format (including - but not limited to - remixes of this object, and hosting on other digital platforms). The objects may not be used without permission in any way whatsoever in which you charge money, or collect fees.
Comment & Rating (0)