MIM Buildplate Magazines Holders - Multimaterial


Print Profile(2)

Description
Anyone who's stumbled across this page has probably printed one of my bambu lab build plate magazines!

Now that you've proven a long print isn't a problem for you, here's another opportunity :D
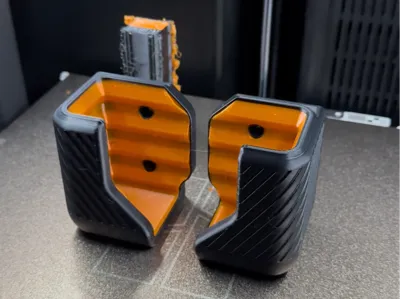
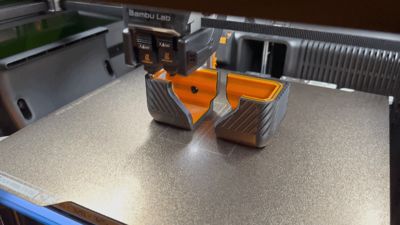
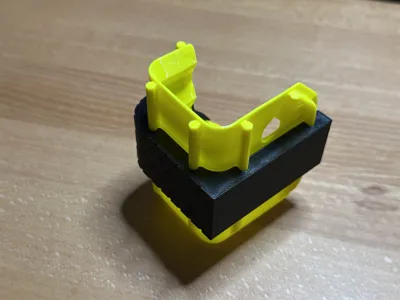
These holders are printed from a combination of PETG HF and TPU95A.
Why all this?
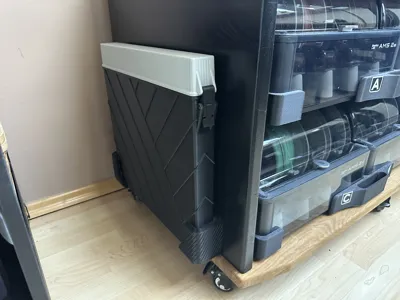
In my case, I mount the holders to the side of my printer stand (some of you might already know my setup from the corresponding MakerWorld post).
Despite no deformation or extreme stress, the printer still transmits some of its vibrations to the stand.

The TPU parts embedded in the PETG ensure that the magazine isn't just held, but actually gripped firmly.
This prevents the magazine from tilting back and forth in the holder due to slight vibrations. Essentially, it's a feature to combat annoying noises.

Another advantage of this partially flexible design is that this holder is suitable for all three versions of the build plate magazines.
The magazines have surface features that make each one unique.

A perfectly fitting holder compatible with all variants would otherwise have been virtually impossible.
Finally, I simply enjoy these kinds of projects. I like to utilize everything that my machines can do :)

Update April 17th 2026:
Single Nozzle Profile with separate parts is now online!

For this purpose, I changed the geometry of the form-fitting connection between the two so that they are printed separately and, after printing, can be securely fitted together without aids such as glue.
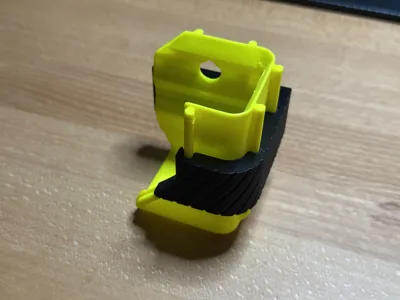
Here is a printed cross-sectional diagram to illustrate the connection method.

The TPU padding is held in place at various points to prevent it from slipping when the build plate magazine is removed.
##################
#####Disclaimer######
##################
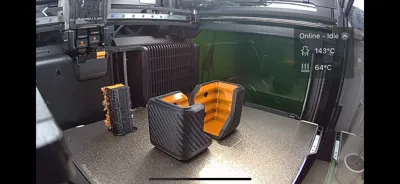
The print in place profile is not a simple print.
I know it could have been designed very simply, but that's not what enjoy doing.
To achieve optimal results, a dual-nozzle or tool-changer printer is ideal.
I will also state the obvious - do NOT print the full model from a rigid filament, just don't.
Please! You will not be able to use it.
But i will share a few thoughts of mine:
Since the deformable features on the TPU parts are very, very thin, I could certainly imagine using TPU for AMS—it might be soft enough for this application, but I haven't tested it myself. Printing would then also be possible with a single-nozzle printer, but it would take a very long time.
Another approach would be to print the entire model in TPU (ideally with as many walls as possible,
since the geometry that ultimately deforms is very thin and consists only of walls).
For the APX and A1 Mini versions of the holders, this might be acceptable due to their lighter weight compared to the H2 version.
Have fun and best regards, Simon
License
You shall not share, sub-license, sell, rent, host, transfer, or distribute in any way the digital or 3D printed versions of this object, nor any other derivative work of this object in its digital or physical format (including - but not limited to - remixes of this object, and hosting on other digital platforms). The objects may not be used without permission in any way whatsoever in which you charge money, or collect fees.
Comment & Rating (17)