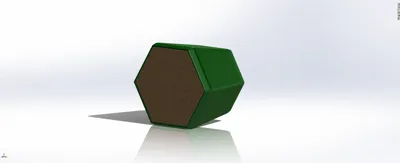
RPC Speaker Kit (Retro Printable C-Note)


Print Profile(1)
Description
Description
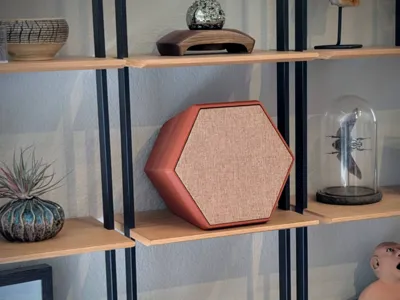
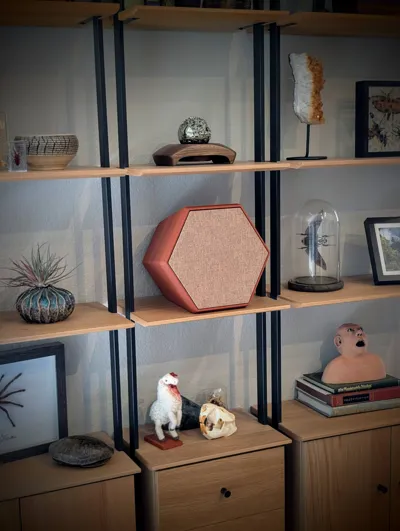
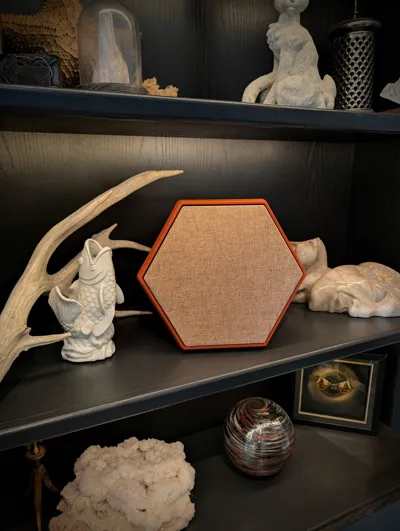
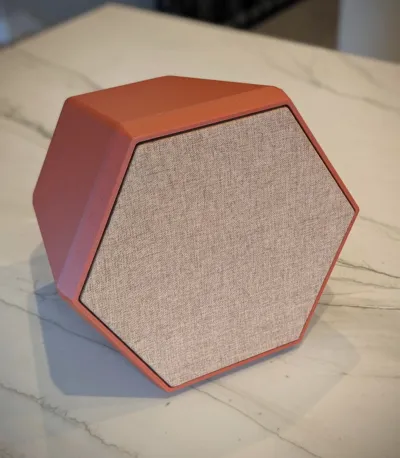
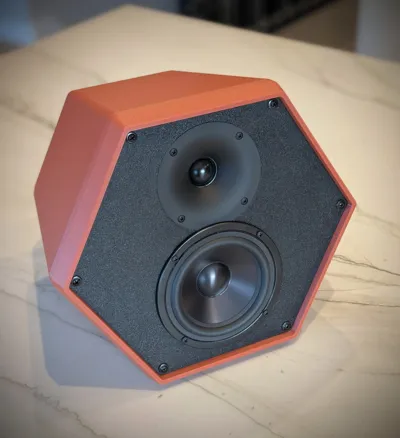
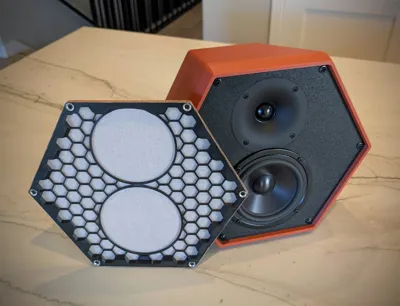
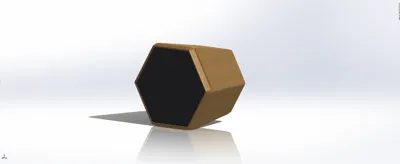
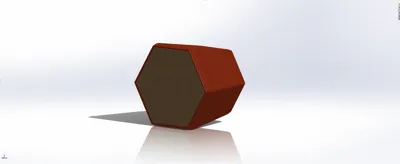
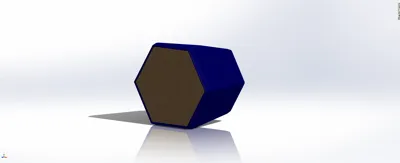
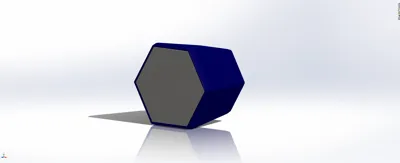
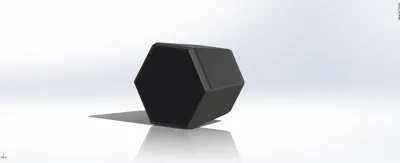
The RPCs are 3d printable speakers based on the popular C-Note kit offered from PartsExpress. Instead of the traditional rectangular box, these speakers have a very interesting retro feel to them and sound just as good (or better!) than the originals. Once all the parts are printed, the speakers go together quickly and you don't have to worry about the tedious sanding and finished typically needed for wood enclosures. By changing the color of the filament and picking different grill materials, you can really change the look of the speaker.
Parts List
You will need the following parts to build the speakers. Of course you can find other sources or alternates, but everything listed below has been proved to work with the kit. Everything listed below assumes a pair of speakers.
Main Speakers
- 1x - C-Note Speaker Kit (you can buy these without the flat pack enclosures)
- 12x - #8x1" Truss Head Wood Screws (larger heads are better, and the heads hold the grills in place, so a truss head is ideal)
- 1x - Foam Tape (¼" x 1/8", roughly 4 feet in total to seal baffle to enclosure)
- 2x - cabinets (printed)
- 2x - baffles (printed)
- 3x - spools of filament (see notes below, with the included print profiles, you will need 1.5KG per speaker)
- 1x - filament for baffle and speaker grills (you will need about 500g of flament for the other parts)
- 2x - optional angled feet. you can add a rear foot to adjust the amount of backwards tilt the speaker has, depending on location
Speaker Grills
- 2x - grill frames (printed)
- 1x - Grill Cloth (roughly 2 square feet. this is the one I used, there are MANY options available)
- 12x - 10x5mm Countersunk Magnets
- 12x - M3x8 Wood Screws (you can optionally glue the magnets in place if you don't have these screws, but the assortment is nice to have)
Printing Notes and Filament Recommendations
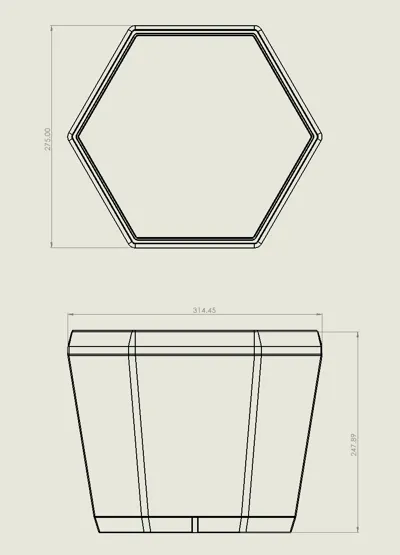
Each speaker has 3 main parts that need to be printed, the cabinet, baffle (the part the holds the drivers) and the grill frame (optional for the speaker grills). Below are recommendations for materials and settings for each.
- Cabinet. Use a very rigid material. PETG is not ideal for this as it's not as rigid as other materials and the ‘toughness’ is actually a downside for this applcation. PLA is actually pretty good for this, as long as you don't overtighten fasteners and don't keep the speakers in direct sunlight. It's rigid, cheap, and prints well. ASA or ABS would also be ideal, but it's a bit trickier to print and the colors are more limited. CF or GF varieties will work quite well. The main cabinet should take about a day and a half to print and use 1.5 KG of filament with the settings provided. More walls is more desirable over higher in-fill. More in-fill will not change the overall characteristics of the speaker, but will just use more filament. For aesthetics, choosing a filament with carbon fiber or some specks (like marble) will help hide layer lines. I used Bambu PLA Marble, but ELEGOO PLA Marble Brick Red is the same filament.
- Baffle. This needs to be fairly rigid a well. You can use the same type of material as the cabinet. For this, more mass and rigidity is good, so you can increase the in-fill, walls, or top/bottom layers to use as much filament as you feel comfortable with. But don't even think about using PETG, it will cause flex in the baffle, which will act like another radiating surface, which is what you don't want. Stick to rigid filaments.
- Grill Frame. This can be anything and the material doesn't matter. If you are determined to use PETG, you can use it here. But I used basic PLA, nothing special is needed.
Assembly
The video below goes into more details on the assembly, but overall the assembly is fairly simple, aside from the speaker grills.
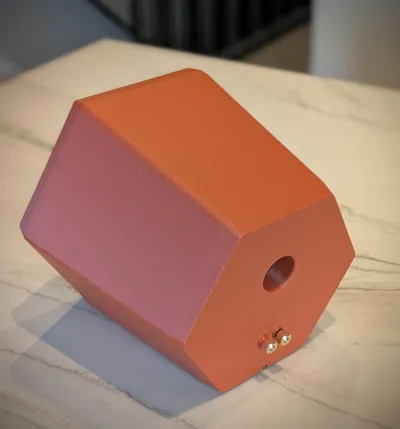
Angled Foot
There are files for 3 different angled feet that slip into the rear dovetail on the speaker. Without a foot installed, the speaker is tilted back roughly 8 degrees. You can install the longest foot which will make the front face perpendicular to the surface it sits on (0 degree foot, no tilt), or choose the 2.5 or 5 degree options depending on how much tilt you want. If you have your speakers mounted lower than ear level, some tilt might be desired, but if they're higher up on a shelf, no tilt might be more appropriate.
Assembly Notes
- Since you're fastening direclty into 3d printed parts, go slow and use a screwdriver, not a drill/driver. Just be careful and don't overtighten the fasteners
- Internal stuffig can be used inside the speakers if you have some on hand (polyfill or similar). I didn't find this to really change the sound, but it's a common practice. But none is includd in the kit and you'd have to supply your own.
- Don't hammer the binding posts in place. They might be tight, but if you force them it could crack the back of the cabinet. If they are too tight, use a file or drill bit to clean up the holes, there might be some stray filament leftover from the supports that causes them to be tight.
- The crossover can be glued in place if you don't have fasteners or if things don't line up. Just make sure it doesn't rattle.
- Some sort of gasket is needed between the baffle and the enclosure. You can use a couple layers of painter's tape, foam tape, or potentially glue. You're aiming for an air-tight seal between the two. Window weatherproofing can be found at most hardware stores, but a link above is provided.
- The drivers themselves already have a foam gasket on them.
- For the tweeter, the bigger terminal is positive (red) and the smaller one is negative (black).
Comment & Rating (5)