Telescoping Distance Checking Device


Print Profile(2)

Description
If you’ve ever spent an afternoon trying to measure the inside of a car’s center console or a weirdly shaped cabinet, you know the struggle. Standard rulers don't bend, tape measures sag, and calipers are usually just too long to fit where you actually need them.
I designed this Telescoping Distance Checking Device to solve that exact "how am I supposed to measure that?" problem. It’s basically a physical placeholder—it reaches into the awkward spots for you, locks in the distance, and lets you bring that measurement out into the light.
Important Tip After Printing
Start by assembling the Arms. Place the Slot Arm on top of the Stud Arm, then give the Slot Arm a gentle push downward so the curved rails snap together. Once the Arms are joined, install the Lock Nut by turning it clockwise onto the threaded stud (one side maybe easier to engage, try both).
For the smoothest action, run in the threads after printing. Twist the nut all the way down to the last thread, back it off, and repeat a few times. This lightly smooths the 3D‑printed layer lines so the nut turns freely and consistently.
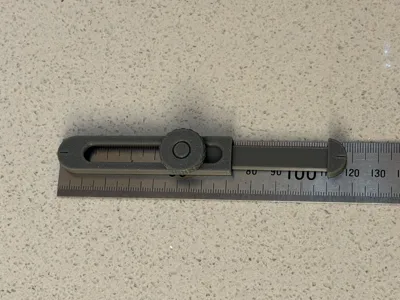
How it works?
It’s a straightforward four-step process that won't have you fumbling with complex settings:
Extend: Slide the arms out until they’re touching the surfaces you're trying to measure.

Pinch: Hold the side walls to keep everything steady.

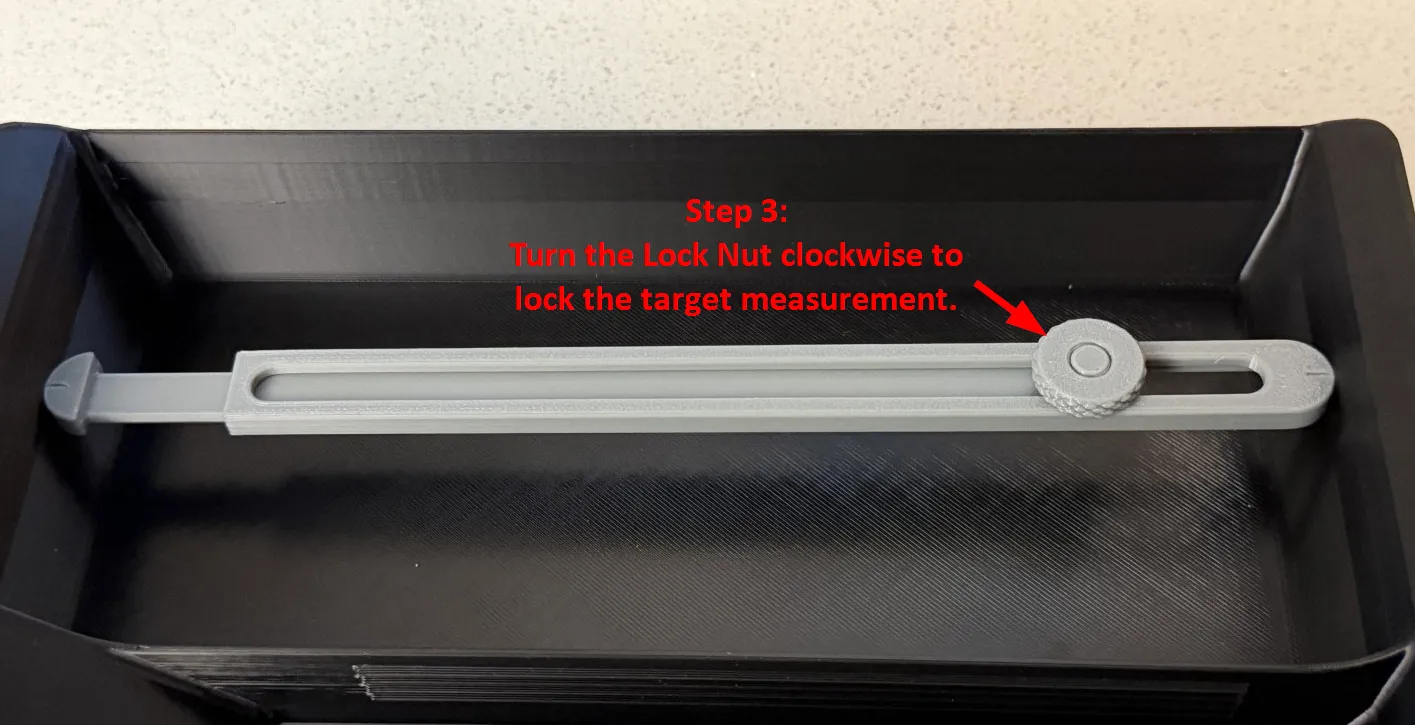
Lock: Give the Lock Nut a quick clockwise turn to secure the arms.
Check: Now that it’s locked, just use your favorite calipers or a ruler on the device itself to get your final number.

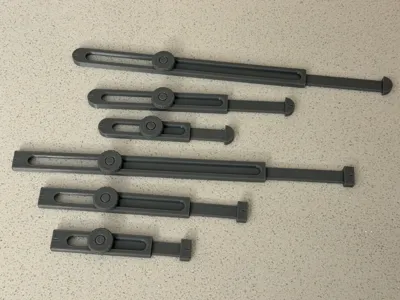
A Size for Every Project
I realized that one tool couldn't handle every job, so I created two specialized sets of three to cover almost any measurement or spacing task.
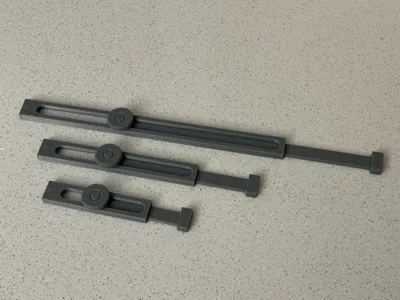
Round Ends: Best for curved, concave, or contoured surfaces.
Square Ends: Best for measuring between flat, internal parallel walls.
Each set comes in three sizes to ensure you have the right reach for the job:
- The Small (80–130 mm): Great for those tight spots where you can barely fit your hand.
- The Medium (120–210 mm): My go-to for most standard hobby and home projects.
- The Large (200–370 mm): This is the one I used to get the perfect fit for my final design of the Sienna Center Console Organizer.
I use these gadgets constantly in my own modeling routines. They were the secret weapon for getting the fit right on many of my modeling works. I’m hoping they can save you from a few "prototype fails" and make your design process a little smoother.
Your comments and support mean a lot to me, so please allow me to say thank you in advance! 😉
Boost Me (for free)
Your comments and support mean a lot to me, so please allow me to say thank you in advance! 😉
License
You shall not share, sub-license, sell, rent, host, transfer, or distribute in any way the digital or 3D printed versions of this object, nor any other derivative work of this object in its digital or physical format (including - but not limited to - remixes of this object, and hosting on other digital platforms). The objects may not be used without permission in any way whatsoever in which you charge money, or collect fees.
Comment & Rating (3)