Dummy 13 Tube Frame Go Cart


Print Profile(2)
Description
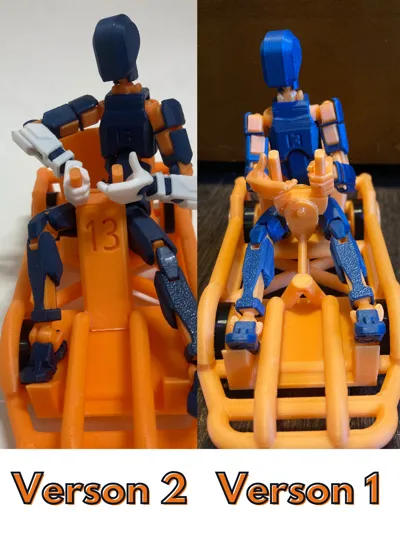
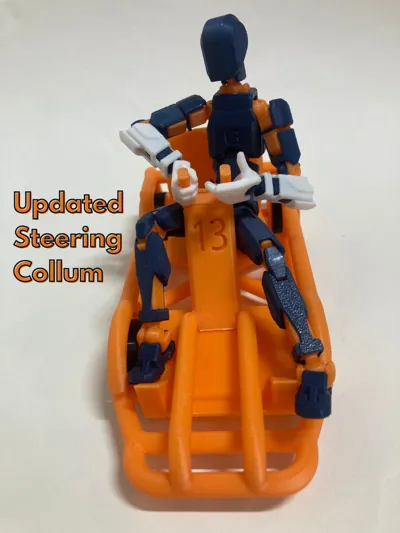
UPDATE: V2, Updated Steering Collum!
After A While, I realized that the steering column looked very flimsy, and I wanted to update it, so I updated it to be stronger, and also printed on the main frame, so that it is easier to assemble
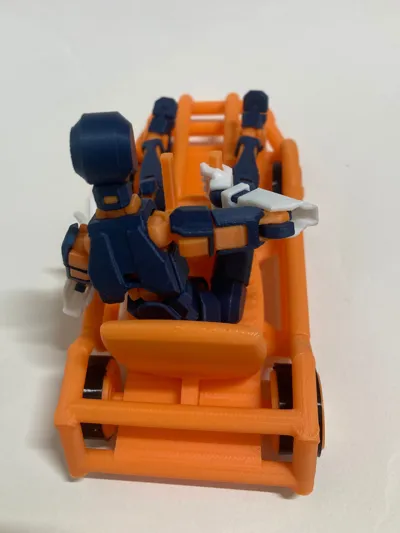
Your Dummy 13 has been walking long enough, so give it the ride it deserves with the Dummy 13 Tube Frame Go Cart!
This is a Dummy 13 Tube Frame go cart that I made because I enjoy the look of a tube-frame go cart, lol.
Features
- Tube-frame go-kart design
- Printed-in-place spinning wheels
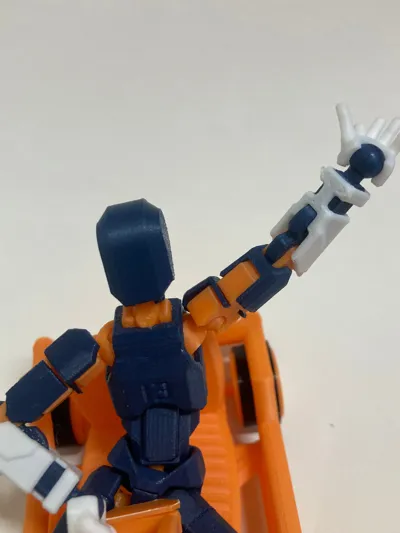
- Functional steering wheel
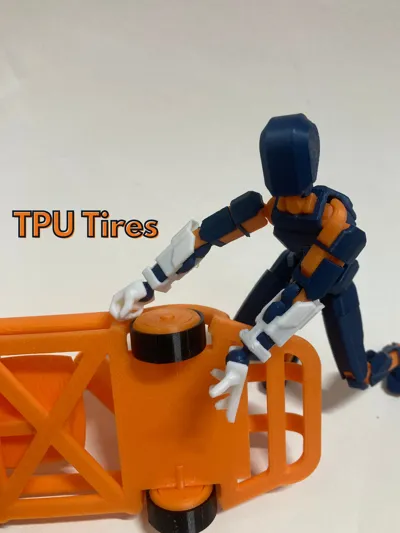
- Compatible with TPU tires (optional)
TPU Tire Notice
If you want to use TPU tires, print the dedicated TPU rear wheels.
The front wheels do not need to be changed, whether or not you use TPU.
Print Time Notice
The print time listed on the print profile is not the actual print time; the actual print time to make one of these is roughly 3 and a half hours.
I just have a bunch of different build plate configurations for Bambu Handy users.
Assembly Instructions V1+V2
Please read all steps before gluing anything.
Due to printer tolerances, test-fit all parts first.
If parts are tight, you can slightly enlarge the pin holes in the go-kart frame using a ~3.5 mm drill bit. Everything should fit, but some parts may require firm pressure.
Steps
- Remove all supports from every part.
- Glue the pins into the wheels:
- Long pins are for the rear wheels
- Short pins are for the front wheels
- There are 3 different sizes of pins. If you want your rear tires to stick out a little more, use the very longest pins.
- Apply glue to the wheel-pin holes on the go-kart frame.
- Install the wheel and pin assemblies into the frame.
- The wheels should spin freely after the glue dries.
- Glue the seat to the frame.
- (V1) Install the steering wheel onto the short shaft on the steering column.
- (V1) Install the steering column retaining backplate
- (V2) Put the steering wheel on the dowel/backplate, then put glue in the hole in the steering column and assemble.
- The steering wheel should still turn after the glue dries. (so don't get any glue on the hinge)
Final Notes
I think in the future I will add a better steering column, so look out for that. I think I will start work on that when this model gets 75 prints.
Happy Printing!
Boost Me (for free)
If your Dummy 13 is seriously considering trying out professional racing due to its "skills" please boost!
License
You shall not share, sub-license, sell, rent, host, transfer, or distribute in any way the digital or 3D printed versions of this object, nor any other derivative work of this object in its digital or physical format (including - but not limited to - remixes of this object, and hosting on other digital platforms). The objects may not be used without permission in any way whatsoever in which you charge money, or collect fees.
Comment & Rating (5)