SUNLU AMS Heater AutoVent


Print Profile(1)

Bill of Materials


Description
****** Version 2 of the AutoVent is now available! You can now move your V1 electronics into a V2 style enclosure! ******
I am also working on a way for v1 PCB folks to be able to run the learning process even without the button that is on the V2. The biggest benefit is that it allows you to fine tune the current readings so it opens and shuts faster according to the state of the heater. You will be able to do this through the arduino IDE but i will provide an application you can run on windows so you dont need the IDE. the app will let you monitor the serial output of the chip and send it commands over the USB port. I am not currently planning on creating a Mac version unless there is enough demand.

****** Check it out at https://makerworld.com/en/models/2344707 ******
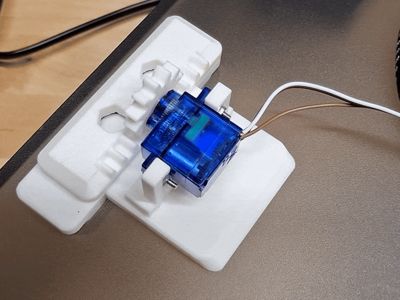
The SUNLU automated vent lid is designed to automatically open and close the vent on the SUNLU AMS Heater. This eliminates the need to manually open and close the vent based on whether you are drying filament or not.
This can be built fully by you on a perfboard using the included schematics and Arduino code OR you can go a simpler route and build off of a PCB that I have designed. The assembly instructions are tailored to the PCB version.
The PCB can be found at https://www.ebay.com/itm/127558015158
If you want a single place to source everything, I am offering a DIY electronics kit - https://www.ebay.com/itm/127626322953 - This kit contains everything you need other than the 3D printed parts, a 5V power supply, and a few 3mm screws to attach the components to the printed enclosure. It only includes the components - you will need to solder everything together.
Printing notes:
Use the 3MF as it is. The servo mounts, lid, and enclosure lid are oriented on their sides in order to add strength to the tabs and there are various modifiers for strength.
Comment & Rating (130)