Ionic Charge Column


Print Profile(1)

Bill of Materials

Description
If Hermes had a wireless charger, it would probably look like this 🙂
⚡⚡⚡⚡⚡⚡⚡
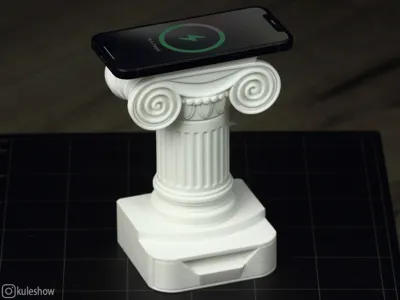
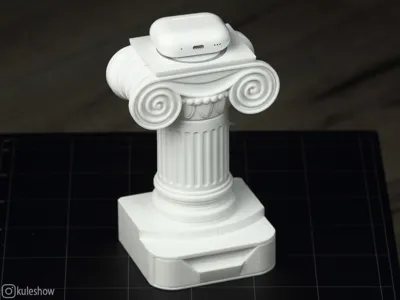
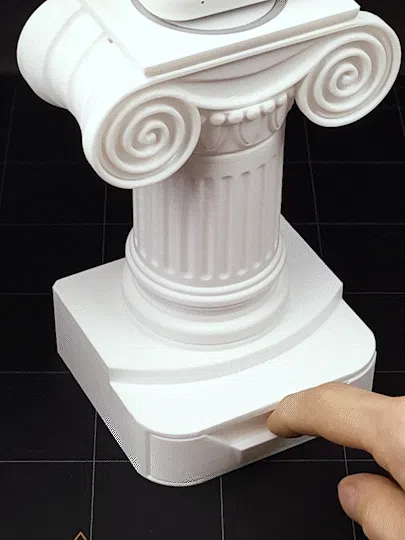
This charging stand for phones/headphones is designed as an Ionic column that has miraculously withstood the test of time. These columns are so indestructible, they've weathered the fall of Rome, endured through the Middle Ages, and even survived the extravagance of the Baroque era!
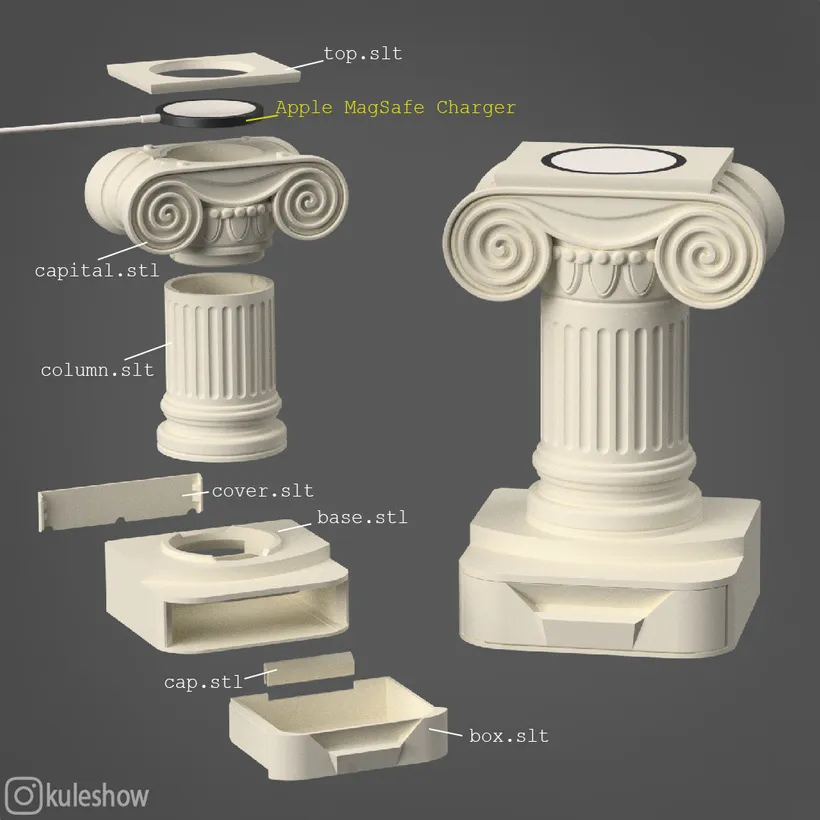
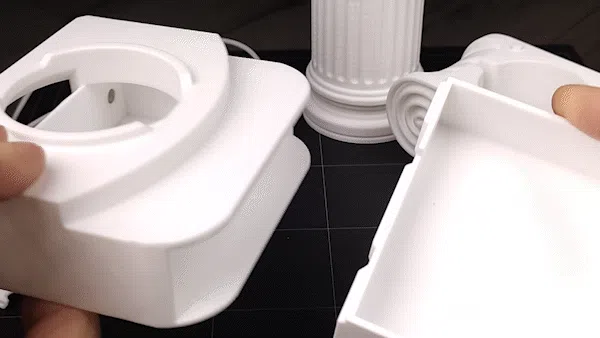
The design consists of 7 parts, all except the capital are printed without supports.
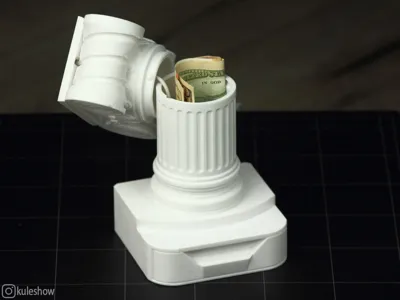
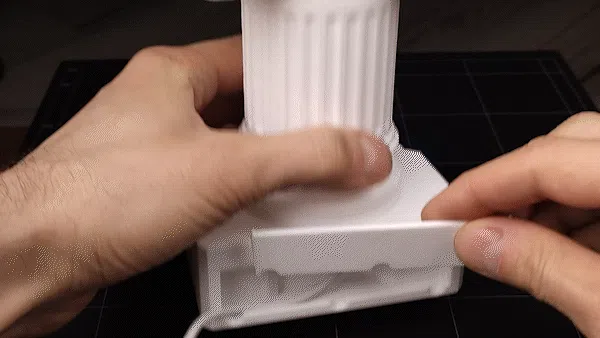
The base has a small storage box for small items 💊📎📌🔑🗝️🪙.
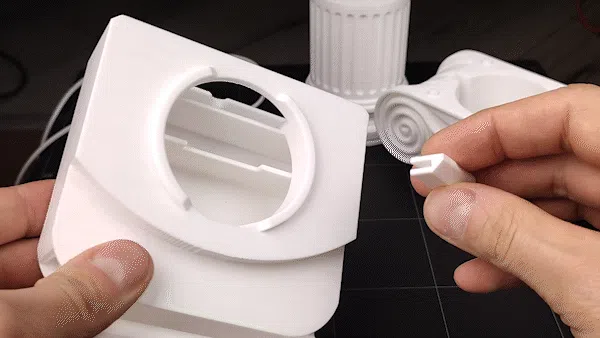
For convenience, I made 3 holes at the back for cable routing. The box is secured using six 5x1mm round magnets: two are glued into base.stl and four into box.stl (stacked in pairs in each hole).
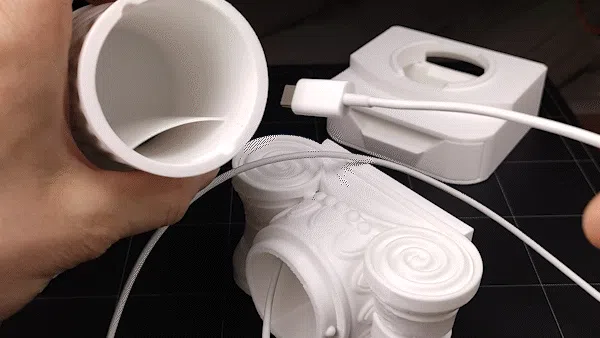
For wireless charging, an Apple MagSafe Charger (or rather, an affordable alternative) is used, and there are corresponding grooves inside the design for the cable.
🛠️ Assembly process:
Start by gluing the magnets into base.stl and box.stl.
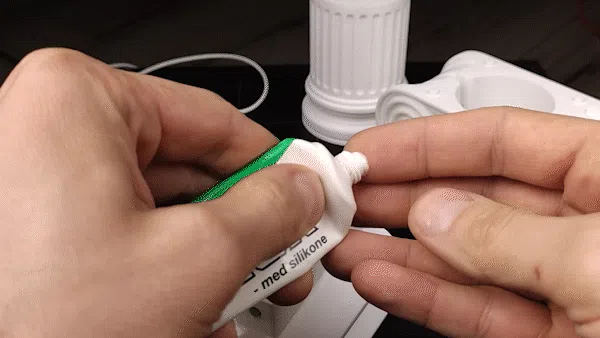
For smooth movement, use plastic lubricant. I recommend Super Glidex silicone grease - it’s not the same as printer rail lubricant. Glidex has a thinner, sour cream-like consistency and is typically used in plumbing.
Insert the box into the base and install the plug (cap.stl). The base has an internal stopper to prevent the box from sliding out completely. (I’ll also add a version without the stopper and plug.)
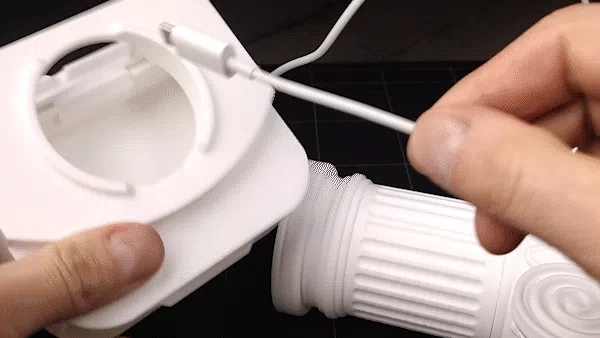
Thread the wireless charging cable through сapital.stl so it sits in the designated groove, then cover it with top.stl (which also has a groove). These parts are held by friction but can be glued if desired.
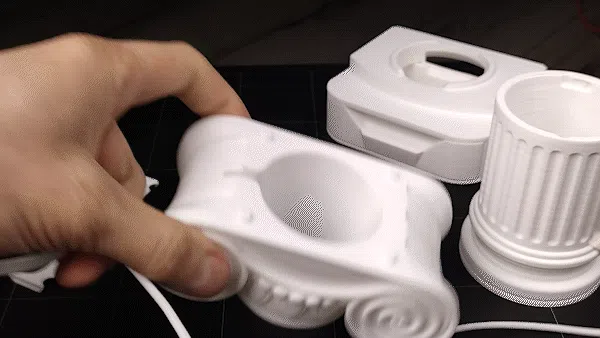
Next, pass the cable through the column and connect them together - no glue is needed here, as it uses a bayonet mount.
Next, route the cable through the column and then through base.stl. Glue the column in place.
Avoid pulling the cable too tight. Finally, install the plug (cover.stl).
As I mentioned earlier, the capital features a bayonet mount inside the column with a small hidden compartment 🤫💰
License
You shall not share, sub-license, sell, rent, host, transfer, or distribute in any way the digital or 3D printed versions of this object, nor any other derivative work of this object in its digital or physical format (including - but not limited to - remixes of this object, and hosting on other digital platforms). The objects may not be used without permission in any way whatsoever in which you charge money, or collect fees.
Comment & Rating (0)