Wave Sunglasses Holder Rack Wall-Mount


Print Profile(4)


Description
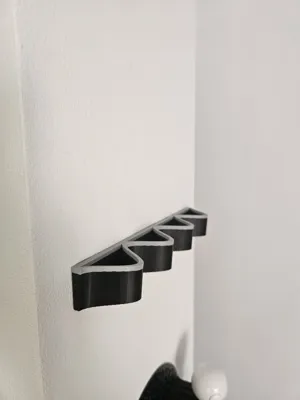
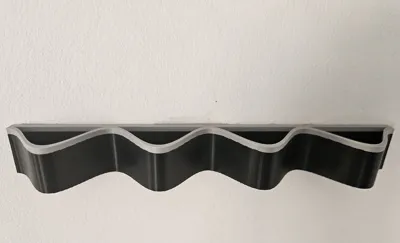
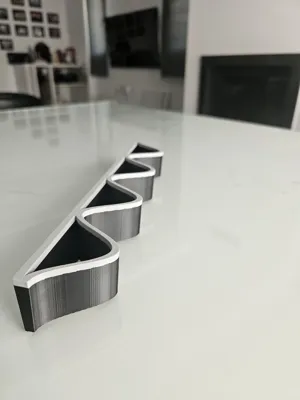
A parametric wave-style sunglasses holder designed in OpenSCAD.
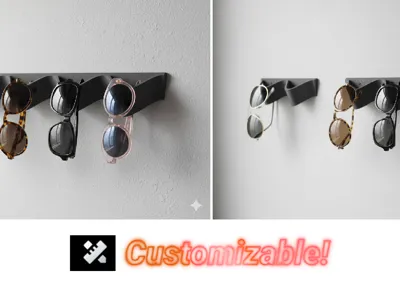
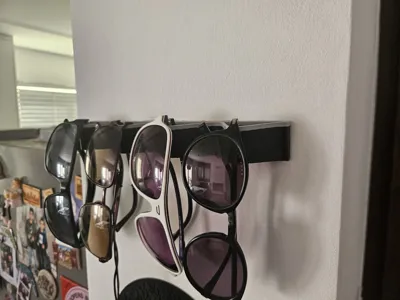
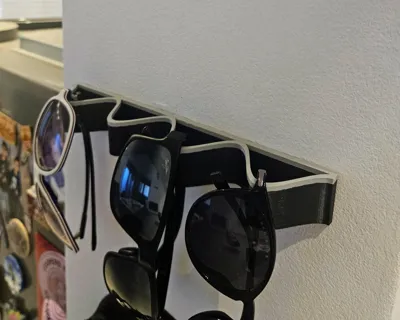
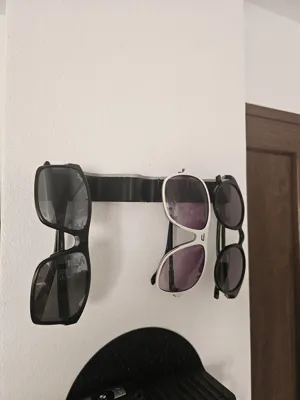
This rack mounts vertically on a wall and holds multiple sunglasses by resting them in elegant wave-shaped slots.
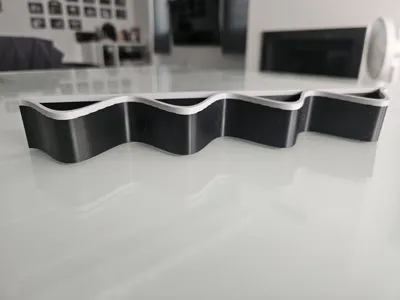
The design is fully customizable using parameters — you can change the number of waves, their width/height, thickness, tilt, and more.
The waves are angled forward so your sunglasses naturally rest against the rack, preventing slipping.
Features:
- Wave-style design with configurable number of slots
- Back plate for wall-mounting (screws or adhesive tape)
- Parametric control of width, height, depth, thickness, tilt angle, and resolution
- Angled cut at the bottom to match the wave tilt
- Prints support-free (recommended orientation: back plate vertical for additional strength)
Perfect for organizing multiple sunglasses in a stylish way!
Parameters Guide
You can open the Customize and adjust these parameters to create your perfect sunglasses rack:
- num_waves → number of sunglasses slots (default = 4)
- wave_width → horizontal width of each wave (mm). Larger = wider slots.
- wave_height → amplitude of wave (mm). Larger = deeper curves.
- depth → how far the rack sticks out from the wall (mm).
- wall_thick → thickness of the back plate (mm).
- line_thick → thickness of the wave strip (mm).
- resolution → smoothness of the wave curve (steps per wave). Higher = smoother.
- tilt_angle → angle in degrees; positive = wave leans downward, negative = leans upward.
- join_overlap → small overlap (mm) to ensure the wave fuses cleanly with the back plate.
Example:
- num_waves = 4 → 4 sunglasses slots
- wave_width = 60 → each slot 60 mm wide
- wave_height = 15 → gentle wave curve
- tilt_angle = 5 → front edge tilted slightly downward
Print Settings
- Material: PETG, PLA+ or PLA (PETG recommended for strength and heat resistance)
- Layer Height: 0.2 mm
- Wall Line Count: 3+ for strength
- Infill: 20–30%
- Supports: Not required (design is support-free)
- Bed Adhesion: Standard (brim optional for large racks)
Mounting
- You can mount using screws through the back plate (add holes if desired).
- Or use strong double-sided adhesive tape for a no-drill solution.
Boost Me (for free)
License
You shall not share, sub-license, sell, rent, host, transfer, or distribute in any way the digital or 3D printed versions of this object, nor any other derivative work of this object in its digital or physical format (including - but not limited to - remixes of this object, and hosting on other digital platforms). The objects may not be used without permission in any way whatsoever in which you charge money, or collect fees.
Comment & Rating (4)