Sauron's Blade


Print Profile(2)


Bill of Materials


Description
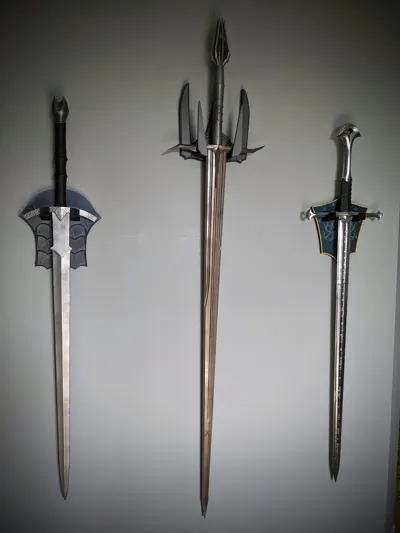
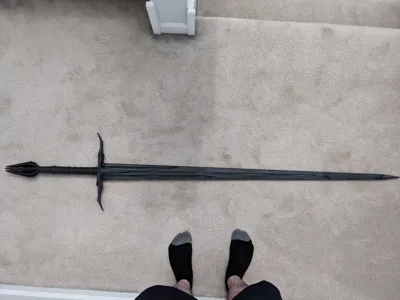
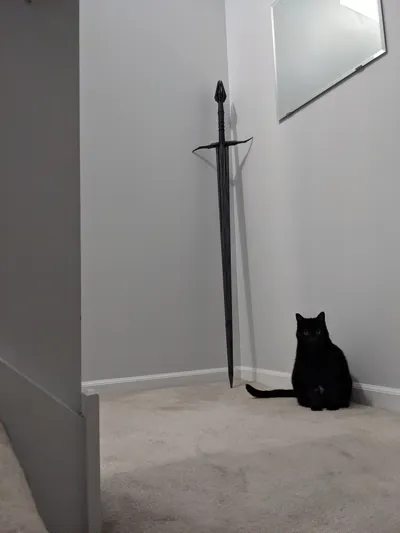
Did you know Sauron was originally suppose to appear outside the Black Gate and fight Aragorn with a giant sword? Ever since finding out I had to design and print my own. Although this is designed to be built around a wooden dowel, the unwieldy length still means this is essentially a pure prop and not really meant for using a fake sword. This build makes use of the entire build height of a P1S--so sorry mini owners. I spent days and days post processing this, but it would still probably look cool in silk dark silver/grey or black PLA.
Build Guide
Because of the size, the sword lends itself nicely to using a cheap wooden dowel as a point of connection and rigidity. For this build, I purchased a 3/8 inch diameter by 48 inch length wooden dowel. The offset of the holes have been set up with hopefully enough clearance for most dowels, but these are manufactured and will have their own tolerances. The good thing is that if the parts do not slide on perfectly well, you can easily sand down the wooden dowel with some medium grit sandpaper. The dowel does not have to be cut in length. I specifically used the following dowel: https://www.homedepot.com/p/3-8-in-x-48-in-Raw-Wood-Round-Dowel-HDDH3848/204354371
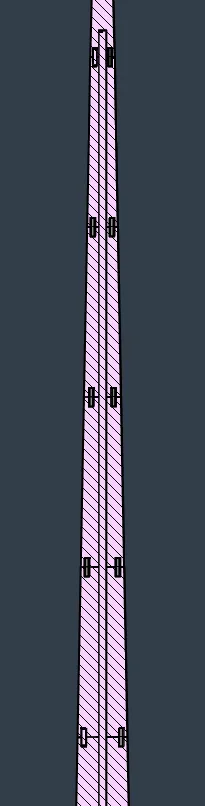
- Blade assembly is quite straightforward, with the blade sections all connecting with 3d printed connectors and sliding down onto the dowel.
- The top blade section uses slightly smaller connectors--so keep these separate and in mind
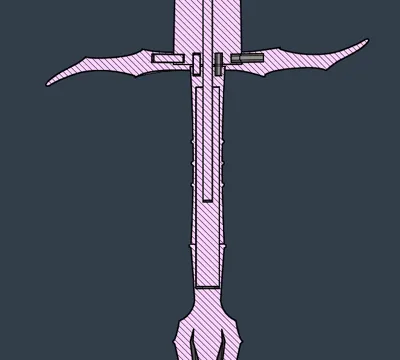
- The guard sections connect to each other via small connectors and and to the blade with separate connectors that install into the bottom of the base blade section.
- The upper handle connects via two connectors to the blade and the guard and slides on the dowel. This sits in a small groove at the bottom of the guard
- A 3d printed pommel connector slides into the upper handle and onto the dowel
- The pommel attaches to the connector and sits flush against the upper handle
- Dry fit all parts together to ensure clearance and fit and use super glue to bond everything together permanently
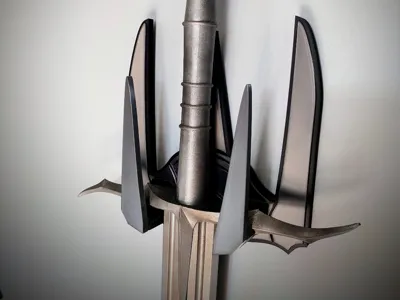
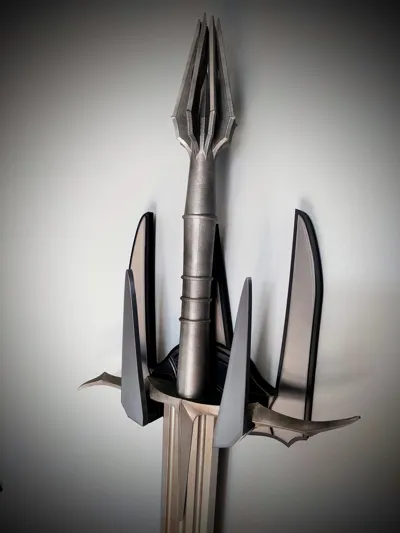
Optional Wall Mount
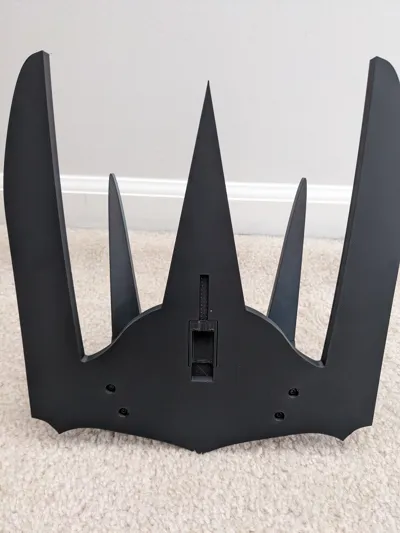
I have uploaded another print profile that represents a wall mount option for this sword. The mount is representative of the top of Sauron's helm
I prefer to not drill holes in my wall, so I have designed a hook that replaces the medium command hook piece and allows for integration into the back of the print. This allows the the print to be mounted directly onto the command hook (you can see more here and download the PETG version or step file: https://makerworld.com/en/models/1609907-command-hook-for-medium-desinger-hooks#profileId-1698085)
- this piece is best printed out of PETG since it won't creep with the constant stress
- the hooks are rated for 1.3 kg and the sword and mount together are close to 800 g
Each cross-guard mounting bracket attaches using one M3 x 10 screw (top) and one M3 x 30 screw (bottom). The face portion attaches via two small 3d printed connectors
- There are two versions, one where the top layers are printed sequentially in a different color (for AMS use) and one where they can be printed separately and glued together. The former is faster, but the later allows for the bottom of the build plate to be use for the parts that face forward, which looks better in my opinion. I printed mine both ways and preferred the separate version.
License
You shall not share, sub-license, sell, rent, host, transfer, or distribute in any way the digital or 3D printed versions of this object, nor any other derivative work of this object in its digital or physical format (including - but not limited to - remixes of this object, and hosting on other digital platforms). The objects may not be used without permission in any way whatsoever in which you charge money, or collect fees.
Comment & Rating (19)