Pokémon wind-up candy dispenser. NO AMS


Print Profile(2)


Bill of Materials
Description
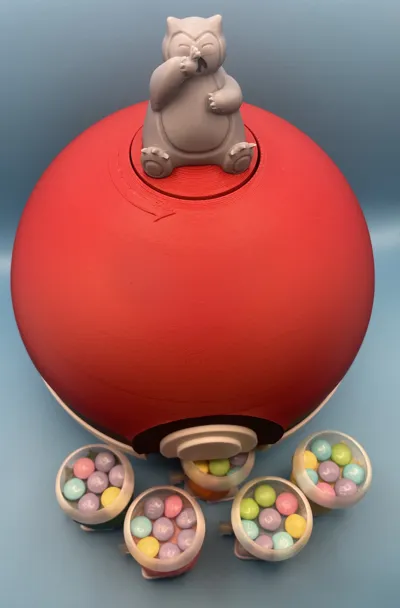
A candy dispenser that walks the candy out to you? Pokémon? yes please!
I have worked hard to make this basically support free and AMS free.
This model requires the walking wind up mechanisms posted below, however, can be used with pokeballs full of candy! Other creators have made some really nice pokeballs for you to use! I have not had the time to create my own yet.
- Magnets required to stop the crank in the appropriate locations to drop out the Pokémon. I used 8x2 and 10x3.
- Glue required for a few parts. For a fast drying and strong hold, I suggest a Cyanoacrylate Adhesive: Super Glue Liquid for Plastic Ceramic Aquarium, 113.6 Gram Medium Thick All-Purpose Clear Cyanoacrylate Adhesive, Food Safe CA Glue for Wood 3D Print Model Shoe Leather Glass Metal Rubber Craft: Amazon.com: Industrial & Scientific ← Example
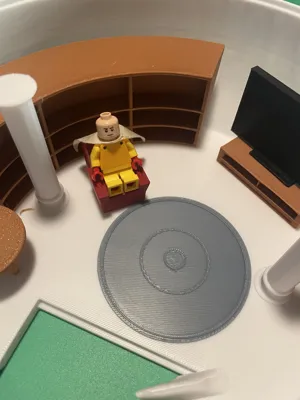
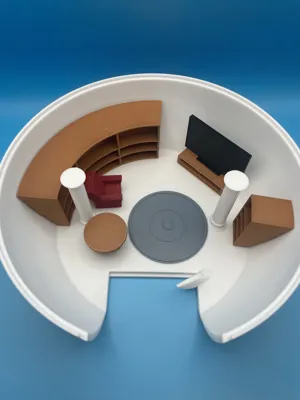
Every Poke-ball needs to be comfortable for its Pokémon! so, I have created a few pieces of furniture to decorate the inside in its own print profile, separate from the main candy dispenser. There is a small version for the A1mini and a large version for the main one.
ASSEMBLY DIRECTIONS:
Add eight 8x2 Magnets using glue to all 8 crank arms. Make sure they attract to the magnets on the base! →

Add two 10x3 magnets to base, these catch the crank magnets and align it for the Pokémon to drop without getting jammed. I ended up using one 10x3 as well as an 8x2 to the back of the base so that it reaches the crank and holds better (see photo) →

Glue button to base, this should be done BEFORE glueing on bottom brace to make things easier to align.
Glue guiding brace to bottom of base, this keeps the Pokémon stable on the way down and lands it on its feet. I have found that placing the base upside-down on a table or counter while drying is best! →

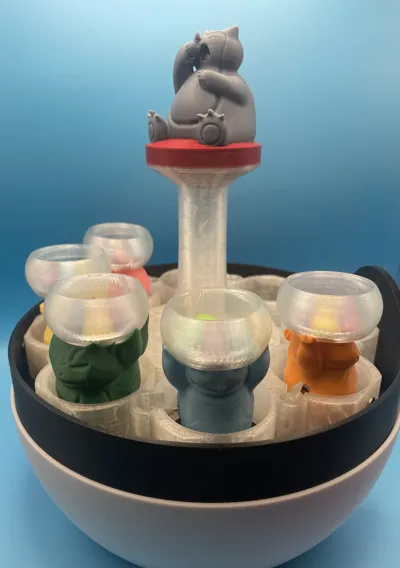
Glue Snorlax eating his RARE CANDY to the top of the crank as a hand hold for twisting it.
I used glue to hold the bowl on the Pokémon. No glue is required for the little twisting mechanism or for the Pokémon on the walking mechanism. The twisting mechanism is a tight fit on purpose! but if it is too tight for your filament shrinkage, you can upscale is a few %.
LOADING DIRECTIONS:
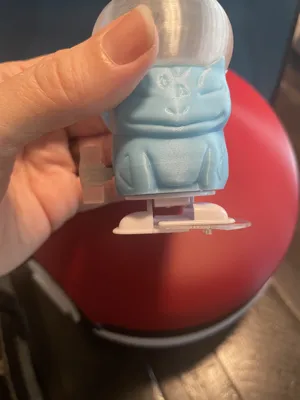
Start with the wind-up feet in this position →

Add the slide in and twist the mechanism 3 full times
with the twisted ending position vertical, like this! →

It should hold the mechanism in a wound-up position. when you let go.

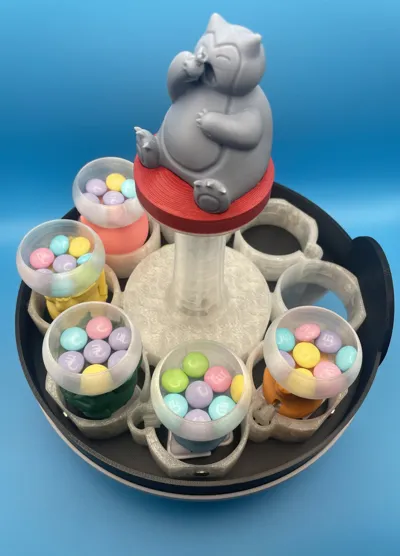
Lastly, you place it in the candy dispenser and add your candy! But not too full, or some tend to splash out when they drop!

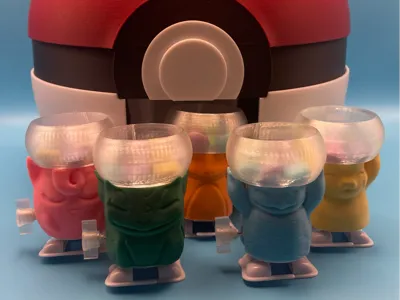
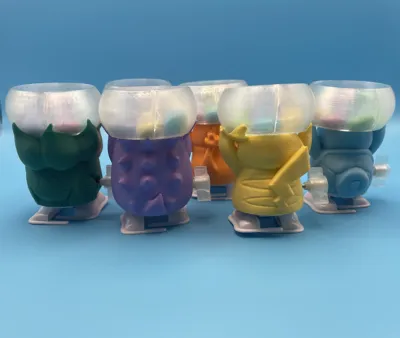
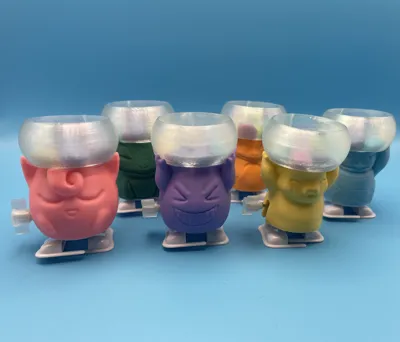
You can load up to 7 Pokémon at a time! I have created 6 different Pokémon so far, but I plan to create more!
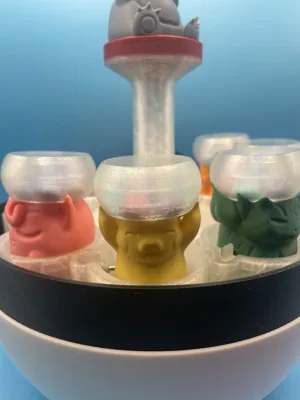
- When you twist the Snorlax at the top, it should catch at the magnets and drop the Pokémon down. The protrusion at the bottom of the poke-ball should pull out the slide, releasing the feet to walk the candy out to you.
- If you twist the Snorlax too far or too fast and don't allow it to catch on the magnets for perfect alignment, it may get jammed.
I have been as thorough as I could with the directions, but I have been working on this for weeks and am intimately aware of how everything goes, so please let me know if something is unclear to you! Or if you have any ideas to make it better!
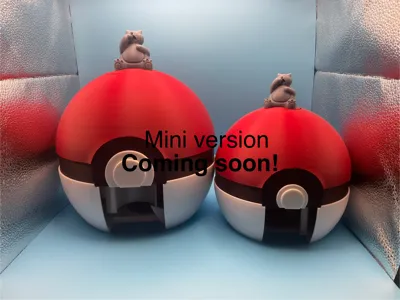
Unfortunately, this does not work on my A1 Mini version, it's not tall enough, so I am in the process of re-designing it!
License
You shall not share, sub-license, sell, rent, host, transfer, or distribute in any way the digital or 3D printed versions of this object, nor any other derivative work of this object in its digital or physical format (including - but not limited to - remixes of this object, and hosting on other digital platforms). The objects may not be used without permission in any way whatsoever in which you charge money, or collect fees.
Comment & Rating (10)