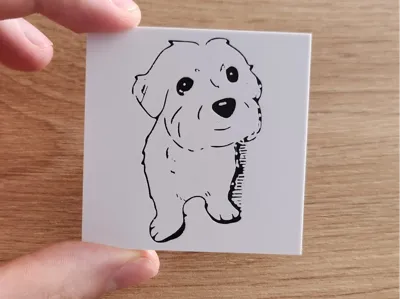
simple image panels (example: my dog)


Print Profile(3)


Description
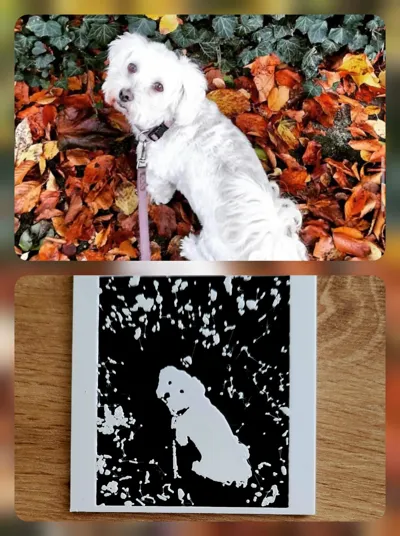
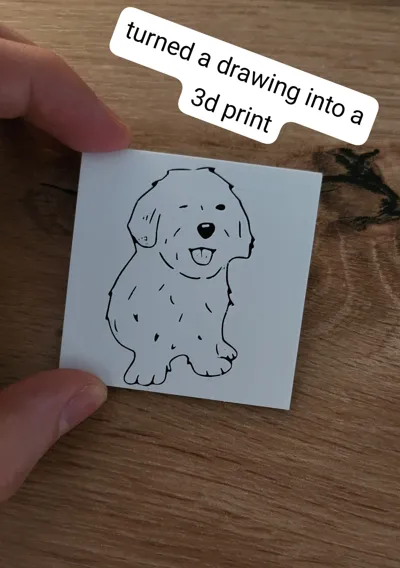
The example model is my deceased little Havanese Dog. The workflow is very simple and can be done with all kinds of pictures. A table and wall mount/frame for the panels is already under construction by me and a good friend.
Workflow:

Steps in Inkscape:
1. import the photo into InkScape (Note: to scale the image proportionally press ctrl while scaling)
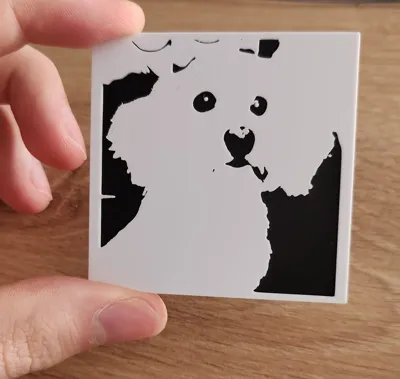
2. path -> trace bitmap -> mode: brightness threshold or edge detection
3. play around with the values until something suitable comes out.
4. data -> export as vector file (inkscape .svg)
Steps in BambuSlicer:


5. import the vector file in Bambu-Slicer as a negative part: right-click on the panel_blank model -> add negative part -> SVG
6. adjust the dimensions (depth 1mm, max. 60mm in x,y dimension).
7. assign colour: Lower part of the panel blank model is black, upper part is white. But you can play around with the colours as you like.
Important print settings:
- Quality: 0.08mm Extra Fine
- Smoothing Type: Top surface only
- Wall generator: Arachne (slicing will take a bit longer than ususal)
- For the sake of simplicity, I printed with an AMS, but it is also possible to change the filament by hand.
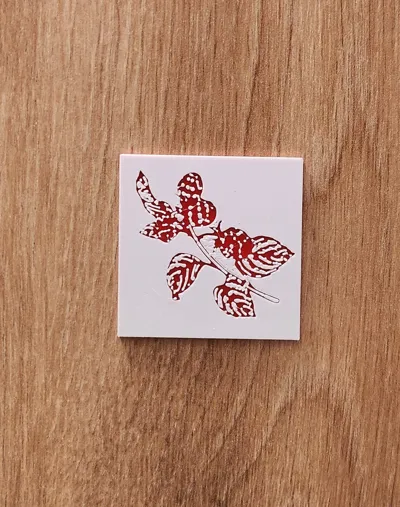
Important information for the image selection:
- Creating vector files with dark images is difficult
- Images with clear edges work best
- Very small details are difficult to print
Boost Me (for free)
Thank you for being part of this journey :)
Comment & Rating (0)