H2D H2S H2C Poop Chute


Print Profile(6)


Description
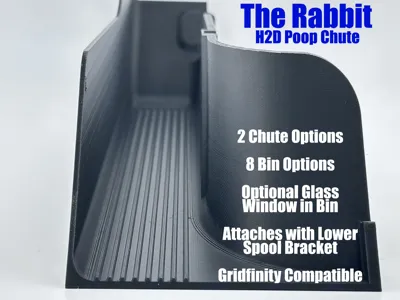
The Rabbit - An H2D Poop Chute
A bear and a rabbit are pooping in the woods. The bear glances over at the rabbit and asks "Do you have trouble with poop sticking to your fur?" The rabbit replies, "Nope, never been a problem. Just lucky that way, I guess." "Guess so," the bear said, as he picked up the rabbit and wiped his butt with him.
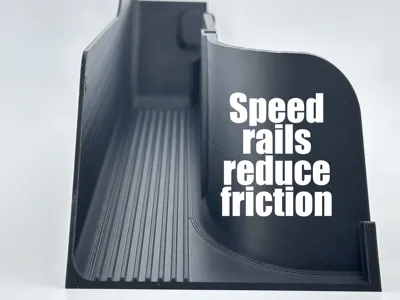
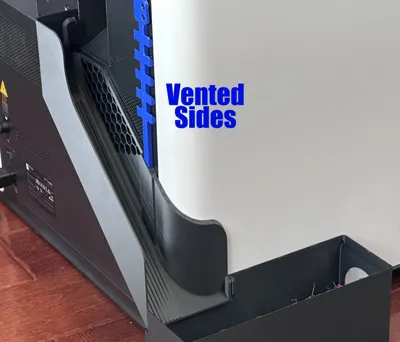
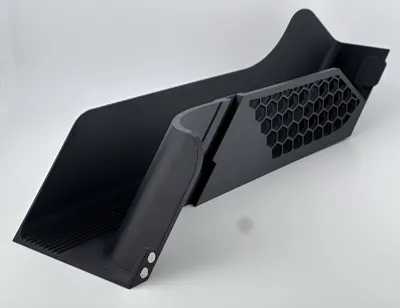
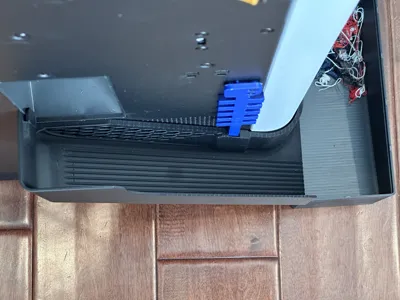
This is my version of a poop chute (i.e. the Rabbit) for the H2D. The Rabbit poop chute features speed rails on the top of the chute reducing surface contact and drag with filament poop as it slides down the chute. Since the speed rails are printed in a long pass by the printer as opposed to diagonal or horizontal passes, the slides are smoother than the typical flat surface of other chutes and slides. Combined with less surface contact with filament waste as it comes down the slide, there is less friction.
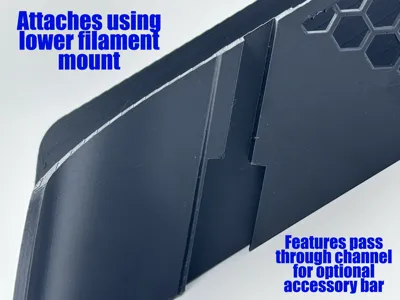
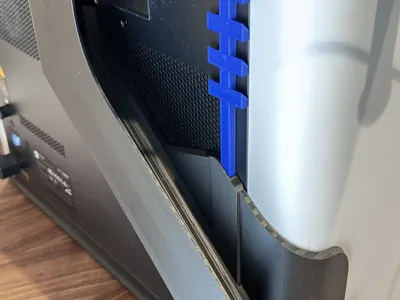
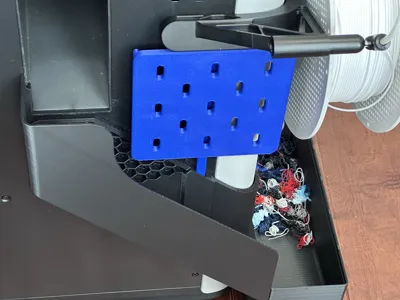
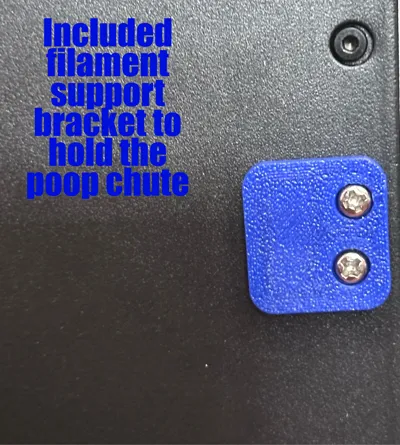
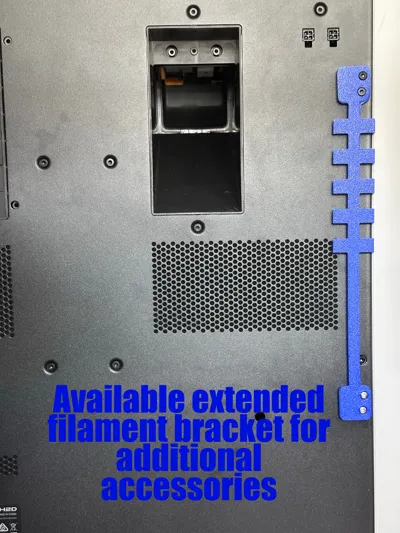
The chute firmly connects to the printer using the lower external filament mount. You can use the filament mount provided with your printer or print the included bracket and attach with M3x12 screws. Additionally, you can use the extended filament mount bracket which connects the upper mount to the lower mount via a universal accessory bar. Pictures show an Ikea Skadis mount attached, but anything could be attached with the proper bracket. The extended bracket is available here. The Skadis trays can be found here.
No supports are necessary when printing.
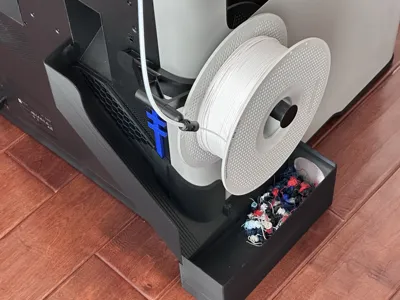
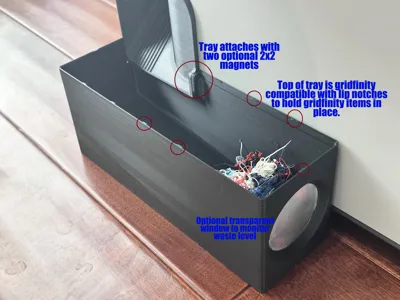
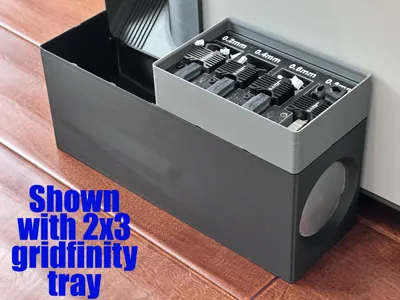
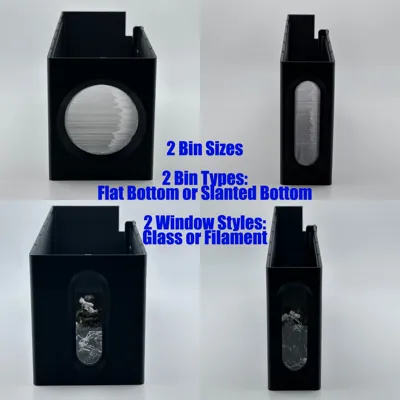
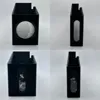
The wide bin is based on a 2 x 6 unit (42mm) gridfinity bin, but without the gridfinity base. The narrow bin is based on a 1 x 6 unit gridfinity bin without the gridfiniyt base. The bins are available with a flat bottom that prints faster and takes less filament or a slanted bottom. The top edge of the bin incorporates a gridfinity lip and notches allowing other gridfinity trays and/or boxes to sit on top. This is perfect for a tool tray etc. The tray and chute connect with two optional 6mm x 2mm magnets. The magnets are not required, but do help the tray stay connected to the chute if the printer is moving.
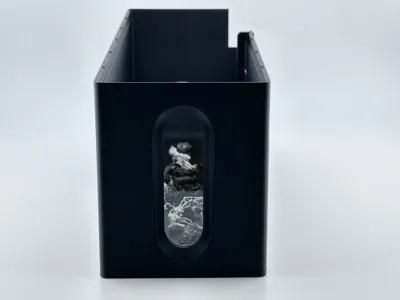
The bins are available with a translucent window or a glass window allowing you to see the filament level if another gridfinity tray is on top. If you prefer not to have a translucent window, just delete the transparent PTEG filament from the print profile.
GLASS WINDOW INSTRUCTIONS:

The “glass” in the glass window bins is a microscope slide. You can find these on Amazon for just a few dollars. The dimensions of the slides I used are: 25mm x 76mm ( .98in x 3in) and 1mm thick. The window opening dimensions set in Fusion are 78mm x 26.2mm. So there is some room for variability in slides. I did note that my slides were not all exactly the same size. Using different filaments may impact the tolerances of the window opening. All of my prints were done with Bambu Labs PETG HF.
The print profiles for the glass bins should already have a pause at later 544 which will pause the print and give you the opportunity to slide in the glass window. After you slice the print, you should see the Pause indicator as shown below. If you do not, adjust the slider to layer 544, then right click and select pause.

DO NOT FORCE THE SLIDE IN!!!
The slide should fit in easily without force. If you force the slide, the glass could break and you could cut your fingers. (Don't ask me how I know…).

After you insert the slide, ensure that the glass slide is fully recessed into the print and nothing is protruding. Then just resume the print and let it finish.
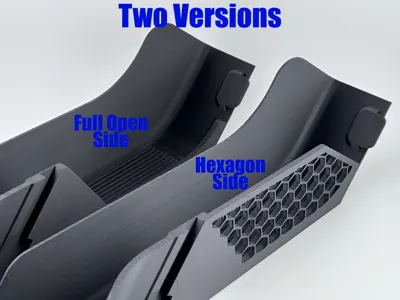
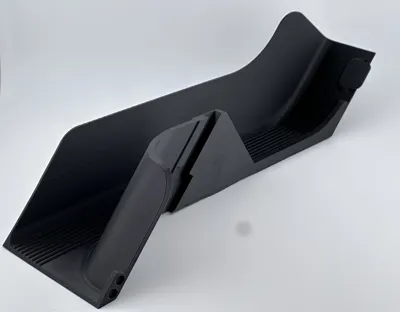
PLEASE READ: While the chute with the hexagon windows prints fine for most people, some have had a problem with the print head scraping, hitting, and and breaking some of the walls of the hexagon resulting in a print failure. This not model or print profile issue. There are many discussions on this problem in the forum. If you have this problem or don't want to worry about it, I have added second version that does not have the hexagons and is just open on the side, thus eliminating any potential issue. You won't see the hexagon's once installed anyway…
Update as of June 18, 2025. I printed the hexagon version again for myself using the existing print profile and it printed fine with no issues. I did print in PAHT CF.

I hope you also find this helpful.
See my other collections:
H2D Accessories Coffee Corner Filament Designs Gridfinity Designs Knipex Designs Wera Designs Watch Collection
Boost Me (for free)
If you appreciate my work, please consider boosting.
License
You shall not share, sub-license, sell, rent, host, transfer, or distribute in any way the digital or 3D printed versions of this object, nor any other derivative work of this object in its digital or physical format (including - but not limited to - remixes of this object, and hosting on other digital platforms). The objects may not be used without permission in any way whatsoever in which you charge money, or collect fees.
Comment & Rating (268)