Smart Catan with Extension (HA Integration)


Print Profile(1)

Bill of Materials


- wire heat shrink tubes x 90:
- 22 awg flexible wire x 1:
- ESP32 Dev Board x 1:
- 3Pin 2.54mm, 2a dc magnetic pogo pino conectors x 30:
- Neodymium Disc Magnets 500 PCS 3x6mm x 1:
Description
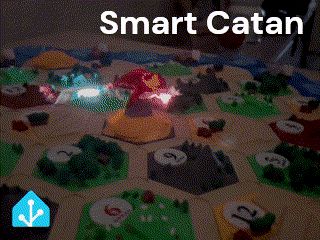
Smart Catan v1.0
Have you ever tough that printing a board of catan in 3d was not enough? Me neither! But after a game of catan someone said it would be cool if the numbers lighted up. So here we are, a few months later…
This is mainly a remix of copehill077 catan, which in turn is a remix of a lot of other awesome creators. If i forget someone in the remix section let me know.
This catan features:
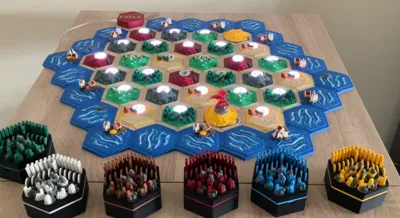
- Classic or extension (5 & 6 players)
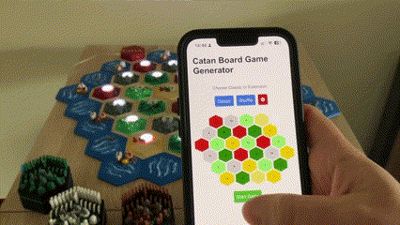
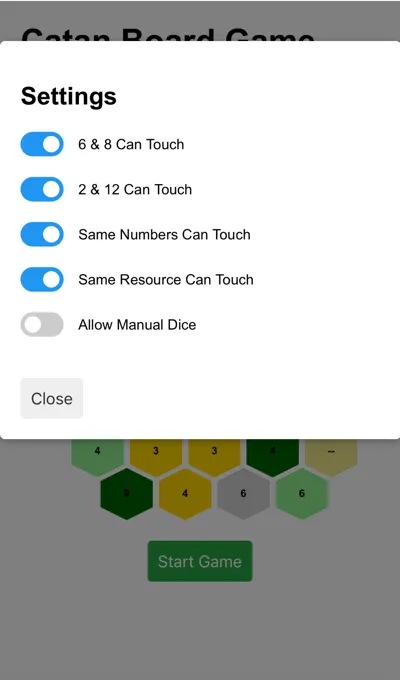
- Webserver you can connect multiple device where you can shuffle the catan board with the chosen settings
- Roll dice in the website or input manually
- Cool animations:
- When 7 (robber) a wave of red starting from the desert until entire board is red
- Roll dice animation in spiral
- Waiting game start animation
- Integration with Home Assistant:
- It sends the number of the dice to HA, so you can control your entire house with the numbers rolled. E.g. when robber appears the lights of living room turn red and alexa plays the good the bad and the ugly. Its up to you!


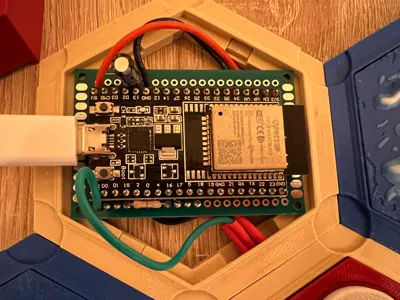
How it works
An ESP32 is the brains of the operation. It creates the webserver and turns on the leds. The ESP32 generates the board game based on the settings.
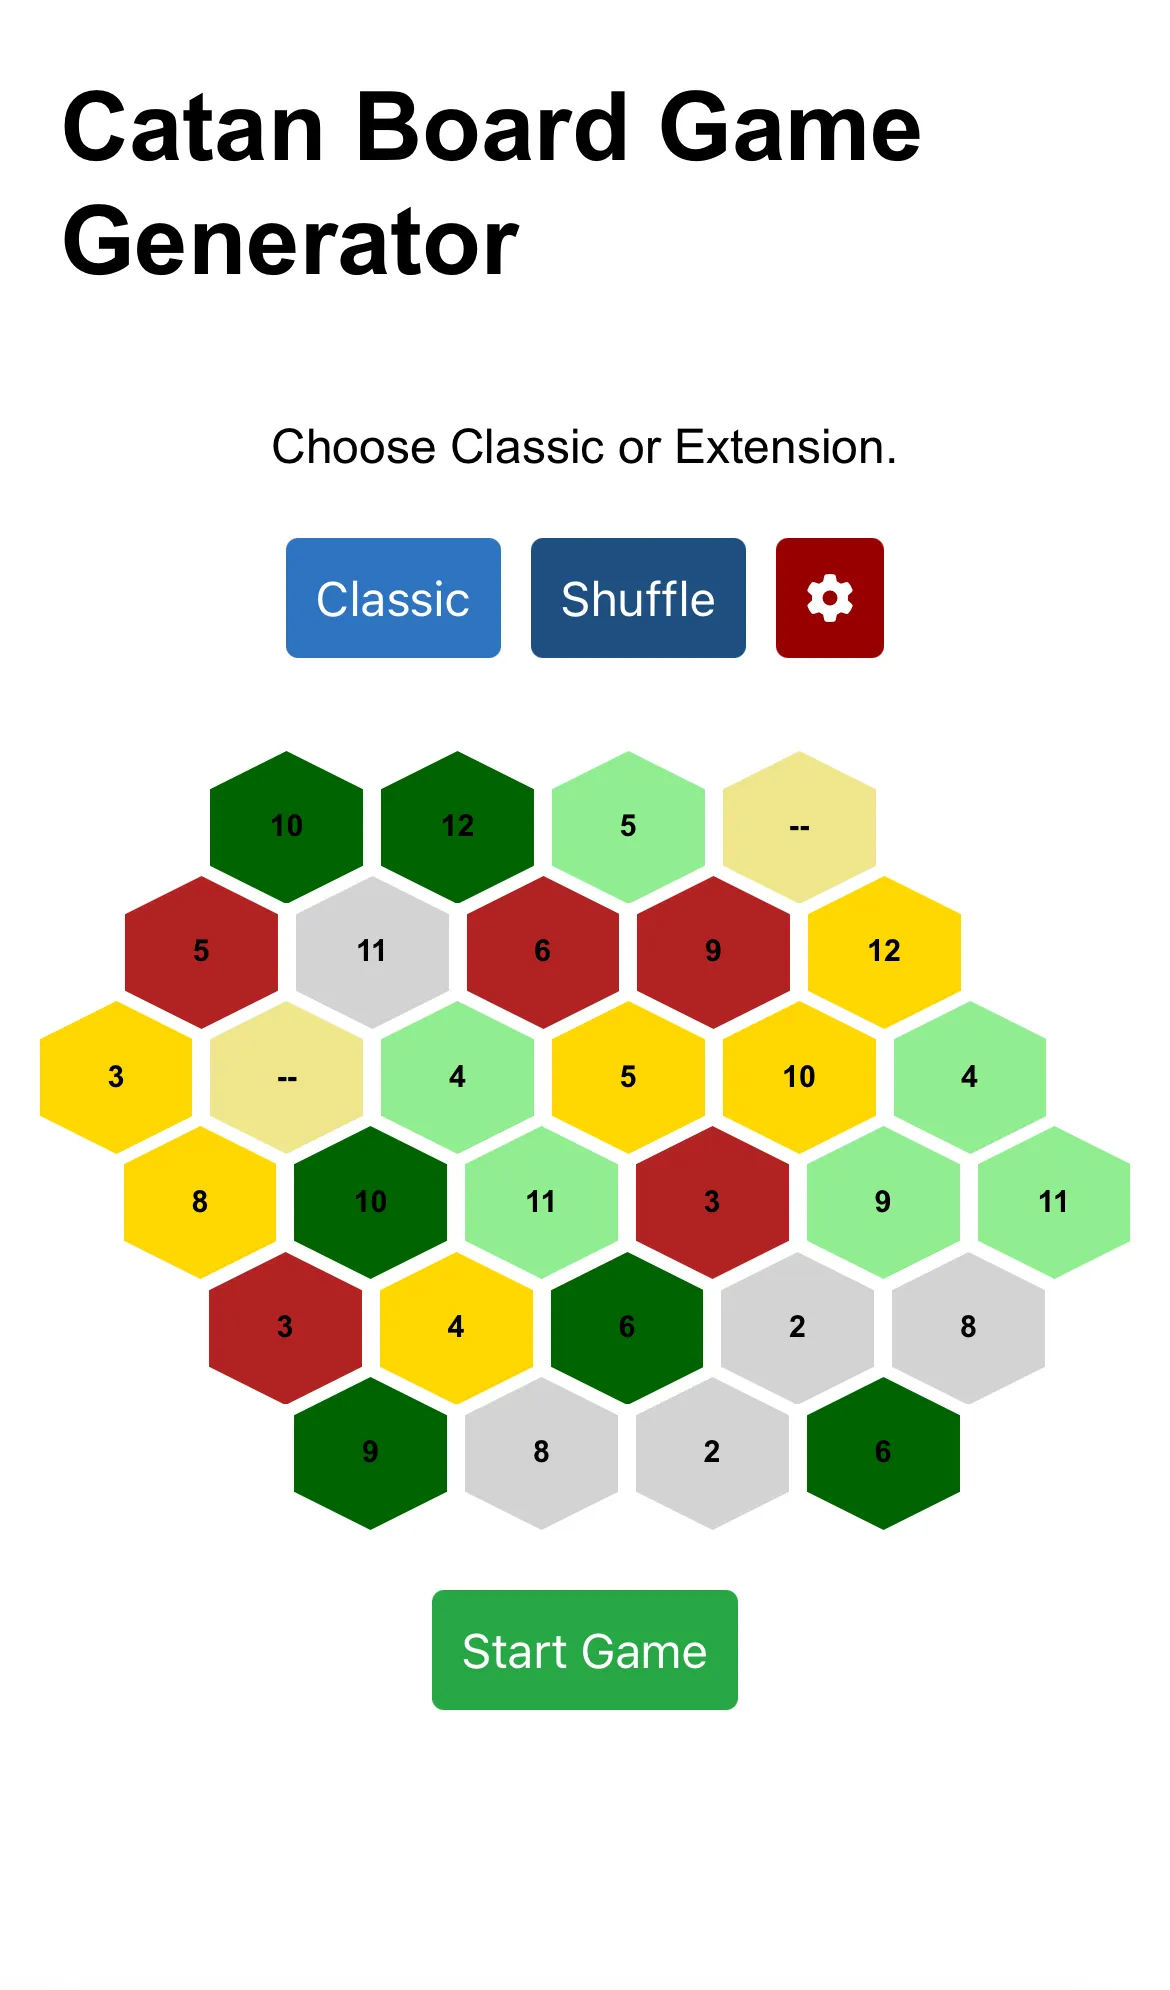
|  |
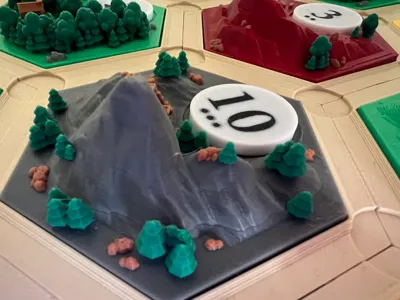
With the board generated, you need to place all the numbers and resources in the correct position.
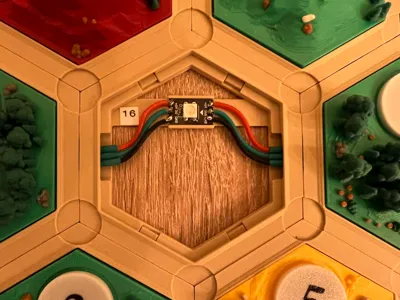
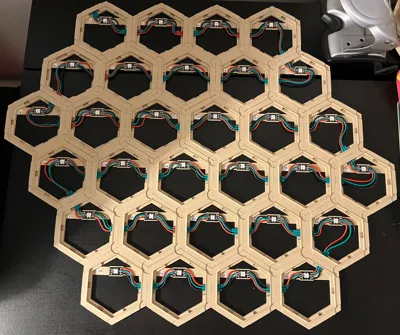
Each hexagon has 1 led i cut from a led strip. By connecting the hexagons in a zig-zag line, they are still working like a "led strip".
Since the ESP32 generated the board, and knows the zig-zag pattern, it knows the position of every number and resource.

BOM
- Neodymium Disc Magnets 500 PCS 3x6mm - 19 €
- 30x 3Pin 2.54mm, 2a dc magnetic pogo pino conectors - 45€
- ESP32 Dev Board - 4,5 €
- 22 awg flexible wire
- wire heat shrink tubes
Tips for printing & assembly:
- If you want to add magnets to the bases, this assembly video may help with this process.
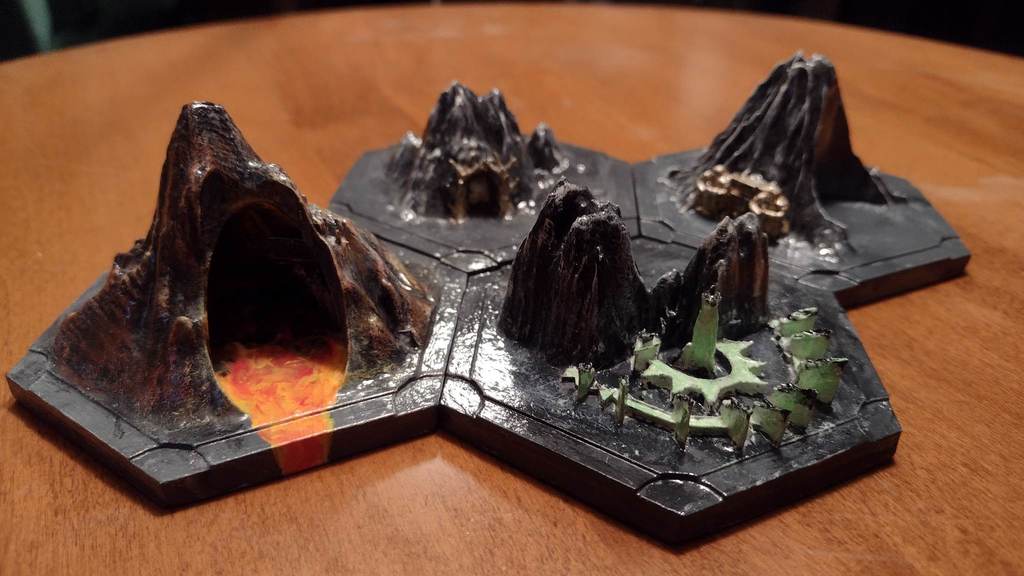
- To get the most detail out of the model, turn on variable layer height for some models, especially the Water Landscape & Harbor Water Landscape.
- To waste less filament, turn on purge into infill, and consider purge into object to create unique colors of cities, settlements, tiles, etc.
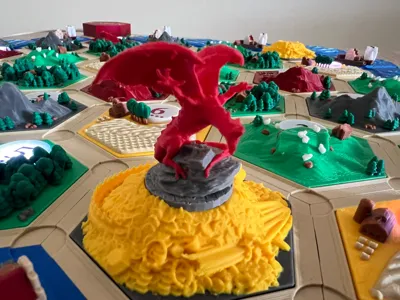
- The dragon i would suggest first print in a single color to make sure all the supports are working fine before wasting colors.
- The holders for the pieces i'm using the amazing work from DirkMcGirk https://makerworld.com/en/models/724977-catan-player-pieces-box-base-set-and-seafarers#profileId-657095
- The water tiles you can glue to the hexagon to hold the magnet plugs, but for the hexagons with leds, the resoruces cannot be glued! they need to be real fit. I recommend printing first 1 plug at several sizes to check the perfect fitting for the hole. Alternatively glue the plugs itself.
- I have seperated the cities and settlements from the roads since i was using different settings. I painted the cities tree trunks brown, thats why no longer possible to print 2 players at the same time, but you can print from other 3d catan projects if you dont want the brown trunks.
- I increased the numbers to 101% for better fit, you can play around with that.
Electronics
Its in the added documentation.
Software
Started in arduino ide but with the size of the project grew, so i decided to change to platform.io
I still need to do a lot of cleaning up of the code. But right now it is functional.
Code repository → https://github.com/rFarinha/smart-catan
Plans for v2.0
I have a ESP camera i would like to place in a dice tower that reads the dice values. Instead of manually saying the dice value or having the esp32 generate the value.
Documentation (1)
This remix is based on


Comment & Rating (24)