Leviathan Mk II - WOW


Print Profile(3)


Description

----2025.4.13 Added the cannon to make up for the lack of a small top cannon in the P1 battle stage.

----2025.2.22 Update. This front wheel drive part is shortened by 0.5mm, which makes it easier to assemble compared to the old one (the old one still works fine, you just need to use a little more force).

----2025.2.21 Added some tips in Step14 and Step17 of the Assembly Guide.
----
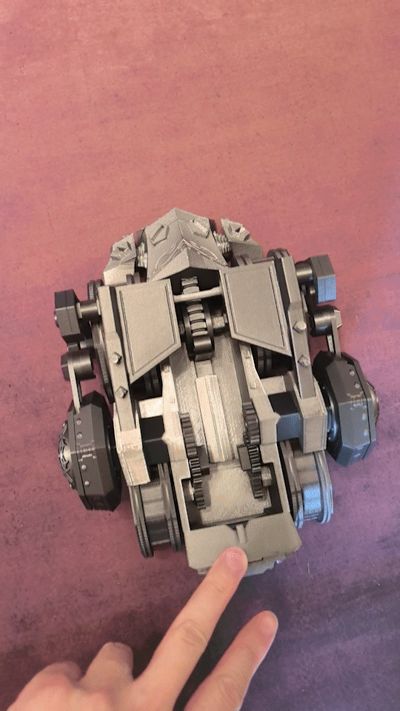
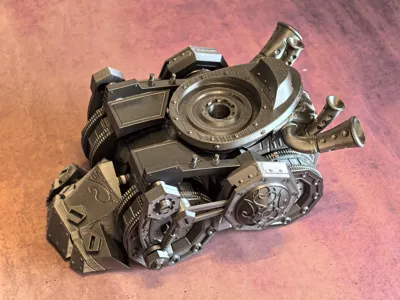
Foot parts of Mimiron boss fight in World of Warcraft, Leviathan Mk II.
It's been a long journey, finally, the head (Mimiron Part 1, Mimiron's Head), the body (Mimiron Part 2, VX001), and the foot (Leviathan Mk II) make up the complete [V-07-TR-0N].

About Print Profile:
- Some parts are preset with the necessary supports, most parts do not require supports.
- PLA's detail is the best and PETG is very close, but some parts have larger support surfaces and PETG requires more care when removing supports.
About Assembly:
- Please see the attached Assembly Guide for detailed assembly instructions.
- All slots have been optimised and normally no pre-treatment is required for the assembly process, however, due to the large number of parts, and tolerances vary between filaments, so whether to sand or glue or not will depend on the situation.
- Except for the four wheels, which have exactly the same clips, all the other parts are designed to be Poka-Yoke, but please be sure to carefully refer to the shape and orientation of the parts in the Assembly Guide to prevent damage due to violent installation by taking the wrong parts.
- In order to be compatible with different filaments, some of the slots are designed with rounded bumps inside, so if you feel it is too tight when inserting it, you can cut off some of the rounded dots.
My other works:

Documentation (1)
License
You shall not share, sub-license, sell, rent, host, transfer, or distribute in any way the digital or 3D printed versions of this object, nor any other derivative work of this object in its digital or physical format (including - but not limited to - remixes of this object, and hosting on other digital platforms). The objects may not be used without permission in any way whatsoever in which you charge money, or collect fees.
Comment & Rating (53)