Powder Dispenser, Beverage Powder Dispenser


Print Profile(1)

Bill of Materials
- siehe Beschreibung x 1:
Description
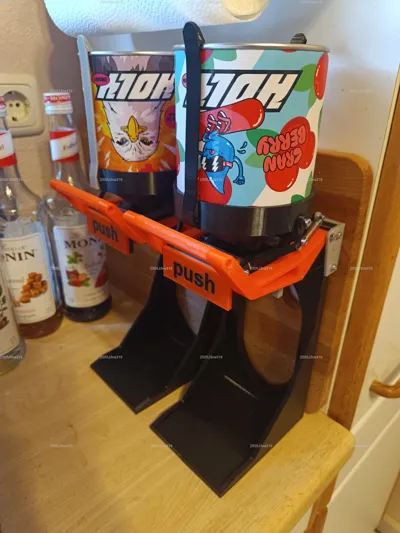
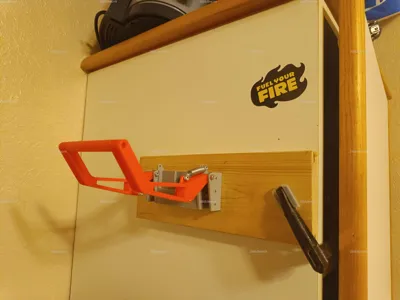
This mechanical dispenser can be used for various powdered substances.
- Fish food
- Powdered drinks (Caution: Food safety depends on the filament used!)
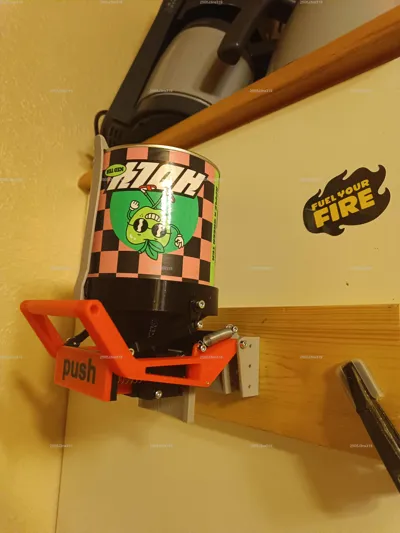
You can screw this apparatus to the wall or mount the stand and place this part on a table.
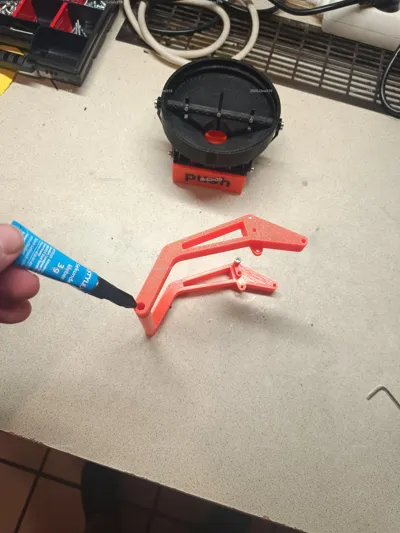
The actuating lever can be omitted for wall mounting, and a lever on one side suffices; connecting two levers with a rod enhances convenience.
Operation is possible in three ways
- Pressing the front plate (recommended only for wall mounting)
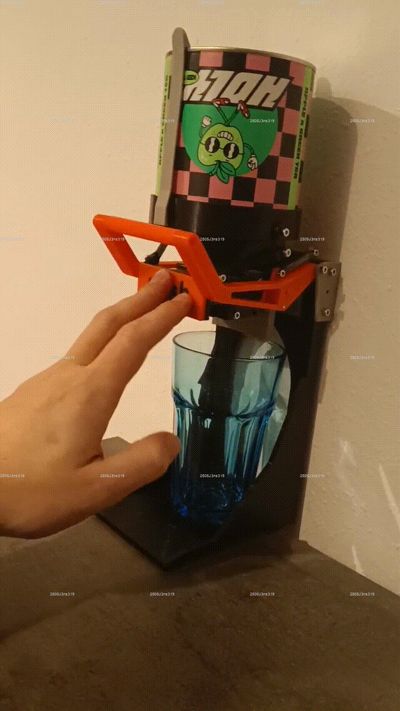
- Operating the “carrier” with a container (recommended only for wall mounting)
- Lever
Cleaning:
The upper part (the funnel with the slider/carriage) can be removed and rinsed under warm water—then thoroughly dried, preferably with a paper towel, and then stuff a piece of kitchen paper into the output in the carriage and let it dry on a heater for at least one night.
Note:
Avoid any moisture ingress.
The stand does not fit the glass bottle or the thermoshaker; only the “standard” shaker fits.
Assembly instructions regarding screw position & length in PDF
!!! Important !!!
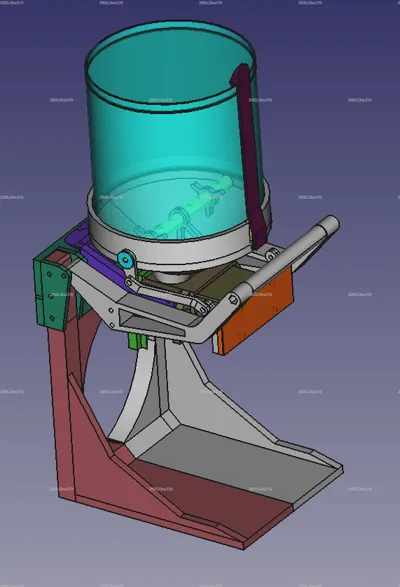
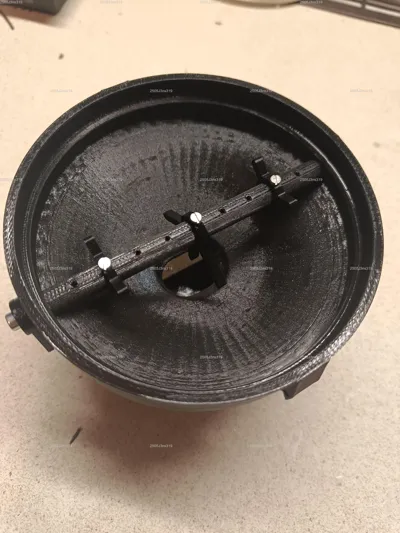
The ejection carriage is conically shaped to improve ejection. Observe the installation direction!
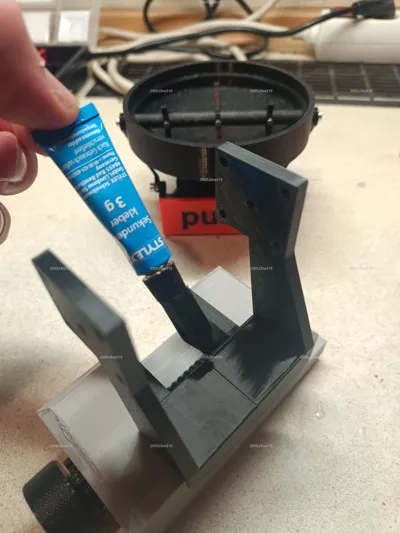
Assembly instructions:
Check the carriage below the funnel for smooth operation and lightly sand if necessary (60/80 grit); depending on the application, silicone spray also helps
Finely sand the funnel from the inside (depending on the print result) and seal with clear varnish or a very thin layer of 2k resin (create a smooth surface for good material flow)
The guide carriage/ejection carriage should be smooth but also snug.
Work the bearing holes in the funnel through which the agitator shaft is inserted with a round key file so that the shaft runs smoothly.
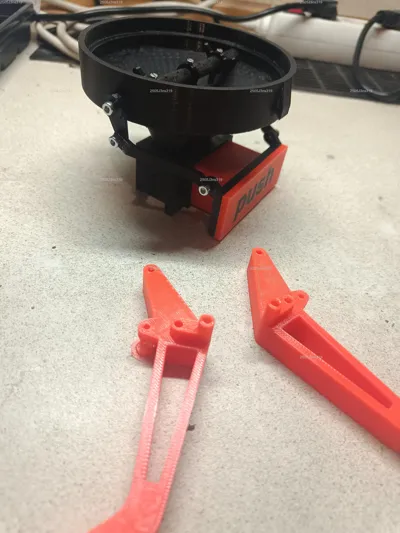
Slightly prepare the connecting rod between the two levers in the area of the outer hexagon with a flat key file from all sides.
2x Spring 9mm outer diameter, 35mm long
1x Spring 8mm outer diameter, 18.5mm long (effective length/suspension length: 37mm) Depending on the spring rate, a slightly shorter spring is necessary, which is then permanently under tension.
8x Screw M3*20
2x Screw M3x25
6x Screw M3x6-8
4x Screw M4x12
4x Screw M4x8-12
2x Screw M4x10
4x Screw M3x6
5x Screw M2x5
2x Screw M3x8 (spring lever arm)
If any information is missing, I will try to add it later.
Important Note:
My models, works, files, and images (especially in this post) may only be used for private purposes.
It is not permitted to share this post, parts thereof, models, and files on other platforms.
The sale of my digital works as well as physical products is prohibited.
(see license on the right)
Documentation (1)
License
You shall not share, sub-license, sell, rent, host, transfer, or distribute in any way the digital or 3D printed versions of this object, nor any other derivative work of this object in its digital or physical format (including - but not limited to - remixes of this object, and hosting on other digital platforms). The objects may not be used without permission in any way whatsoever in which you charge money, or collect fees.
Comment & Rating (17)